Now I have finished with retopology I am able to export the mesh into substance painter and start adding colour. I am now able to start telling the story of the character I have created within the colours and textures on their body and clothing.
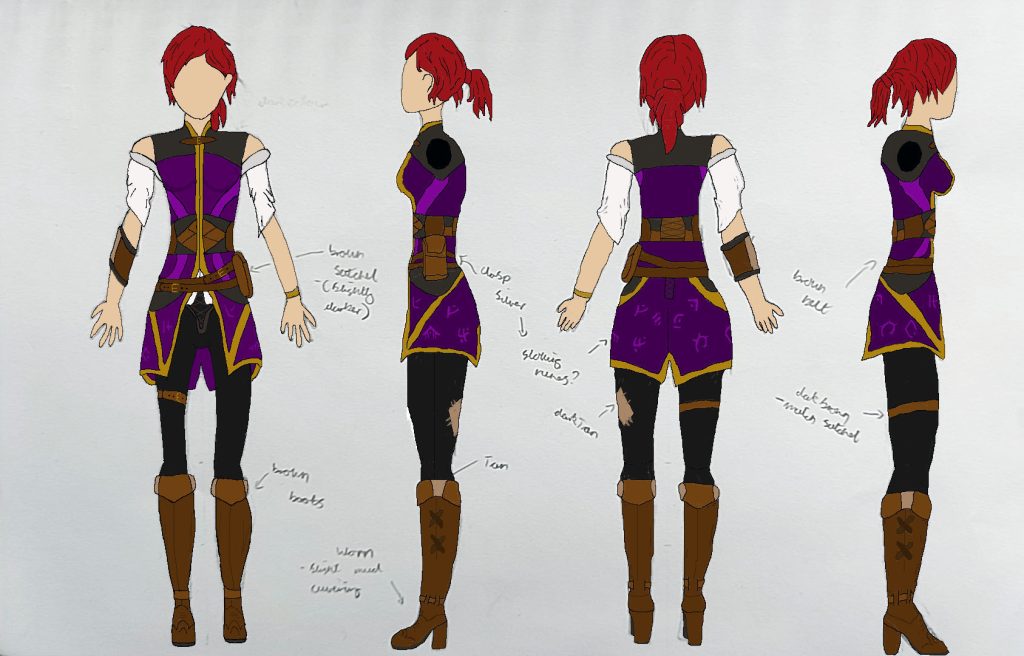
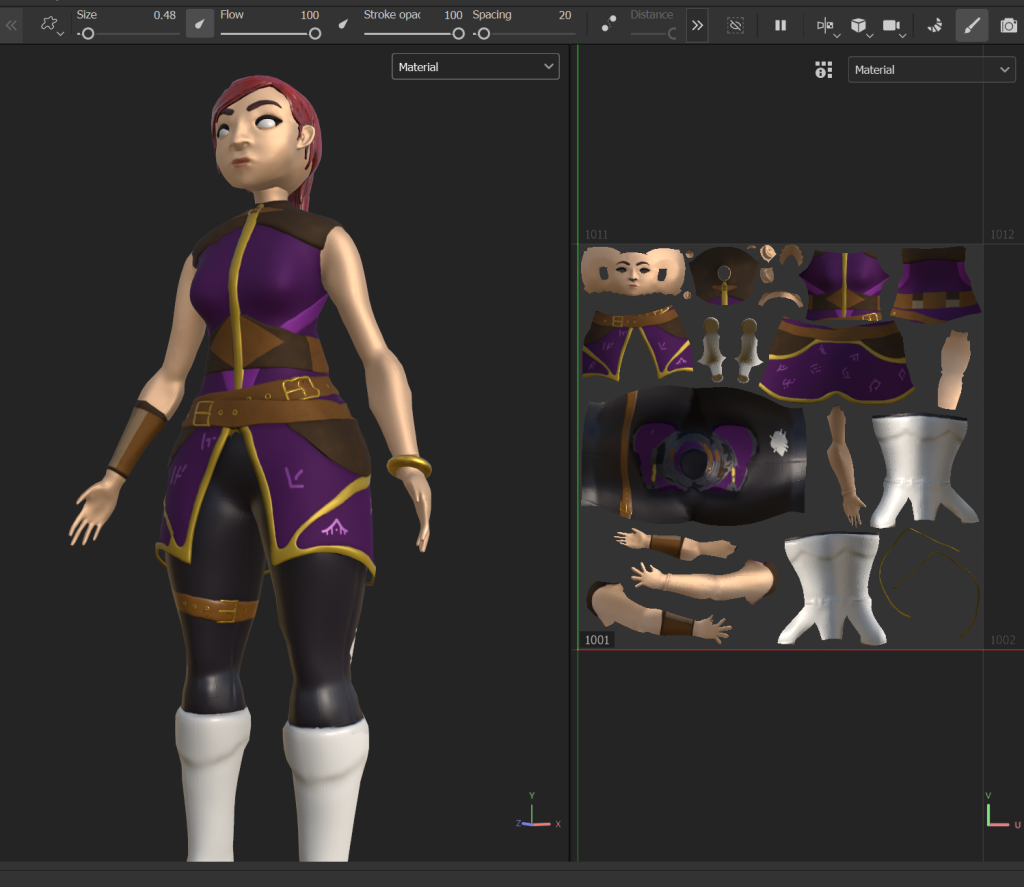
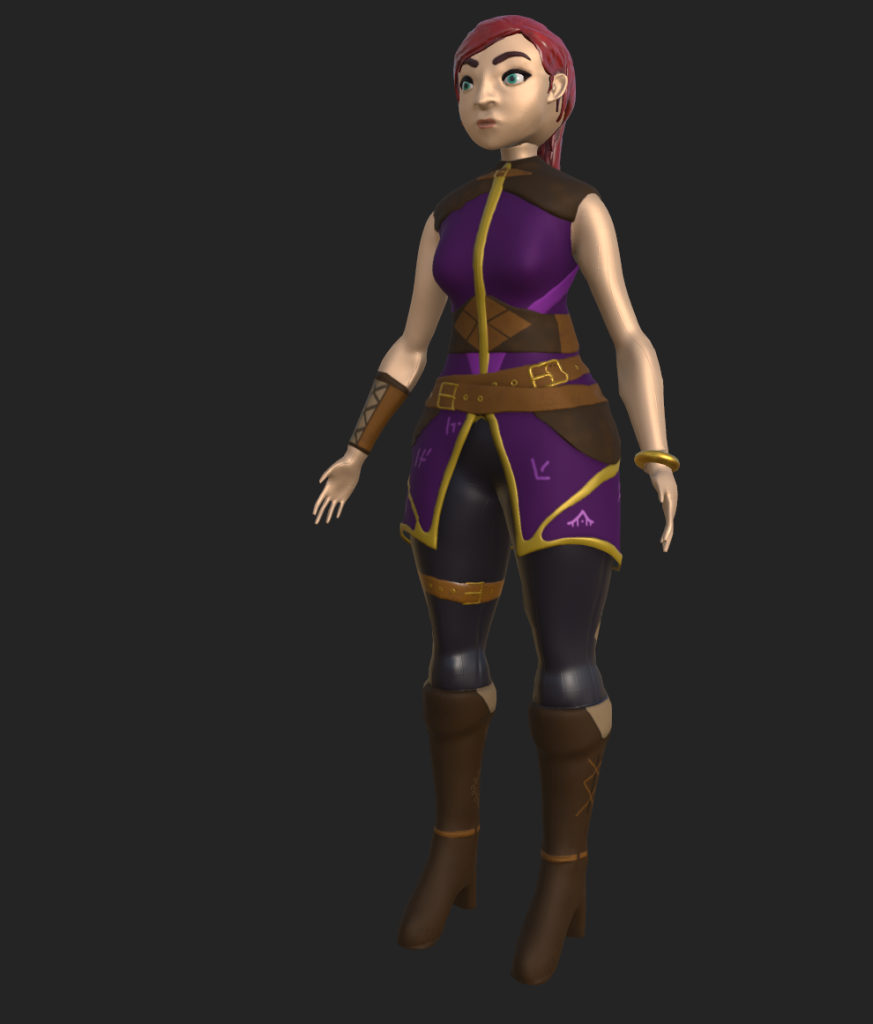
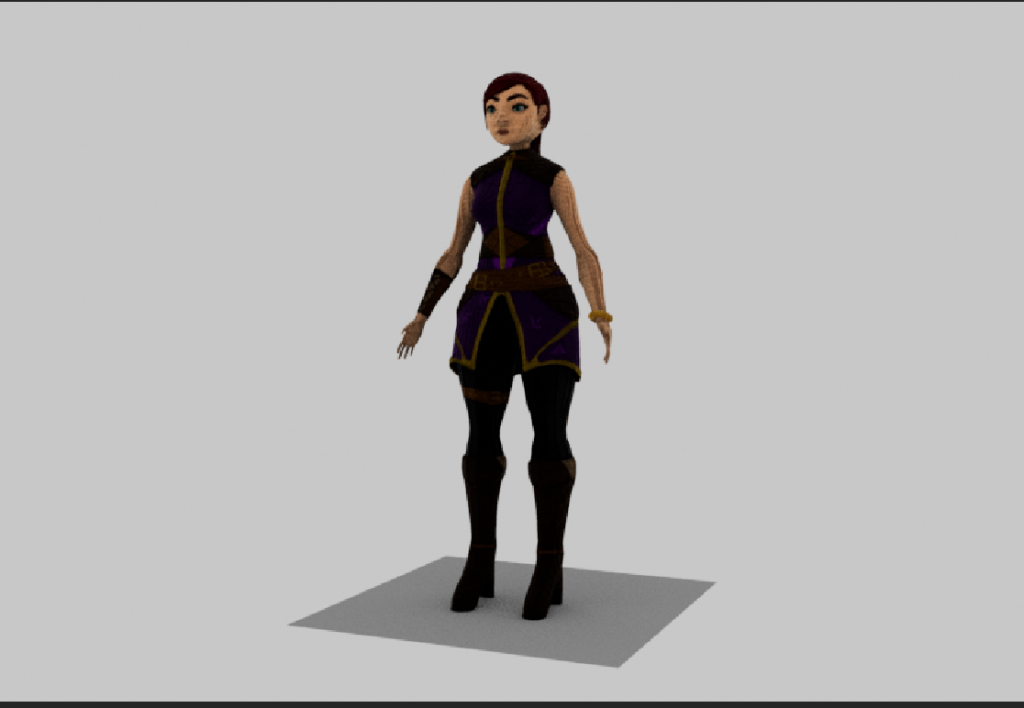
I had some feedback on the the colour variations I had created and decided to go with this one. with the story I wanted to give my character the colours here worked better than the other 3 concepts I had. The purple and gold show that they are an apprentice to a high wizarding order, with the runes also showing that they have knowledge of some arcane magic. Finally the red hair shows that they are energetic and reckless, with a slight discard for the rules.
UV’s:
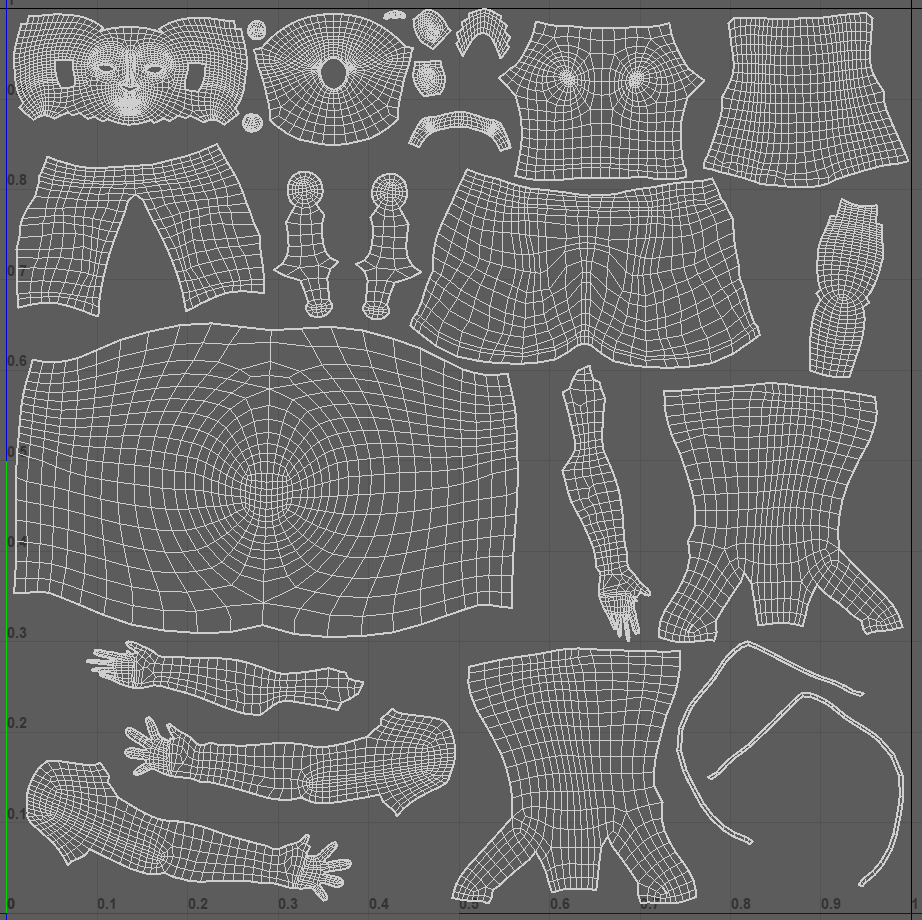
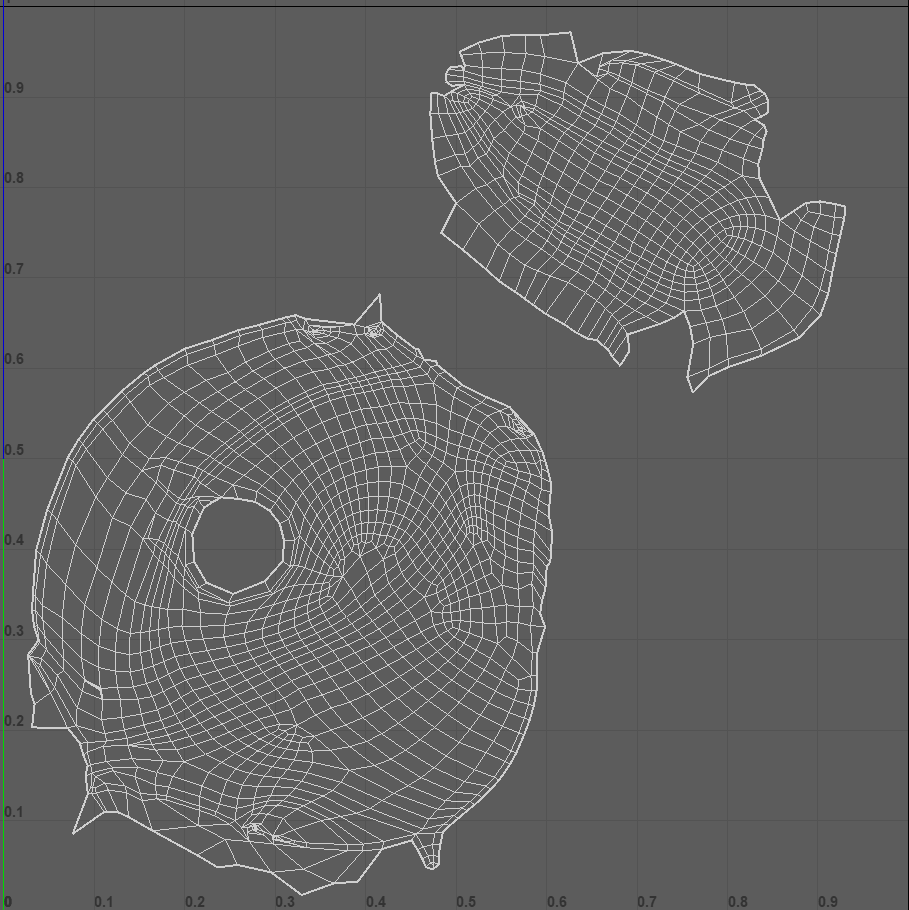
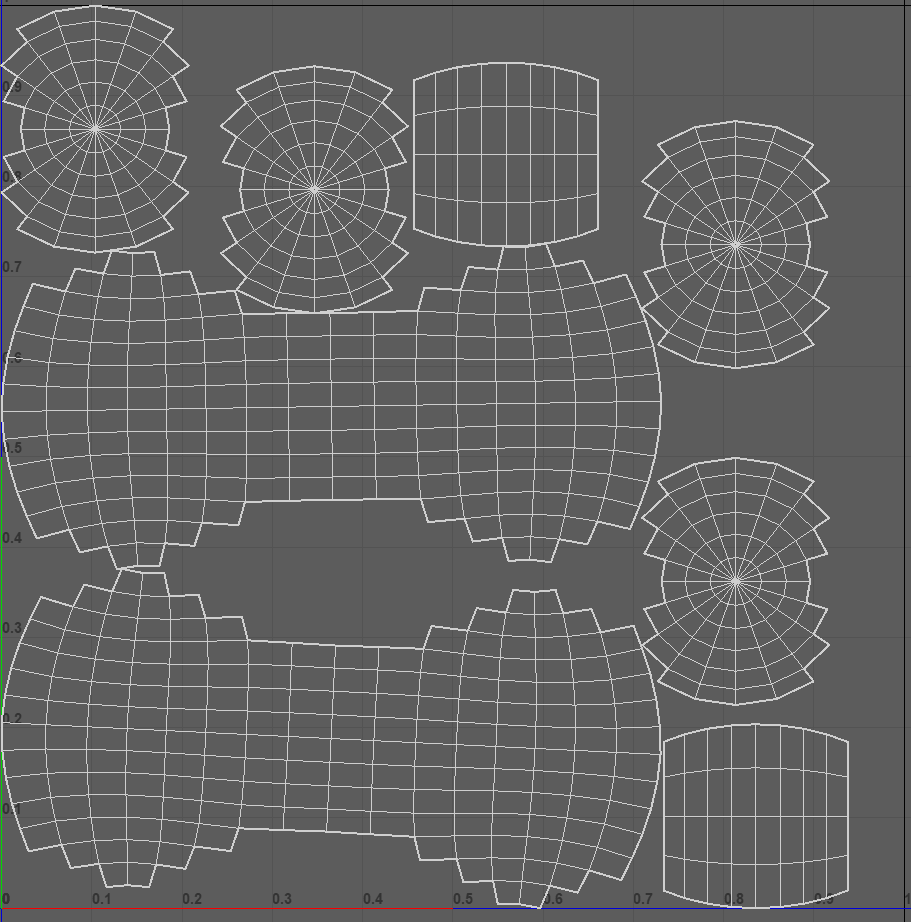
Before exporting into substance painter, I made sure to sort out all of the UV’s for my mesh. I used Ctrl + L to layout the UV’s I have cut onto one UV tile ready for exporting.
I did move some of the UV’s around to make it easier to see which piece correlates to which area of the body. The Eyes where auto unwrapped to save time, I did use the cut and sew tool to make sure there are no visible cuts and joins.
Substance Painter:
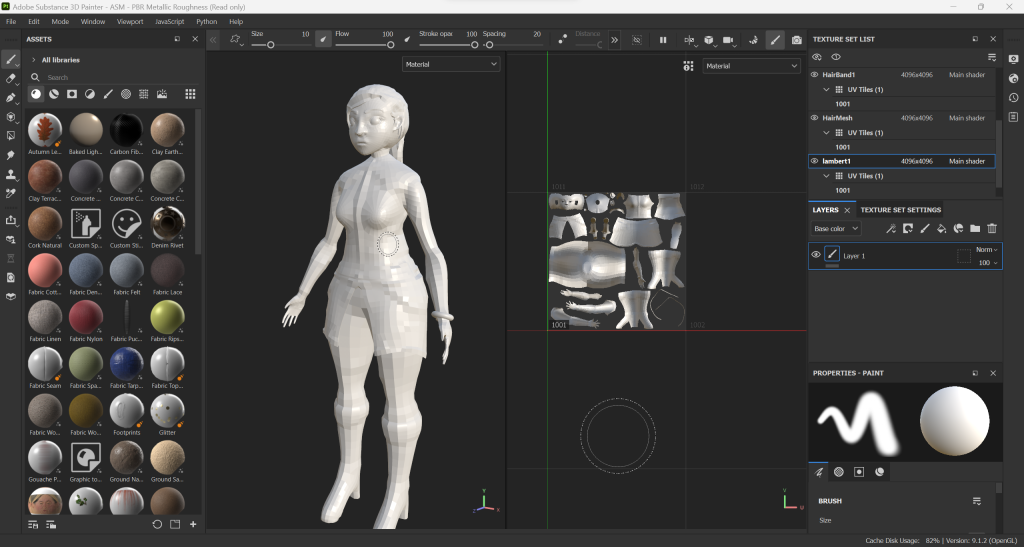
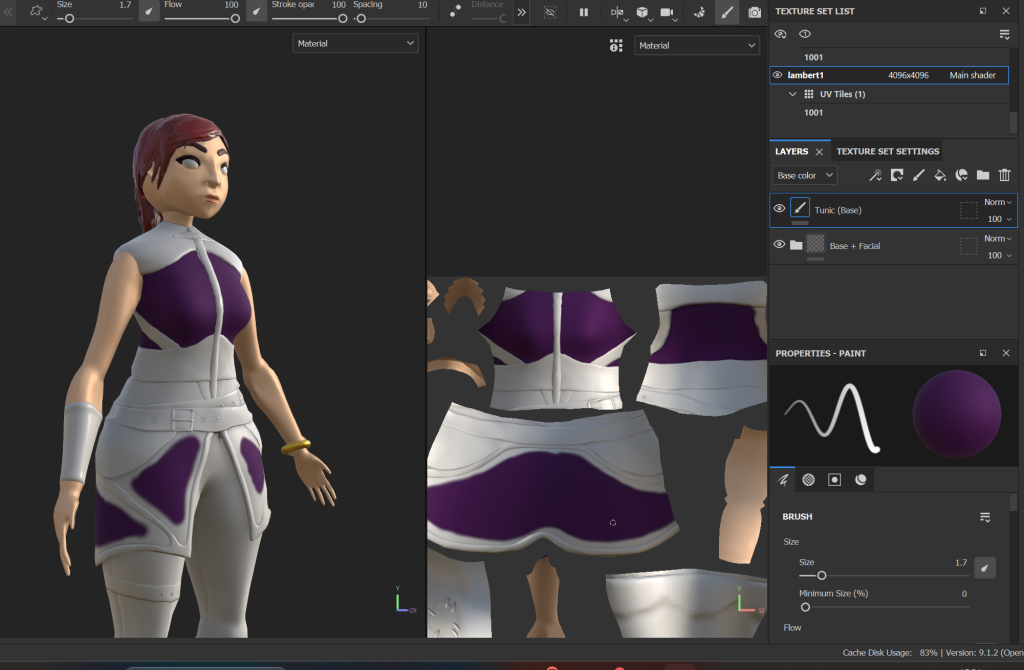
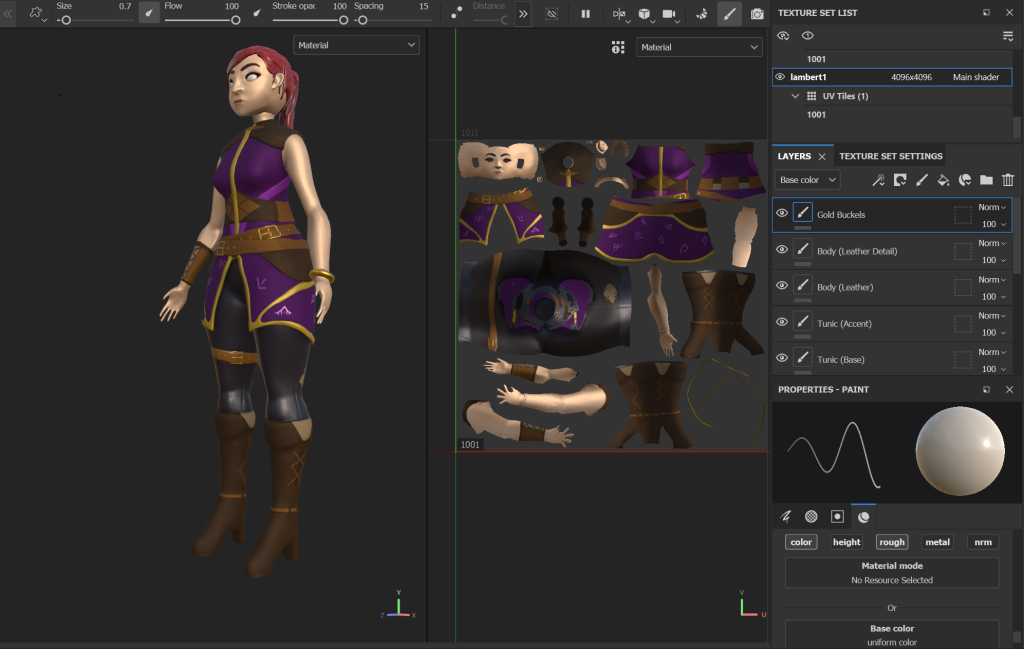
Now in substance I can begin to add colour, using my concept as a reference for positioning and colours. With the level and overall theme being stylised, I want something similar for the colours and textures used for my character.
Within Substance I can bake detail from a higher poly mesh ,that I exported straight from substance painter, onto my low poly model, I had some problems with this to start with as the substance file was not on the same level as my Maya file. I also had an issue that the hair and some of the other details were baked onto the main mesh. Both of these were easily solved with a few edits of the .fbx file in maya before exporting back into substance.
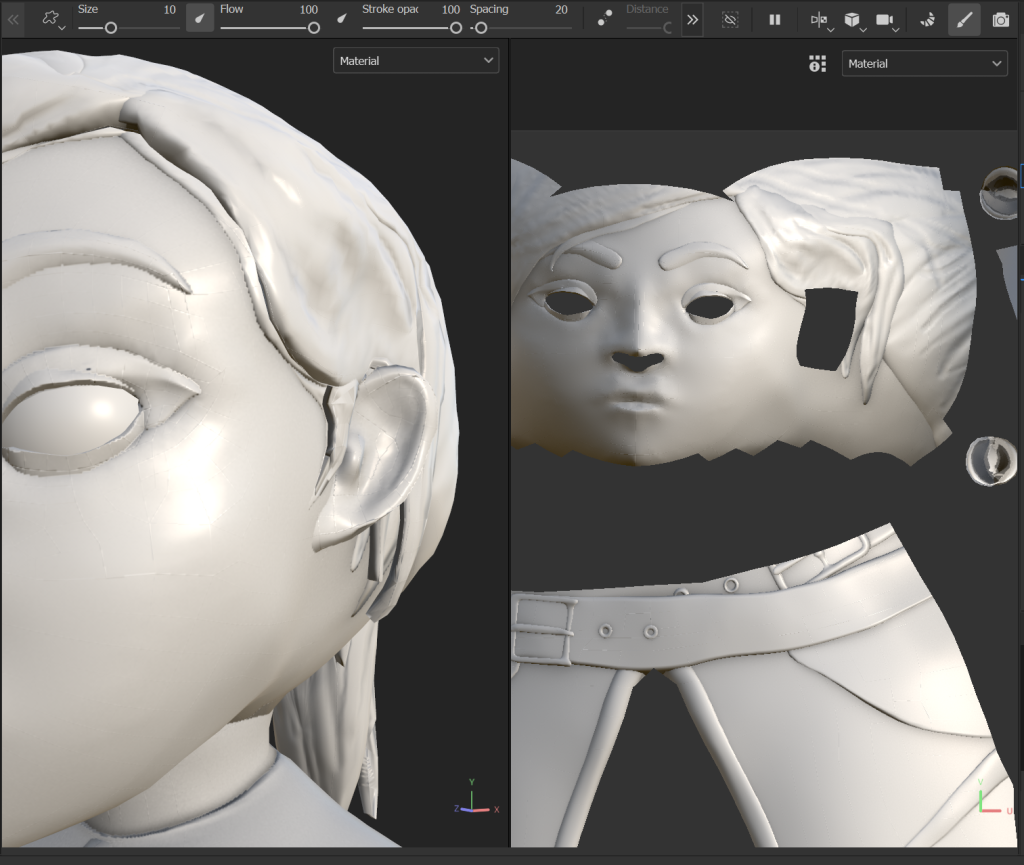
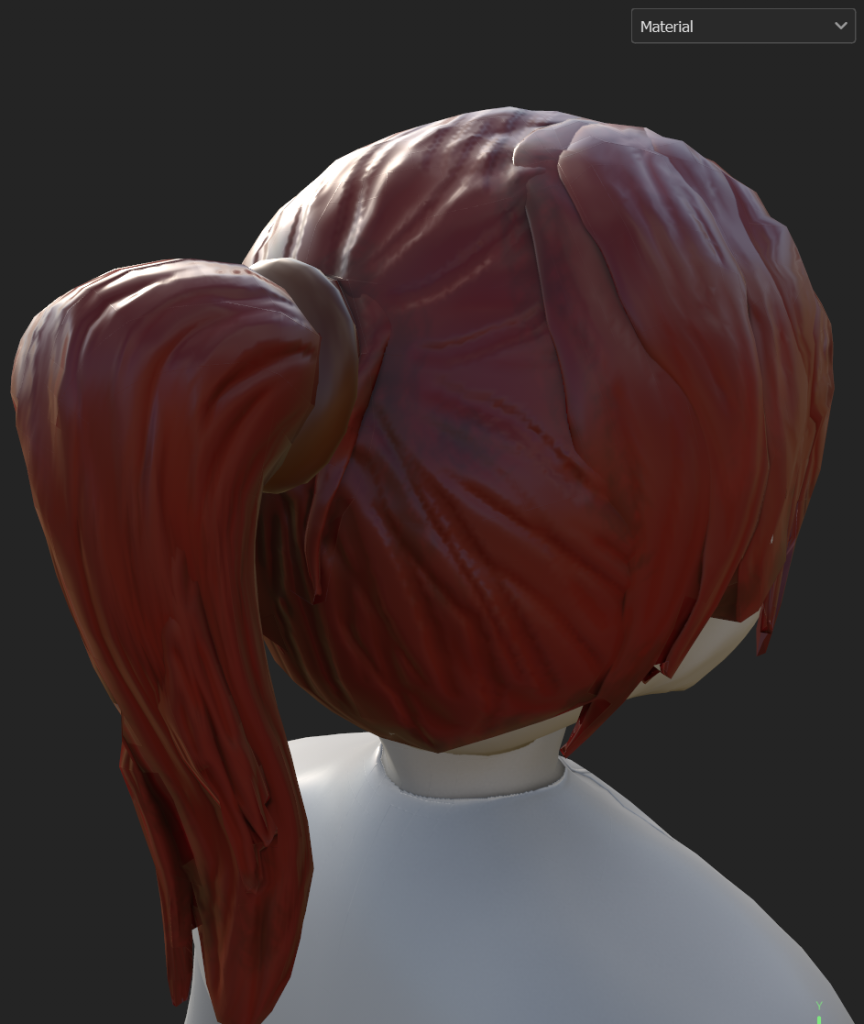
With these Issues fixed I moved onto texturing the base character, I started with the hair and hair band so that I could get used to the basics of substance before moving onto the more detailed areas on the main body. I used the tutorial above to create a basic stylised material that I could apply to my characters hair. I turned it into a smart material so that It can be used and tweaked to work on different parts of the body of my character
For the main body of UV’s, I layered some paint layers onto of a base (skin). This meant that I could isolate details and was easier to navigate and paint than using smart materials. I started with the skin and added some of the more prominent details on the face first before moving onto other parts of the body.
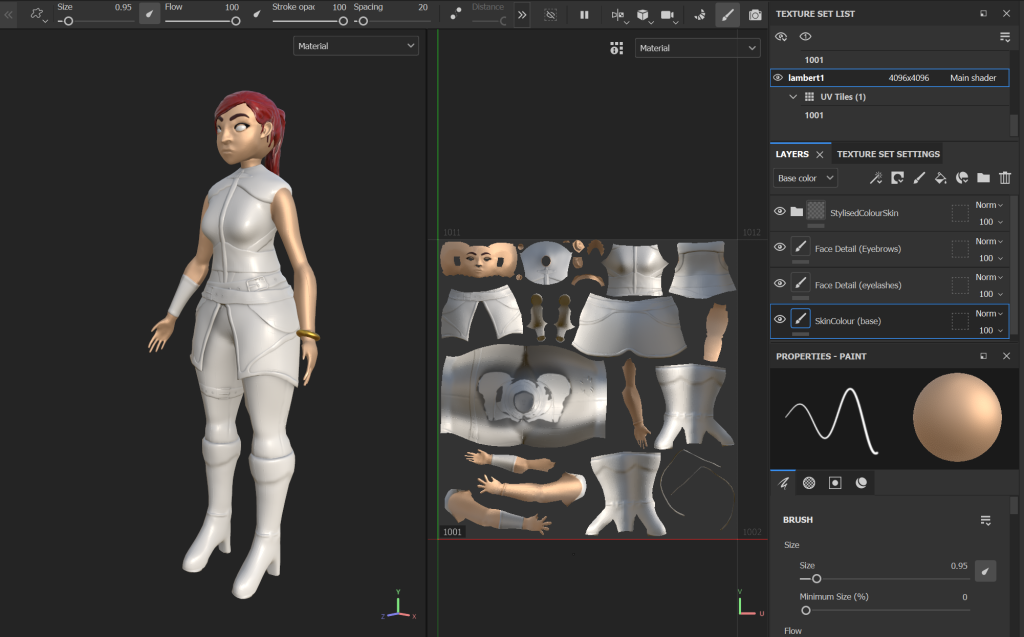
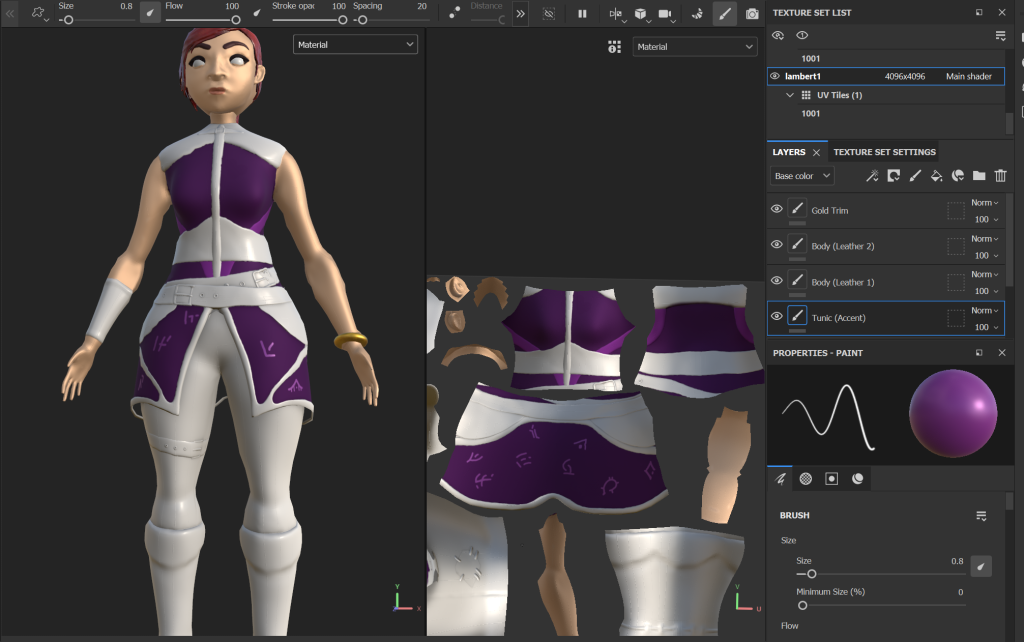
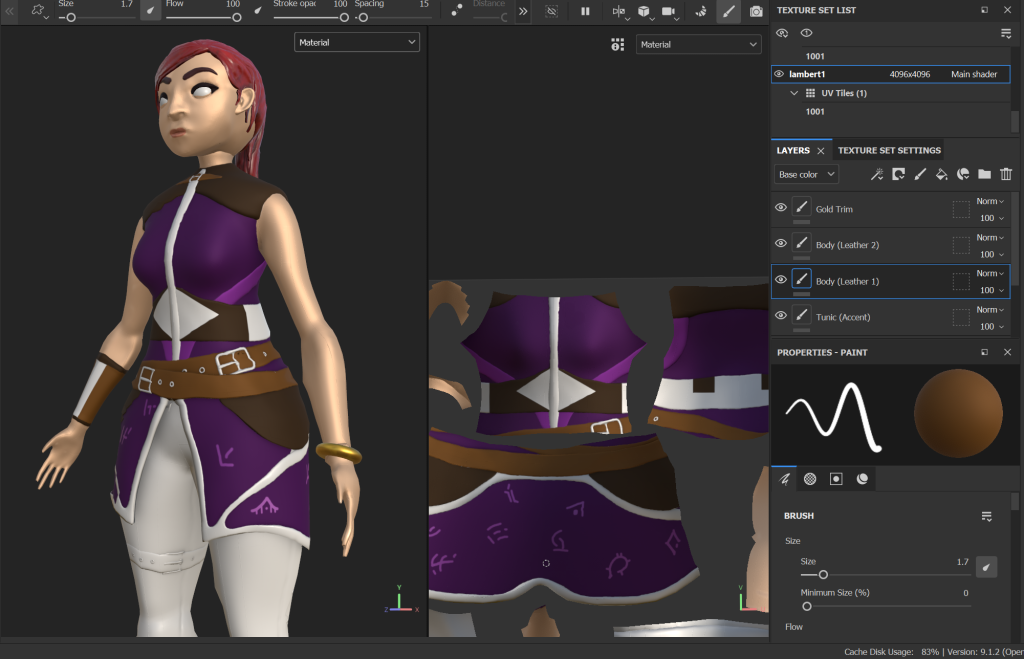
I followed the same principle for the legs. Once I had some basic colours applied, I began to add in some more detail like dirt and scrapes on the leather. I then used the same techniques within the video above to create a stylised look.
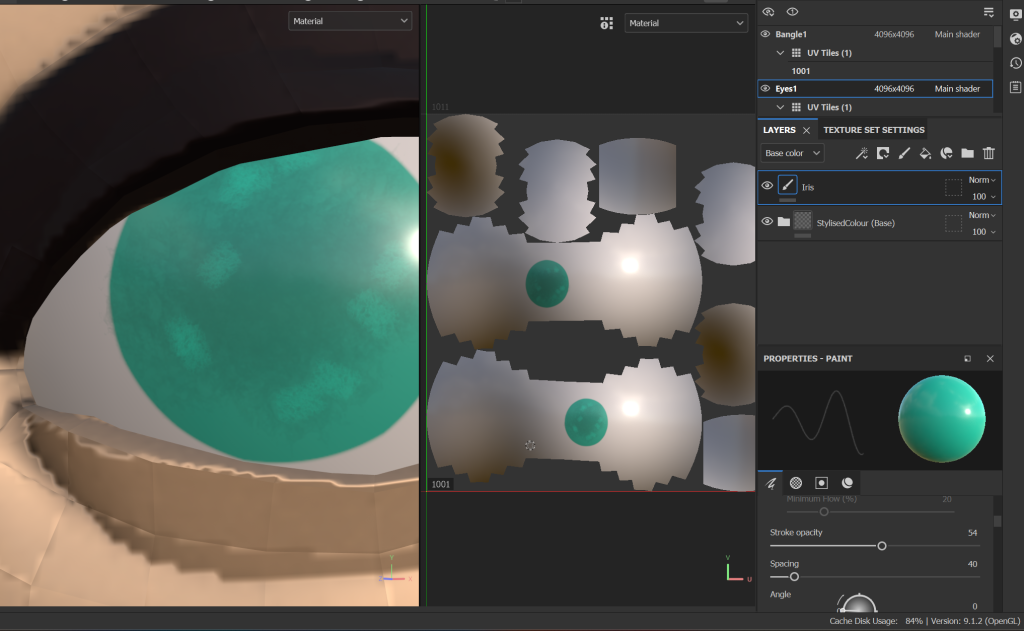
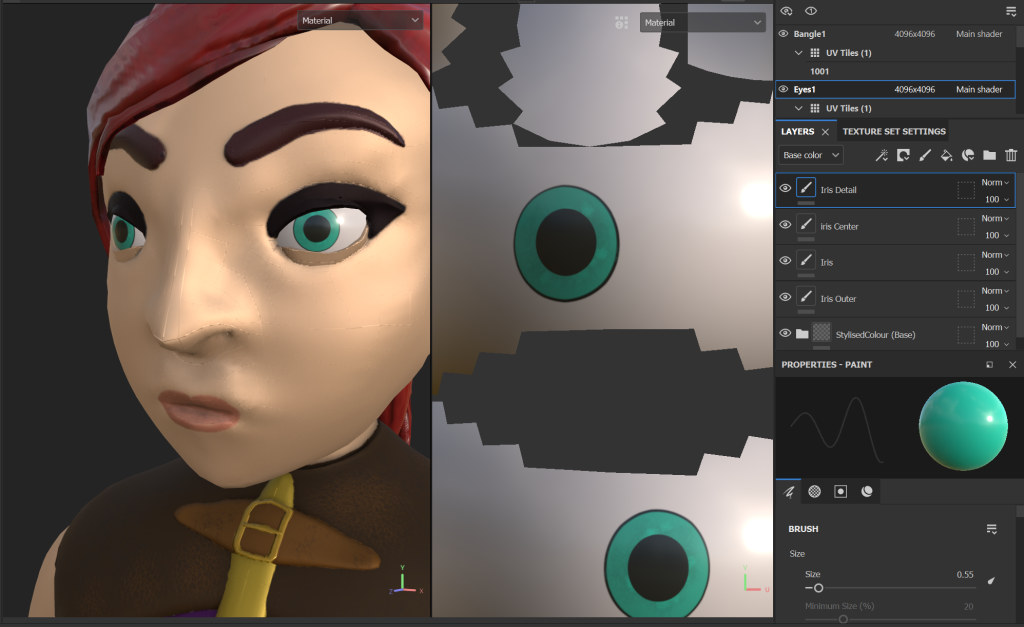
For the eyes, I used the smart material I created for the hair as a base swapping the red for a near pure white. I also decreased the roughness so that they would have more of a shine.
From that base I built up the Iris from a few paint layers. I went with a turquoise, as it contrasts with the dark red hair and royal purple on the main body to draw attention to the face, to add in some detail I used the sponge to have some variation of colour within the iris.
Maya:
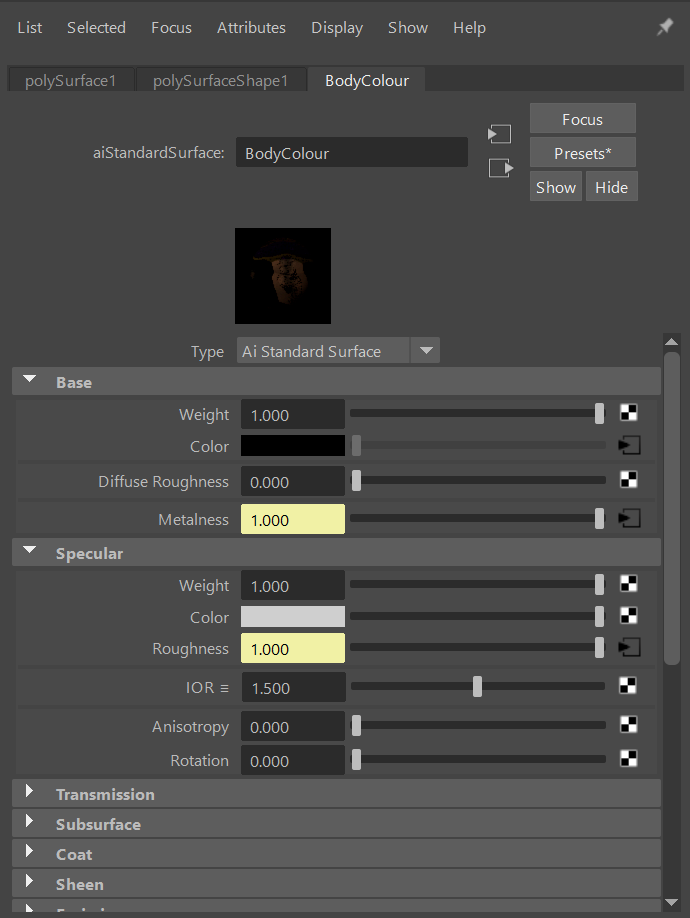
Each of the exported maps I have created from substance painter are attached as files and plugged into 4 different areas of a Arnold Ai Material.
- Base Colour Map into Base colour
- Metalness map into metalnesss
- Roughness map into roughness
- Normal map into Bump mapping
I did colour ID some of the character areas before grouping and exporting the mesh to substance. This made it easier to add each of the separate colour maps to the correct areas.
I can now move onto adding lights and setting up a camera to capture the needed shots and turntable video that is part of the assignment.
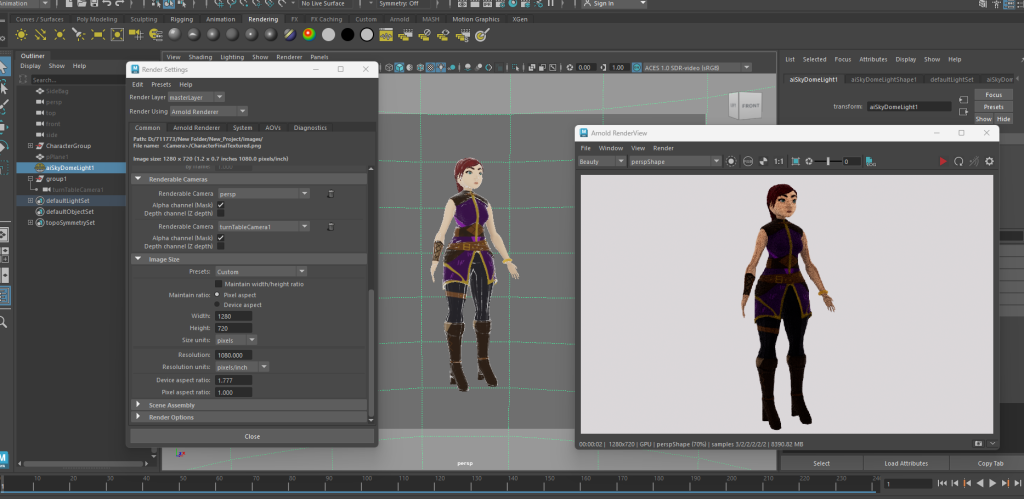
Turntable Camera:
This is the same tutorial I used when creating a turntable camera for my Asset design assignment, I am able to follow this to add in a quick turntable camera to capture all angles of my character. For lighting I used a simple skybox so that the lighting is consistent around the whole character.
References:
Artruism Digital (2020) Texturing Skin in Substance Painter for Real Time Characters [Video] Available Online: Texturing Skin in Substance Painter for Real Time Characters (youtube.com)[Accessed 0/01/2024]
Stylised Station (2020) How to Make Your First Stylized Texture in 5 Minutes using Substance Painter [BEGINNERS TUTORIAL] [Video] Available Online How to Make Your First Stylized Texture in 5 Minutes using Substance Painter [BEGINNERS TUTORIAL] (youtube.com) [Accessed 07/01/2024]
Nhance School (2023) Texture 3D like Riot Games -Handpaint Textures Tutorial [Video] Available Online: Texture 3D like Riot Games -Handpaint Textures Tutorial – YouTube [Accessed 07/01/2024]
Academic Phoenix Plus (2021) Creating a turntable camera in Maya [Video] Available Online Quickly Create a Turntable in Autodesk Maya – YouTube [Accessed 06/01/2024]