This week we were able to experiment with different art based VR programs. we were working in groups so each of us had limited time with the software within the 1 hour time limit we had to work with.
Shapes XR:
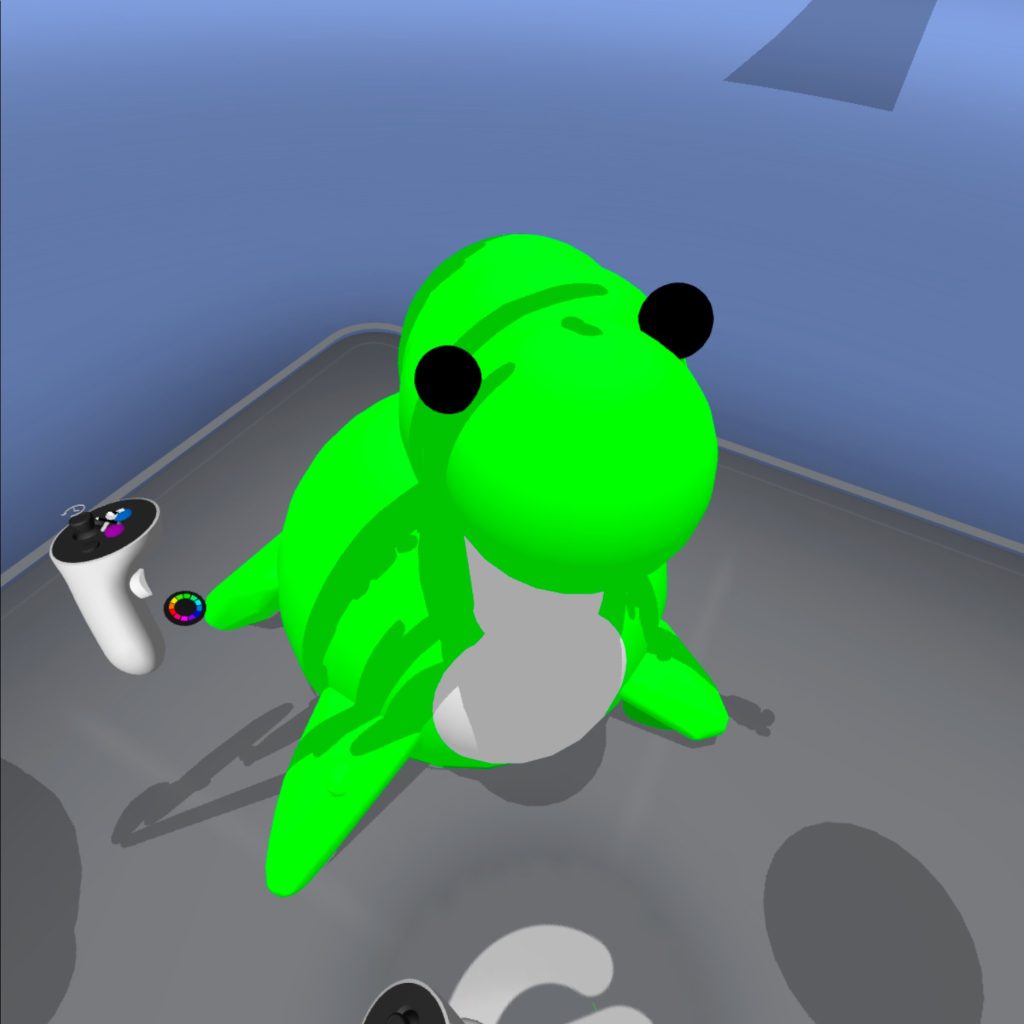
Shapes XR was the first VR program we used, It is commonly used to create interactive experiences and quick protypes. It is also a great collaborative space as there is a companion website that allows others to connect to a scene and add in pre-existing assets to help prototype ideas.
Personally I found the Web version much easier to understand and use, as I found the headset less intuitive. I struggled to place and scale any objects I added to the scene. If I had more time with the software and practice using a headset it might become more natural to use and navigate.
Adobe Aero:
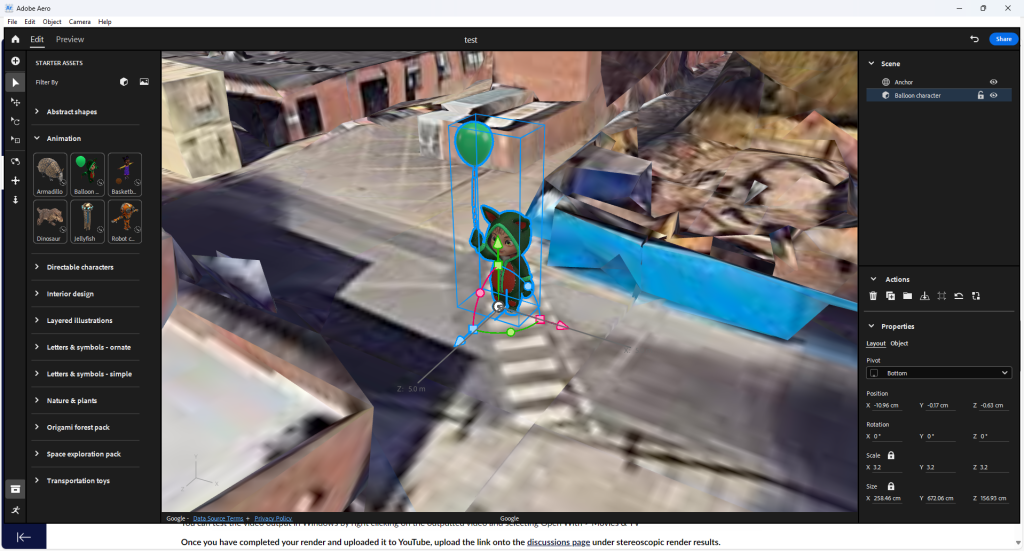
Is AR creative software that mainly uses tablets and phone cameras to create 3D art pieces appear in the real world. it uses real world satellite imagery to allow the placement of imported models and art pieces in the real world. Adobe Aero also has the ability to add animations and spatial audio to projects so it is often used in interactive art.
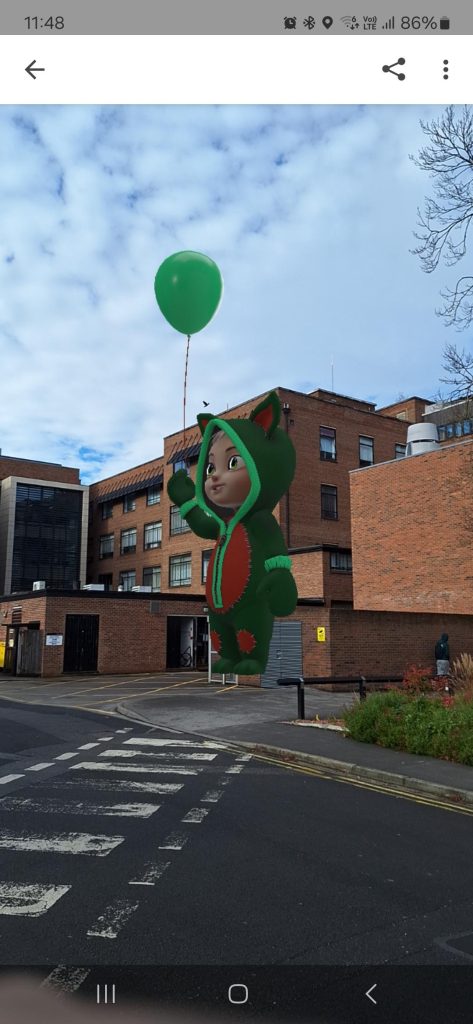
As a group we had a few issue that meant we only had one of the base assets to place in the world. We did manage to work around this and create a simple project that places a model of this ‘cat with a balloon’ near the building we are in on campus. by using the QR code and standing near this location we can see it through the devices camera.
Gravity Sketch:
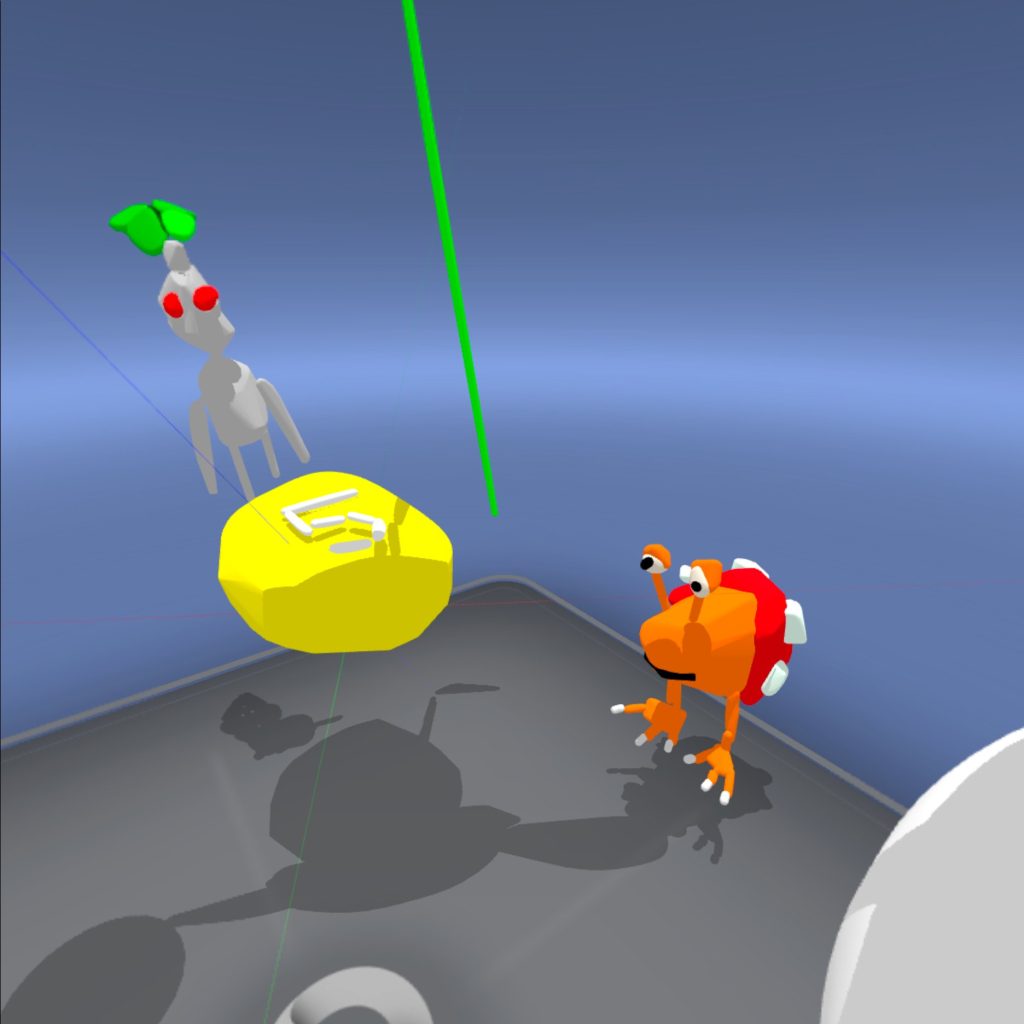
Like Shapes XR, Gravity Sketch is mainly used in quickly prototyping environments and small objects. It is often used by car designers, and apparel designers to see how designs would work and as a way of quickly sculpting a design, as it can be quickly exported into other software ,like Zbrush, to add in more intricate details.
I found this much easier to navigate and use, the UI and controls made it easy to navigate the different brushes and tools that the software offers. I was able to quickly prototype a Nessie (Apex Legends and Titanfall) with some of the brushes before uses the shapes tools to make it 3D.
Out of all the programs I used I found Gravity Sketch the most intuitive to the user, It was easy to navigate and control all of the tools I accessed and if I were to spend more time within the program I think it would be fairly easy to build more complex models that I could then use in a final piece.
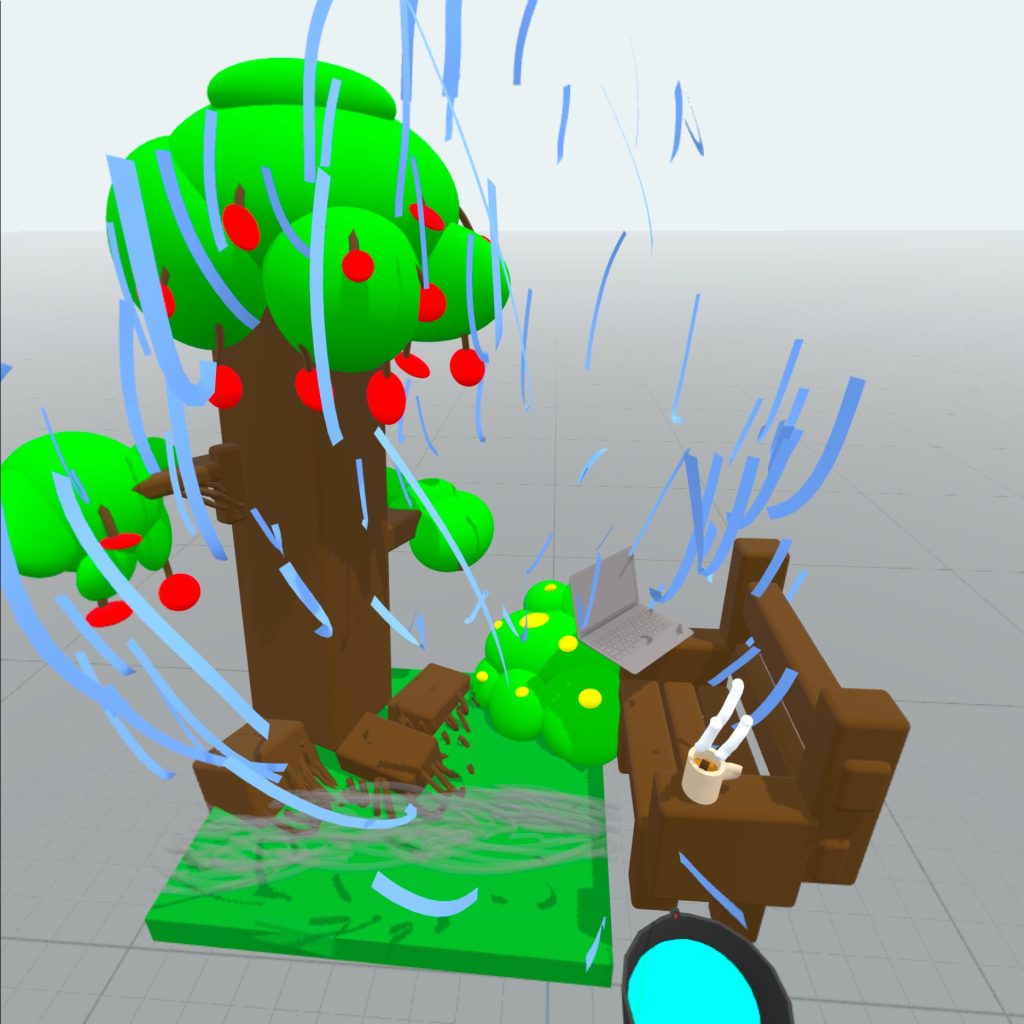
Open Brush:
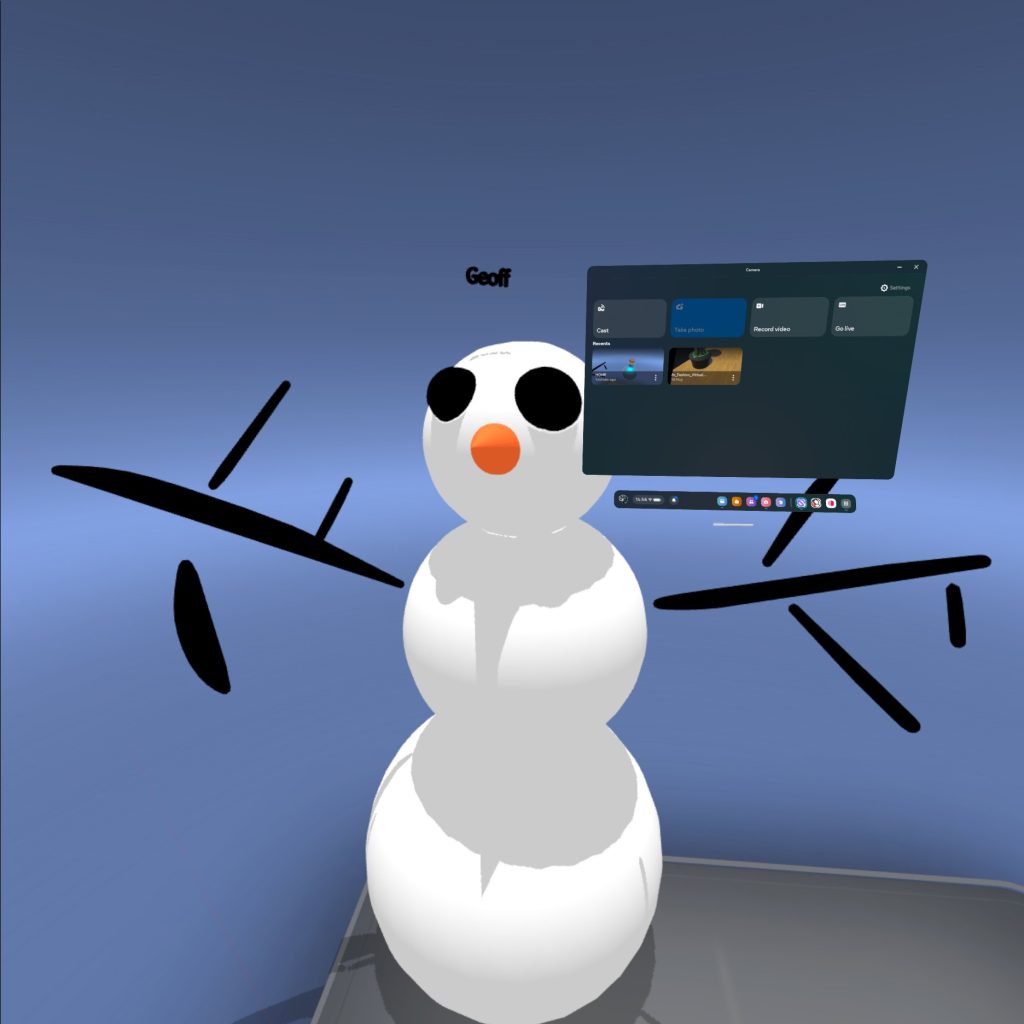
Finally we got to use Open Brush. this is more tailored towards artists and is better to concept environments and create artworks that tell stories. One area of this we were introduced to was performative art (specifically that by Rosie Summers) and how that can be done in Open Brush.
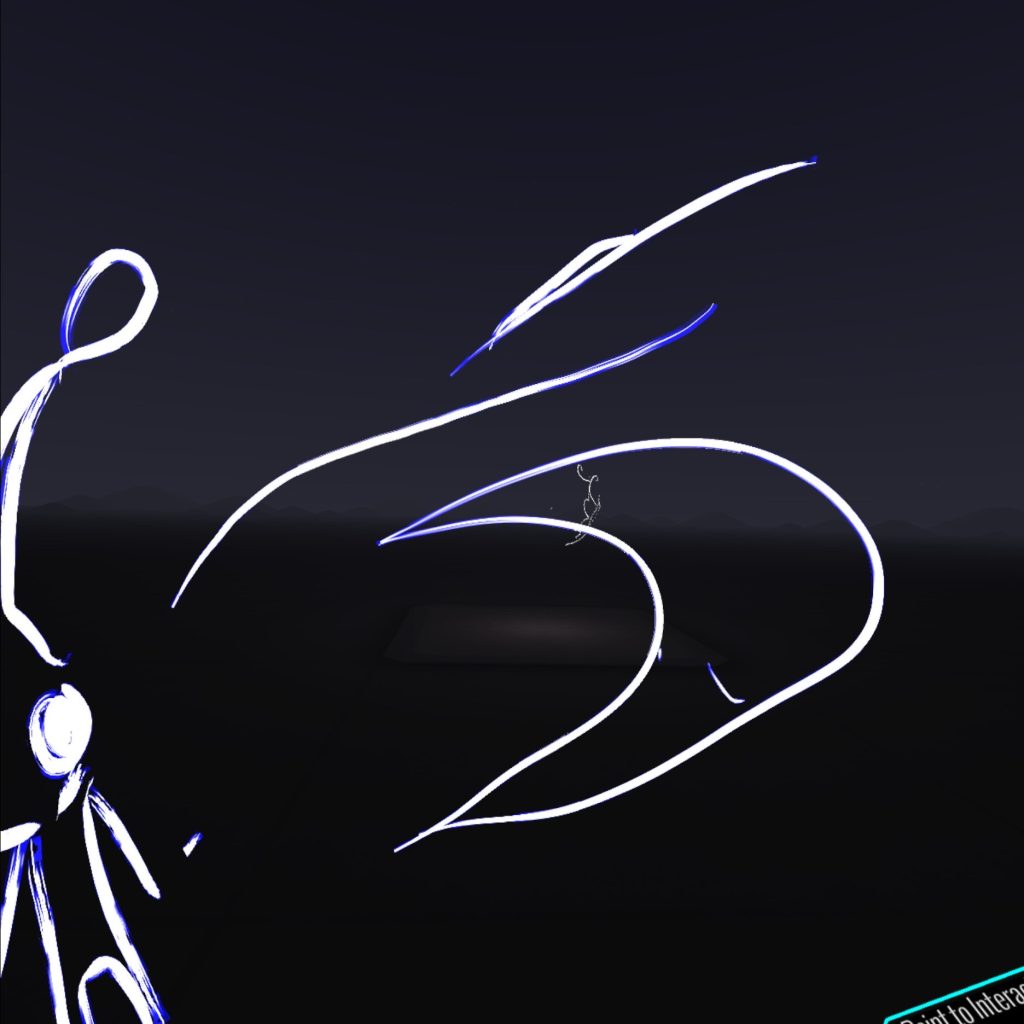
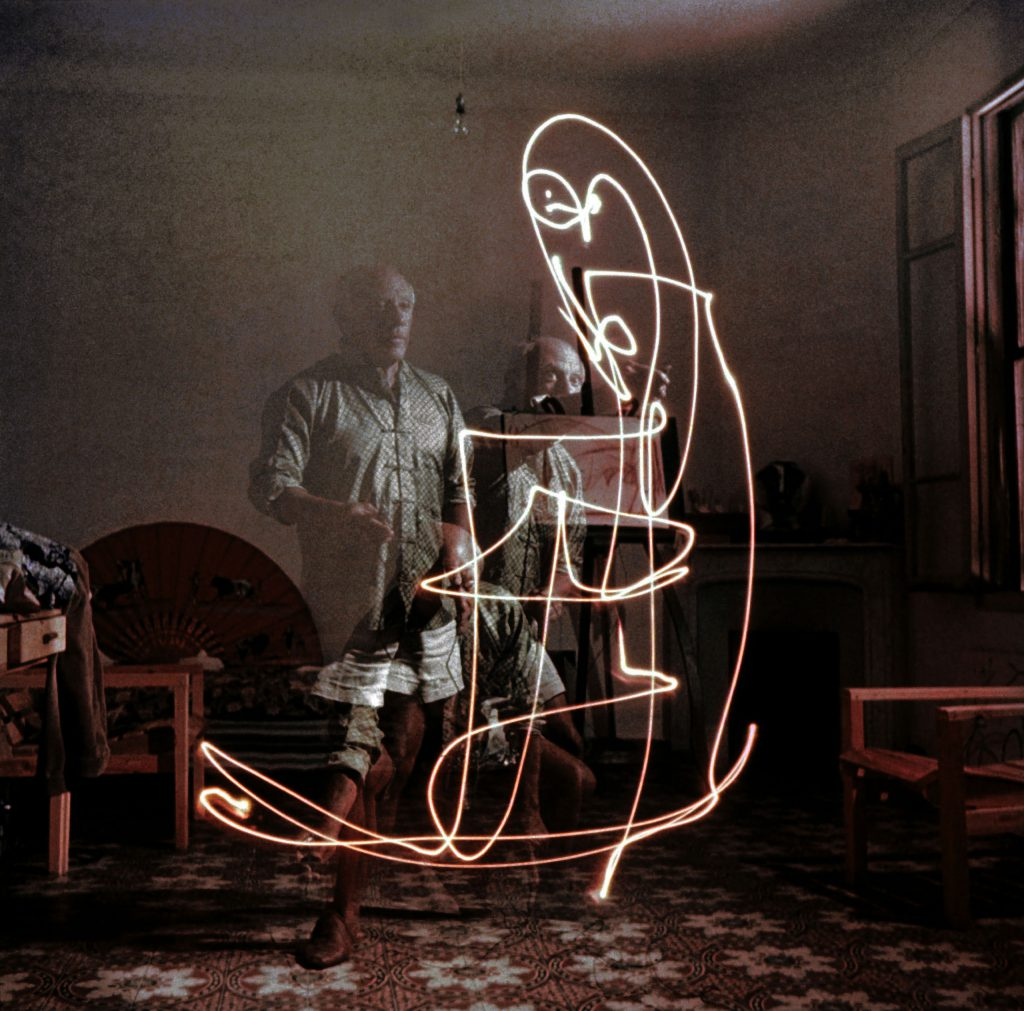
The software offers a wide range of tools and brushes, but due to the limited time we had we only managed to experiment with the base brush. However it reminded me of ‘drawing with light’ that I did in a photography course in college, the dark area and luminescent lines the controller leaves behind is very similar to some light painting photographs.
Concepts and Ideas:
As a way of taking this forward to a final piece I thought that I could could create something in either Open Brush or Gravity Sketch. This could be something inspired by ‘light painting’ in Open brush or a Model I could then take into Zbrush and Maya to add detail to.
I could also create a 3D piece of art and import it into FrameVR and have it displayed in a gallery with some of my other pieces of work.
I also though about using Adobe Aero to set a simple treasure hunt around a small area. Within this area I can set up a bunch of puzzles or clues (either AR or XR) that eventually lead to a hidden model somewhere with a designated area.
References:
Summers, R. (2019) Virtual Reality Artist – Live clips [Video] Available Online: Virtual Reality Artist – Live clips [Accessed 23/10/2024]
Picasso, P (n.d) Picasso Drawing with light photograph [Image] Available Online: Pablo Picasso Draws With Light: The Story Behind an Iconic Photo