The Brief:
For this assignment we will be experimenting with different emerging technologies. Over the next few weeks will be getting hands on with different software to eventually plan out a larger research project and piece of work based on one of the technologies we have outlined.
For this week we looked at building 360 degree virtual environments in Maya. 360 videos are the most basic form of entertainment for a VR headset. They don’t have the user interact with the space but still allow them to have an experience within an often stationary position.
However, within the experience still has to take into account the users space and setup. It relies heavily on the user being self aware of their surrounding and that they are in a safe space away from knocking into people or objects whilst wearing a VR headset.
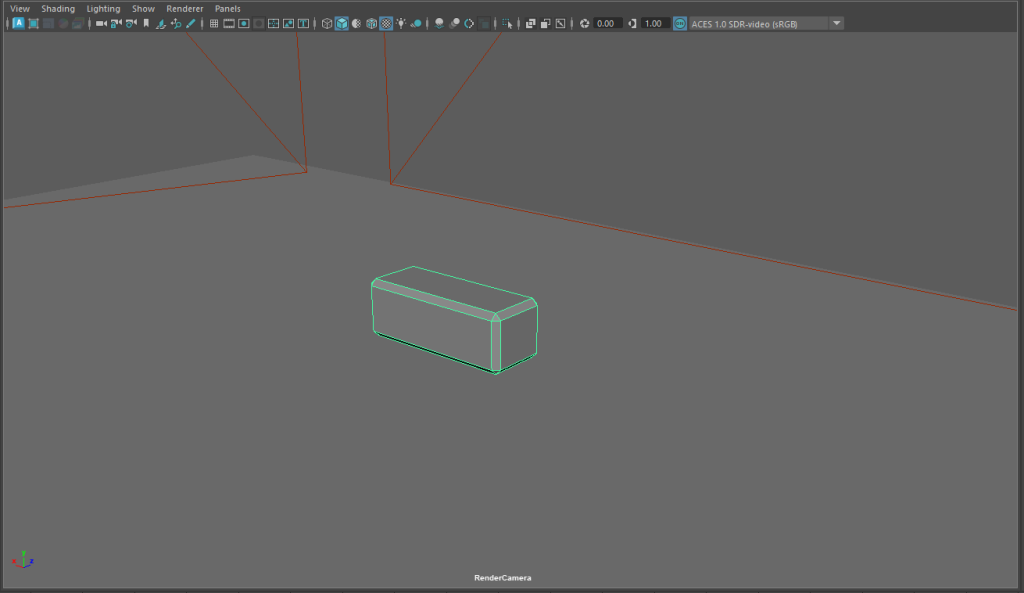
For my environment I built up a small photography studio similar to one I used in college. The idea was I can have the 3D camera positioned between the canvas and the camera so they are almost part of a photoshoot.
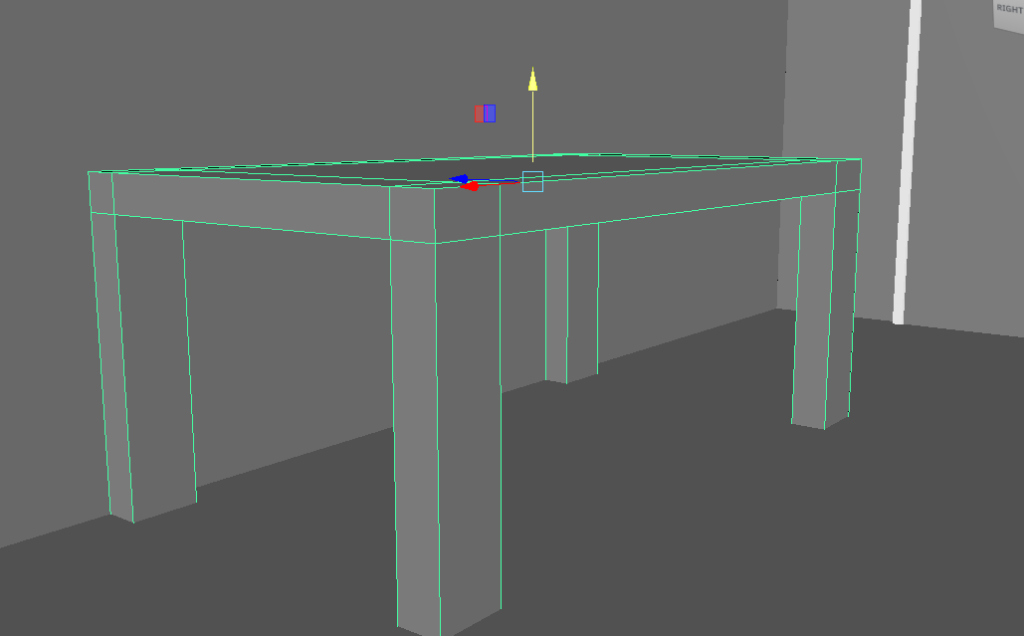
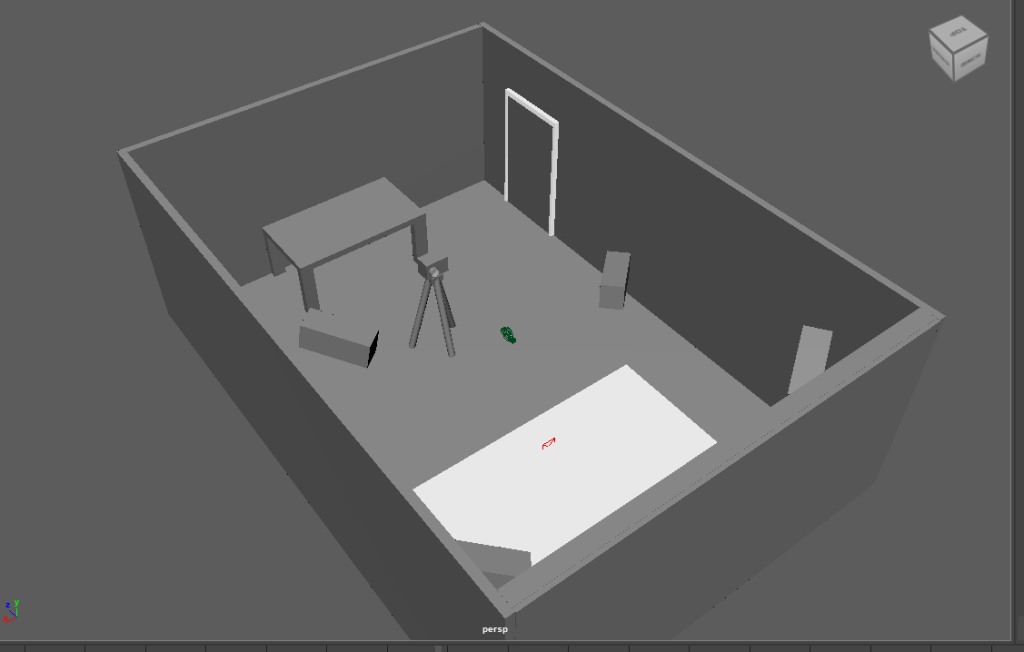
I built a simple box room and added in some simple blocks and objects as models. As part of the studio I had a table for a computer for photo editing, a tripod and camera as well as a backdrop and some stationary lights (that are just blocks for the time being).
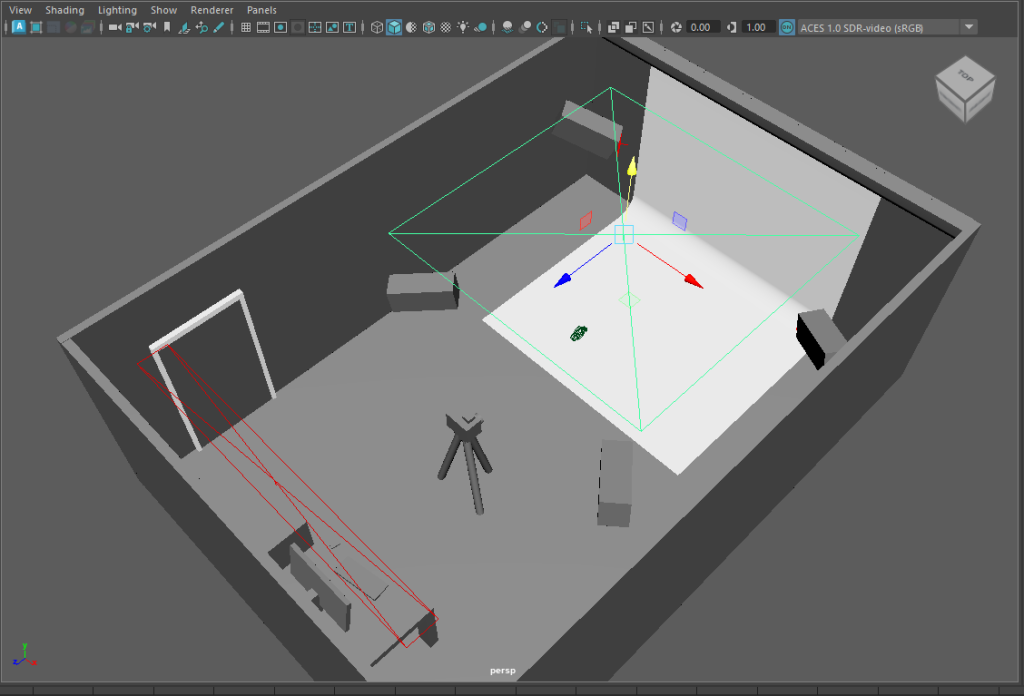
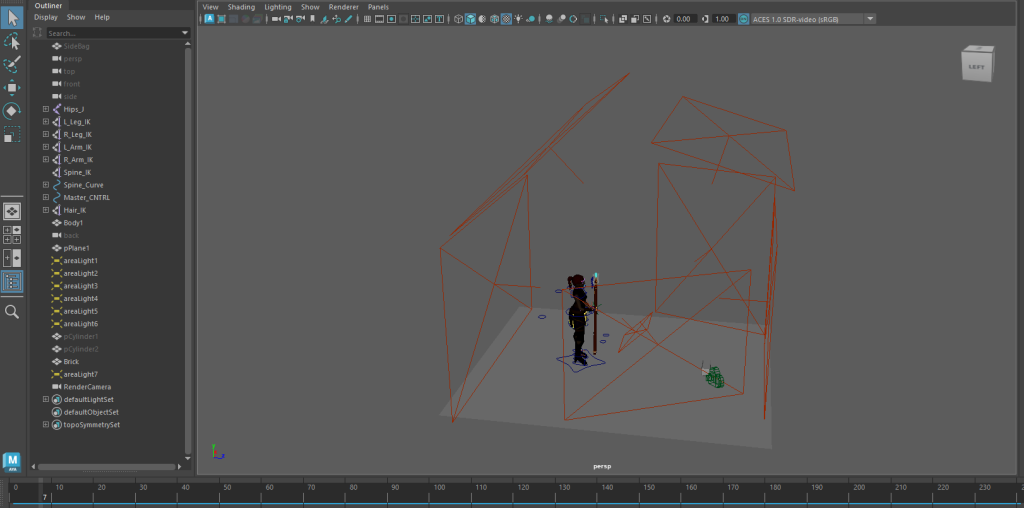
I then began to add in some lights. The lights are what I want to animate as part of the test I have. The lights are what I want to animate, with them projecting different colours at different times thought the 10 second video. I also want the camera to flash and move at some point in the video. I can do all of this with keyframes in Maya and animate each light to turn on and off at different intervals
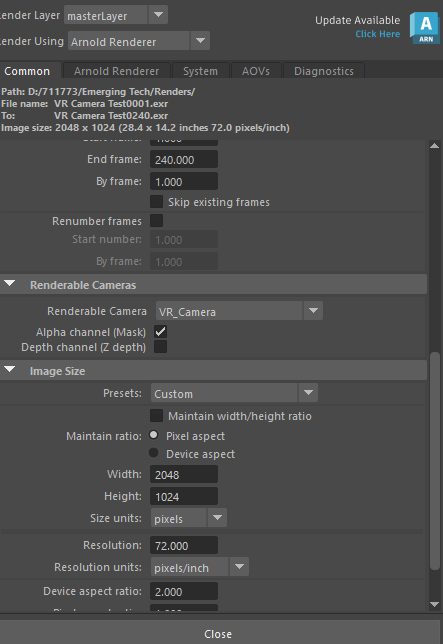
With the camera being 360 degrees, the video itself isn’t high quality. This is especially evident around the lights where parts of the scene wall are pixelated a little bit due to the rendering quality of the camera
MASH:
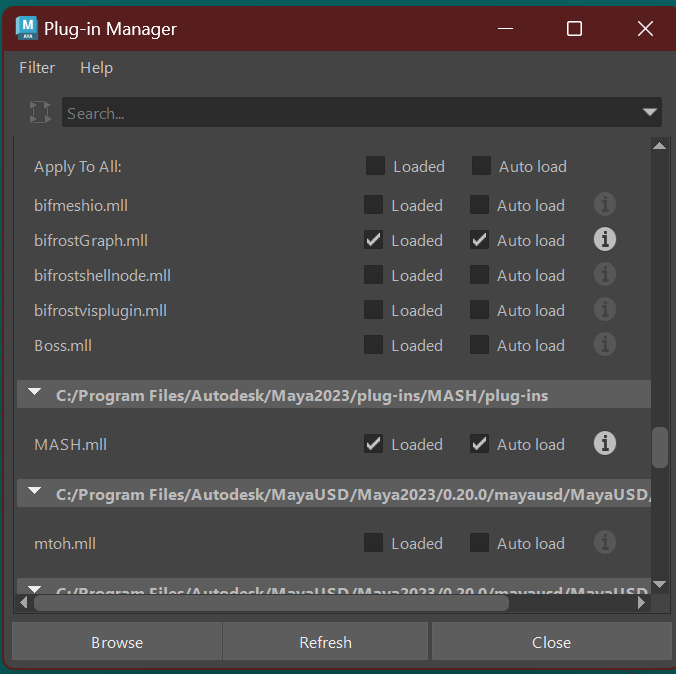
The final part of the lab was experimenting with the MASH system in Maya. MASH is an inbuilt plugin in Maya that allows you to create powerful and effective procedural animations using pre-existing networks.
I experimented with a few of the existing networks before moving onto a final product of sorts. I decided to use the attack animation of my character from last year and add in a breakable wall.
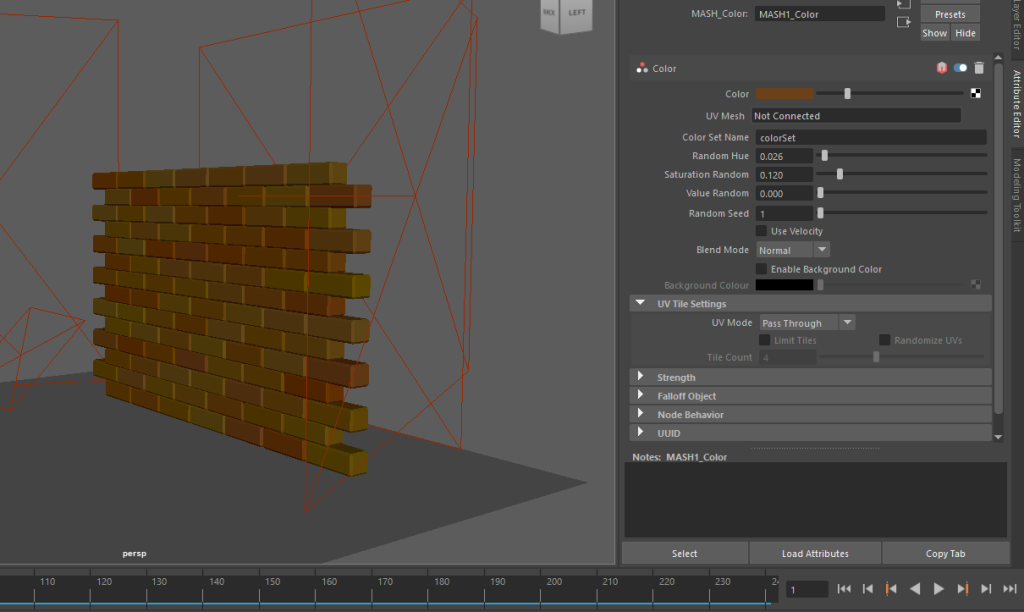
I started by creating a simple brick and resetting the lights with in the scene to better illuminate the area. I used the MASH distribute and replicator tools to create a simple 2 high wall of bricks before using the transform to move the wall into place.
I then added in another replicator network to increase the hight of the wall. I also played around with the colour network to add a simple brown colour to the wall (however this doesn’t show in rendering as it is not set as a material).
Then using a signal node I experimented with the noise scale, rotation, and position to see how far the wall would ‘explode’ out. Then by creating a falloff object and positioning it where the staff blast appears from, I was ready to keyframe the MASH network.
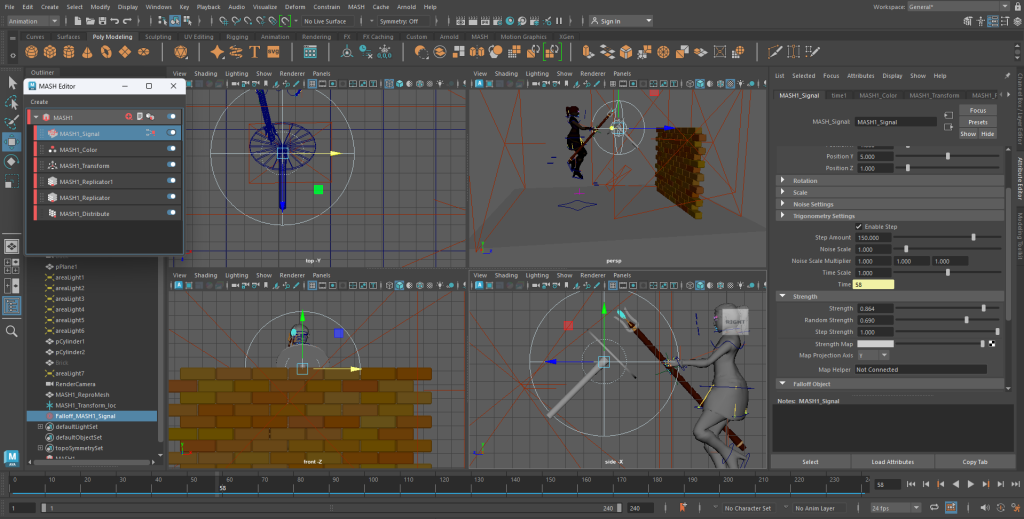
I found that by moving the falloff object up to the blasts position it didn’t affect the wall in the way I wanted it to. To solve this I moved it back down to the floor and keyframed it from there which meant the wall exploded in the correct place and gave of the desired affect.
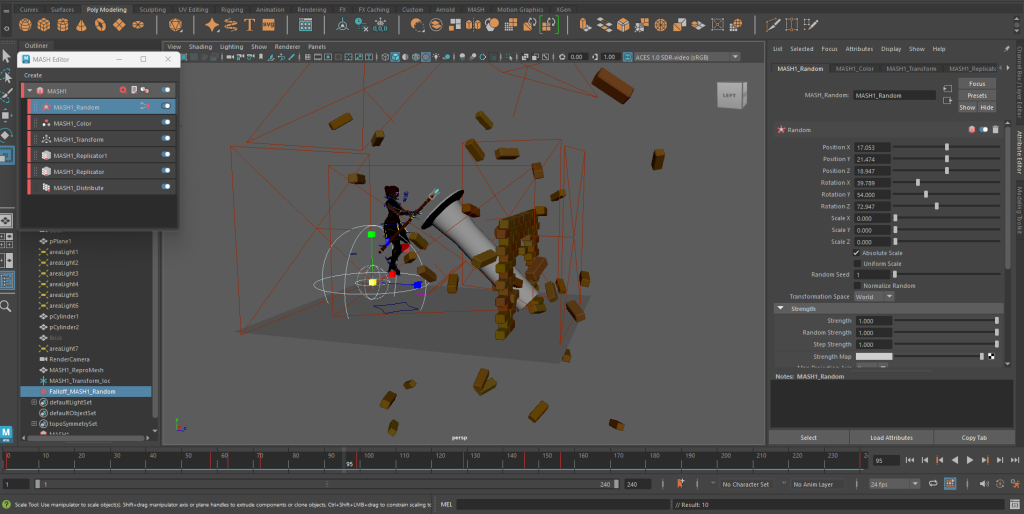
I would have liked the wall pieces to explode further away and not appear in the camera view but for a first experiment the scene works well. If I were to improve I would want to experiment with having the bricks go further away by keyframing the scale and rotation in the signal node. It would also have been a nice effect to have the wall pulse with a colour before it began to explode to show it being affected by the magic of the staff.
Concepts and Ideas:
With what I have done in Maya previously, it is a software I am very comfortable with. Which is something I might factor into my decision. With that in mind I came up with a few ideas as to where I could take this initial experimentation further;
- Environment Similar to VFX submission (Wizards Tower) – Similar to how I used lights in my experiment with the 360 camera, I could use the particle system Maya has to develop a similar scene to my VFX submission. I can have different particle system trigger at different times to tell a story and take the player around the room. I could also looking into how the Unreal Engine preset for VR works and possibly make my existing VFX sequence more interactive.
- Photography Studio – I could further develop my photography studio scene and use mash to have the background fall away to create different backdrops for the camera to be pointed at (such as a forest, lake house, race track etc.). These backdrops could eventually start working there way towards the other end of the room creating a whole new environment.
- Chess Game – I also thought about creating a chess board, here I could have the player in the path of the pieces or looking over it. Then over time the game could play out with the pieces destroying one another when they are being taken, similar to the scene in Harry Potter and the Philosophers Stone.
References:
Rushton, A. (2024) Postproduction and VFX sequence. [Video] Available Online: Postproduction and VFX Cutscene [Accessed 18/10/2024]
Warner Bros, FanHub Emma Watson. (2018) Wizard’s Chess – Harry Potter and the Philosopher’s Stone. [Video] Available Online: Wizard’s Chess – Harry Potter And The Philosopher’s Stone – YouTube [Accessed 21/10/2024].