With the main shots and close ups created in Unreal I can now move onto creating a master sequence. Within this I can combine all of the shots and add in any post affects within Unreal and After affect.
Video Editing:
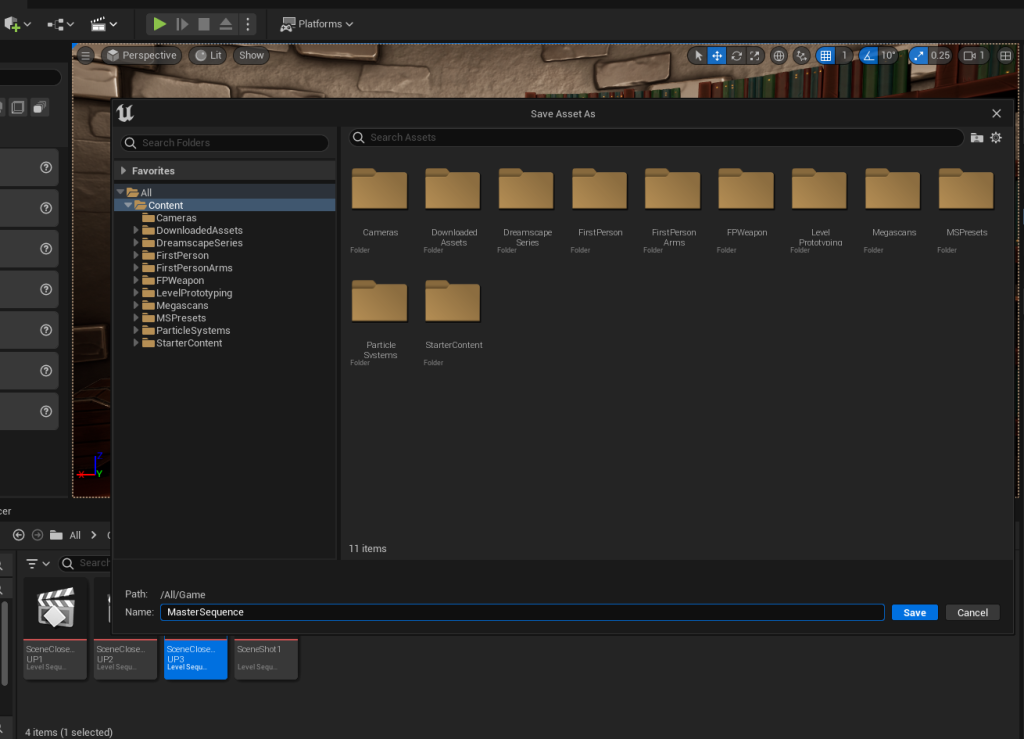
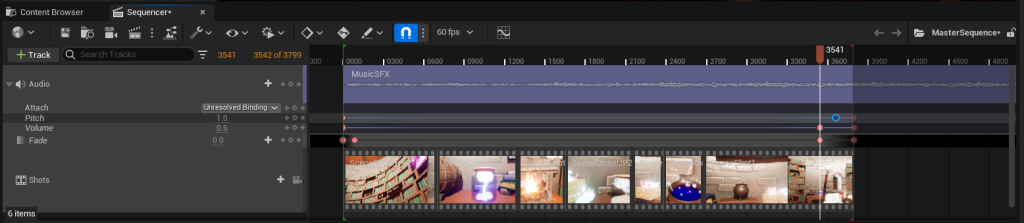
I started by creating a new level sequence that I named the master sequence, this is where I will combine all of my shots together to create the final resulting cutscene.
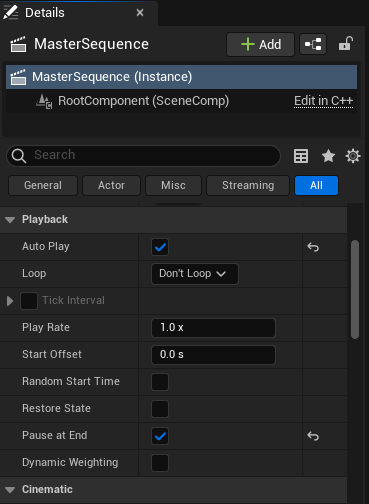
Within the detail panel I set pause at end and auto play both to try. this just means that the sequence will play automatically when I use the level play button rather than the play button in the sequencer. It also means that the sequence will stop immediately and stay on the final shot at the end of the sequence.
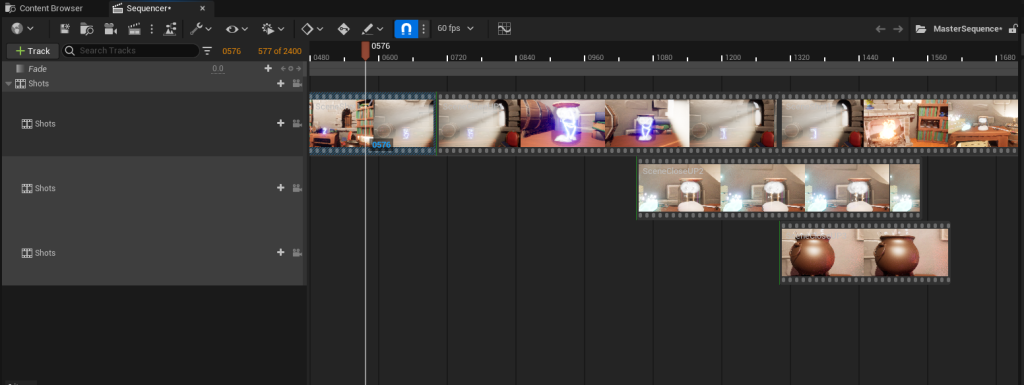
From there I dragged in all of my shots from the content browser and lined then up to the point in the main shot where they branch off.
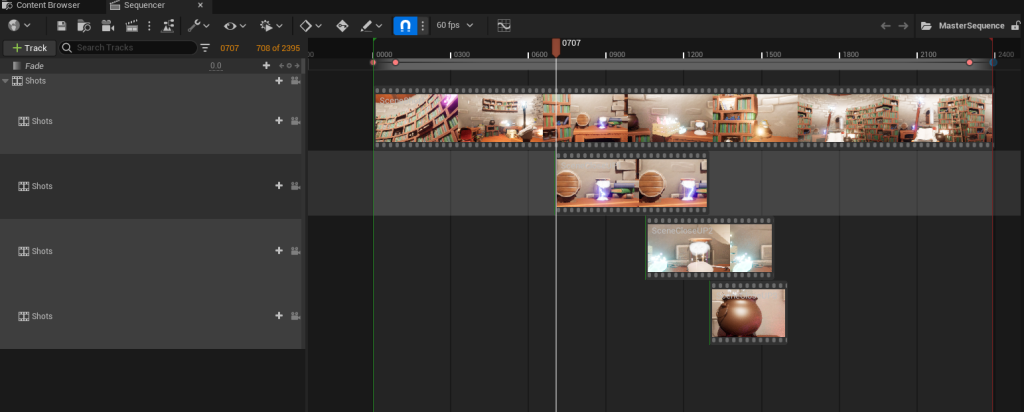
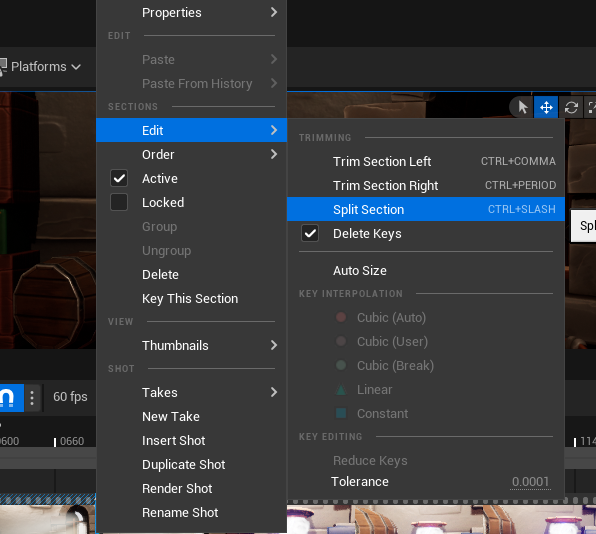
Then by selecting my main shot and using edit when I left clicked. I split the main shot up at the points where my close ups are (frames 700, 1050 and 1300 – these where keyframed in the main sequence so that I could use those values when combining the shots together).
I cut the points for the 3 close ups before then dragging and combining all of the shots together into a single shot.
I then Hit play to test the transition between the main sequence and the close ups to see how it worked and felt in the level.
Whilst it is a little harsh of a cut from the main sequence into the close up but, I like the overall affect and how it works within the editor view.
Post – Affects
I then looked into what post affects I can add to the sequence whilst in Unreal. First I decided on adding a fade track to the main shot.

This was a simple process by just clicking add track and then add fade track. From there I can set the values of 1 (for black) and 0 (for white) on the fade track to add a fade to both the start and the end of the sequence.
I then looked into adding some other affects like camera shake to mimic a moving character, and I found this video;
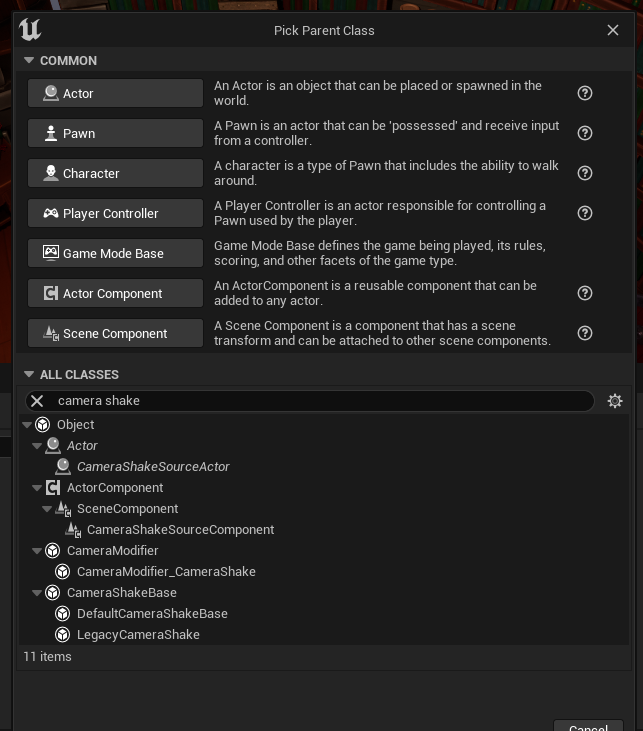
Using this as a starting point I created a camera shake blueprint class. This class is something that once created I can add to the camera of each individual shot within the master sequence.
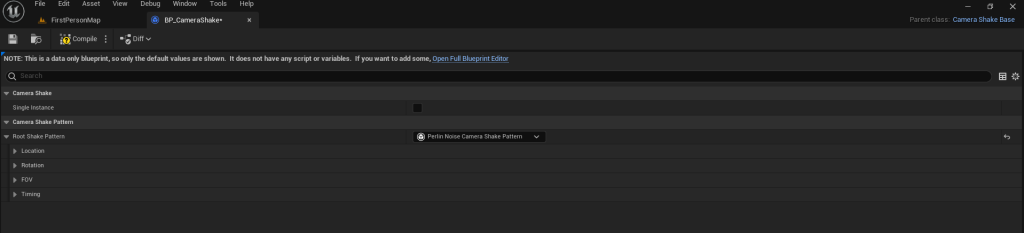
I had to open, close and open the blueprint again to make sure I had the correct editing view for the blueprint. here I am able to edit the location and rotation of the camera as it shakes.
To keep it simple and quite muted within the sequence I only edited the values for the camera shake location changing the frequency and amplitude of the created affect along the x,y and z values.
With that created I added it to the main sequence by clicking the plus icon on the camera, adding camera shake and selecting my created blueprint. From here I tested the values and changed them by either scaling them up or down depending on my preference.
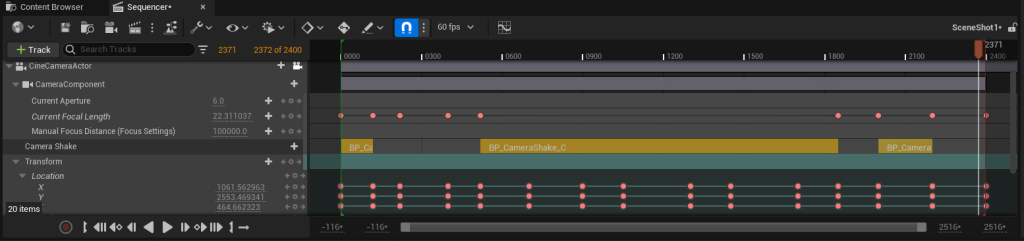
I decided against adding them to the close up shots as I wanted them as a muted affect that Is only noticeable at points where the character would be moving in the cutscene.
Audio:
I wanted to add some audio to scene to help add some immersion to the sequence. I mainly wanted to add some crackling for the fire, bubbling for the cauldron and some sound FX for my other particle systems.
Unreal Documentation: Working with Audio Tracks | Unreal Engine Documentation
I had a look at the Unreal Engine documentation to see how I could implement raw audio files into my sequence and set them up using key frames to play at different times. This way I will be able to fade out sounds when the camera pans away.
I can manipulate the audio tracks pitch and overall volume within the sequence editor. I had a play around with keyframing the backing music I have to the environment to get use to the tolls and how the modifiers work. I found it best to keep the pitch at 1 throughout all of the audio I placed and only varying the volume so that it fades in and out at different times.
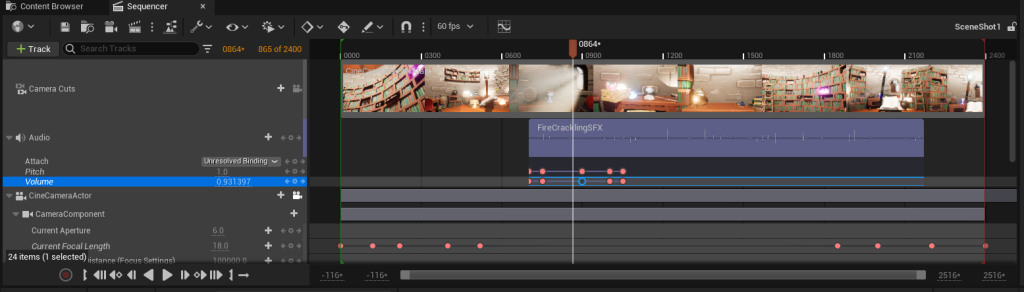
I did, however. learn that having more than 3 audio tracks in one sequence tended to mess with the keyframes by coping them across audio tracks. So rather than messing around trying to work out a fix. I placed all of the area and VFX specific audio in the separate close up sequence shots. Because the master sequence contains and is made up of those shots any affects I had is played within the master sequence.
Audio Asset List:
TheoJT (2023) Peaceful Fantasy Music [Downloaded Music] Available Online: Freesound – Peaceful Fantasy Music by TheoJT [Accessed 17/01/2024]
Jmehlferber (2016) Fire-crackling [Downloaded Music] Available Online: Freesound – fire-crackling.wav by jmehlferber [Accessed 17/01/2024]
Newagesoup (2016) Electric-cicadas [Downloaded Music] Available Online: Freesound – electric-cicadas01-.wav by newagesoup [Accessed 17/01/2024]
MattJ99 (2009) Bubbling [Downloaded Music] Available Online: Freesound – bubbling02.wav by MattJ99 [Accessed 17/01/2024]
NoiseCollector (2008) Lightning [Downloaded Music] Available Online: Freesound – lightning.wav by NoiseCollector [Accessed 17/01/2024]
Parabolix (2018) Jacobs Ladder from side [Downloaded Music] Available Online: Freesound – jacobs ladder from side.wav by parabolix [Accessed 17/01/2024]
After Affect:
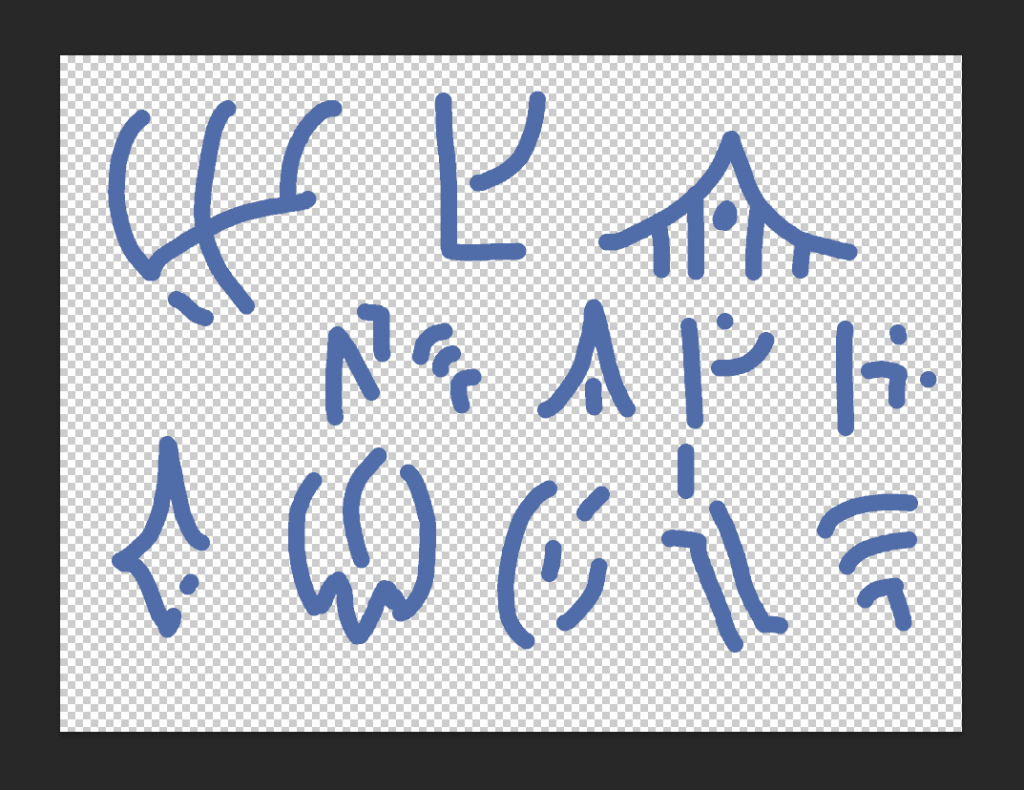
Within After affect I wanted to created some drawn runes coming from the staff and book before the sequence fades to black.
I would like to look at maybe animating some of the runes to spawn of the page of the book and some runes to start being emitted from the gem. I know that if I look at doing them by hand, like I did for the book texture, and animating them on different frames. I can get them to look more erratic and unpredictable.
I had a look over some tutorials to see how I could do this. The most simple way I thought of would be to create the symbols and runes as images and import them into after affect. I can then use the timeline to animate them within the sequence.
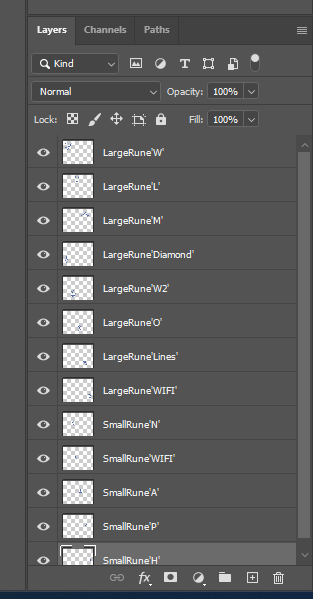
So within Photoshop I created some new images of the runes that I drew onto the Wizards Book asset I created. I then used the lasso tool to cut around each individual rune or symbol and add them to there own layer.
As they are on there own layer it will be easier for me to manipulate the shape size and opacity of each individual shape. From there I exported them into After Effect to begin building the final part of the sequence.
Within After Effect I can place each individual rune into the timeline and set the duration they are in the scene for (the last few seconds before it fades to black.) I can then animate the position, scale, rotation and opacity of the runes using keyframes in the timeline.
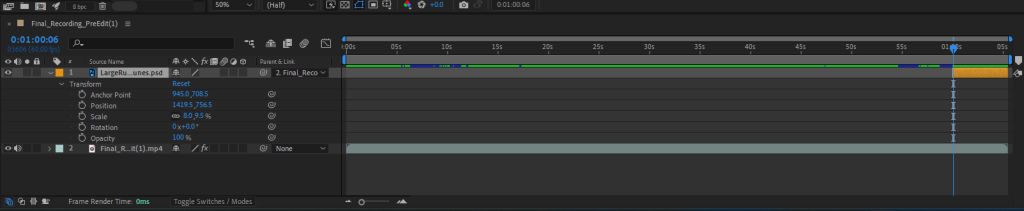

By clicking on the stop watch icon it allows me to move each rune image within the scene and keyframe it at different points to get it to move and fade in and out.
after placing all of the images in I had to export it from after effect. My first attempt lead to an error in which the sound kept dipping in and out. This was quite easily solved by exporting it using the Adobe Media Encoded and selecting a different format rather than using the base format given in After effect.
References:
Post Processed (2023) 5 Camera Tips in Unreal Engine 5 for Beginners [Video]. Available Online: 5 Camera Tips in Unreal Engine 5 for Beginners – YouTube [Accessed 09/01/2024]
Unreal Engine (n.d) Working with Audio Tracks Documentation for Unreal Engine 4.2.6. Available Online: Working with Audio Tracks | Unreal Engine Documentation [Accessed 16/01/2024]
Gareth David Studio (2019) Layers & The Timeline Panel In Adobe After Effects Ep3/48 [Adobe After Effects for Beginners] .Available Online: Layers & The Timeline Panel In Adobe After Effects Ep3/48 [Adobe After Effects for Beginners] (youtube.com) [Accessed 18/01/2024]