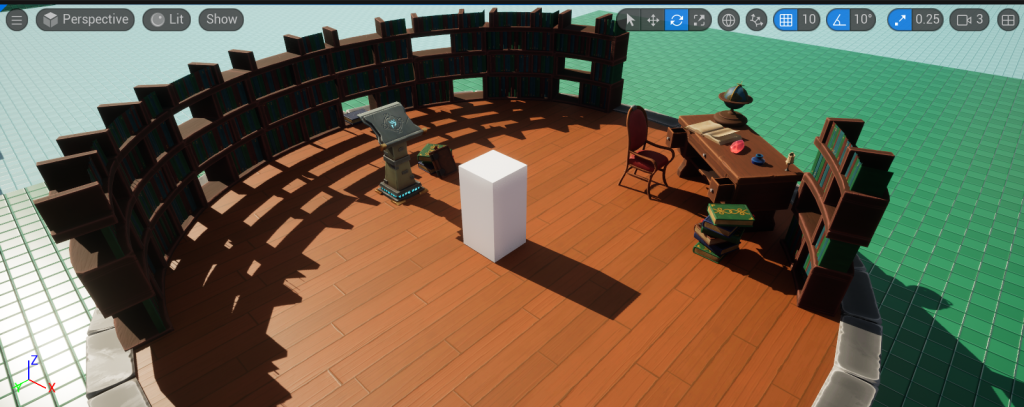
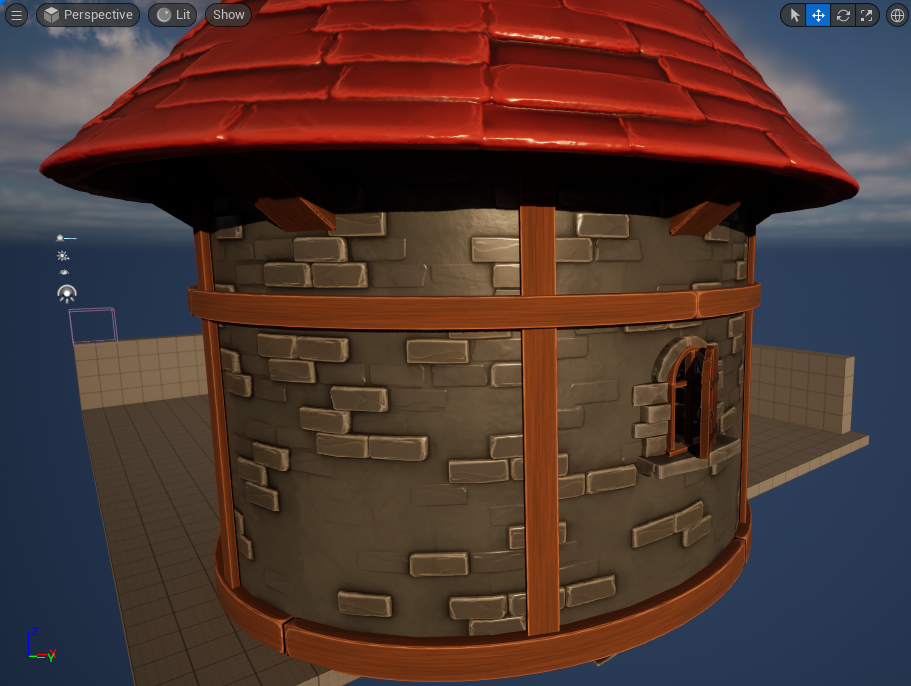
With my particle systems created I could move onto creating the environment for my scene. The scene that will be captured by the camera is self contained within the top floor of the wizards tower as that is where all of the particle systems I have created will be shown off.
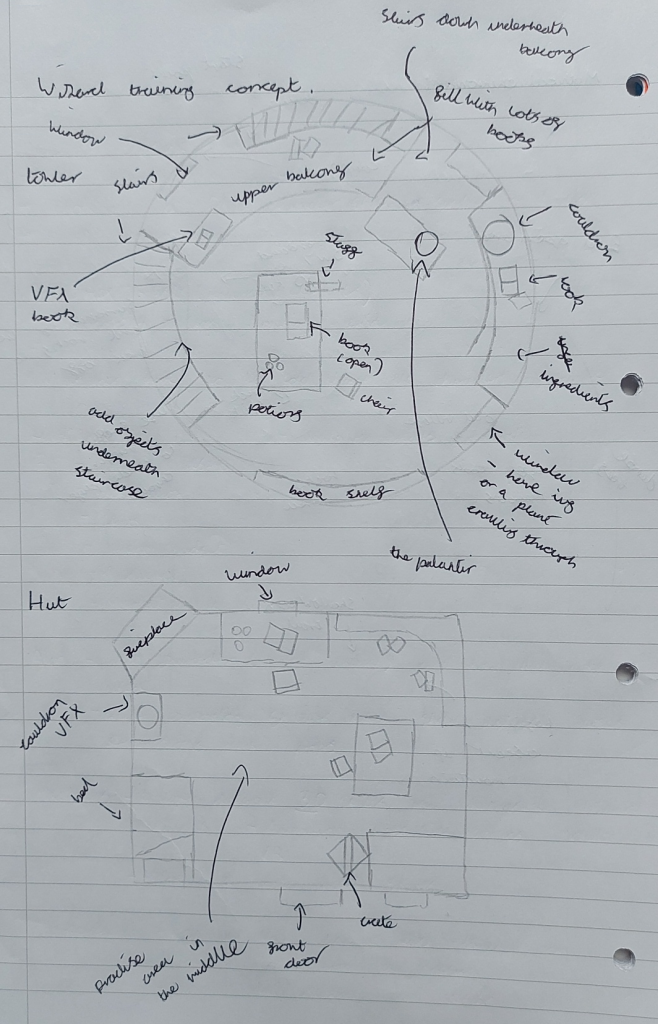
Created Assets:
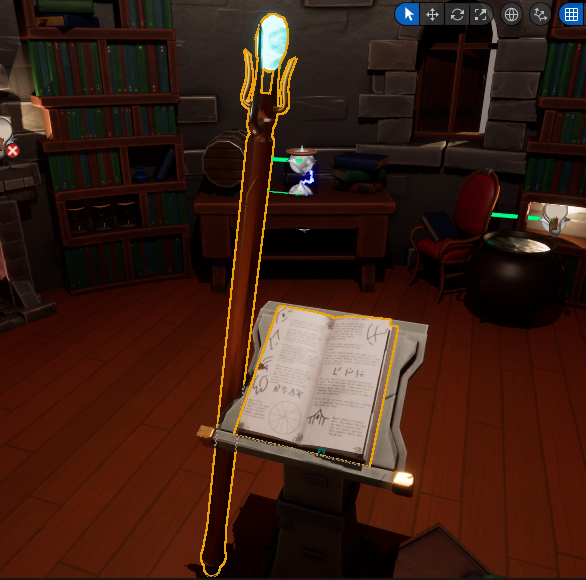
I started modelling the some of the other important assets that I would need for my scene. these include the wizard’s staff and open book that I will add effects to in postproduction.
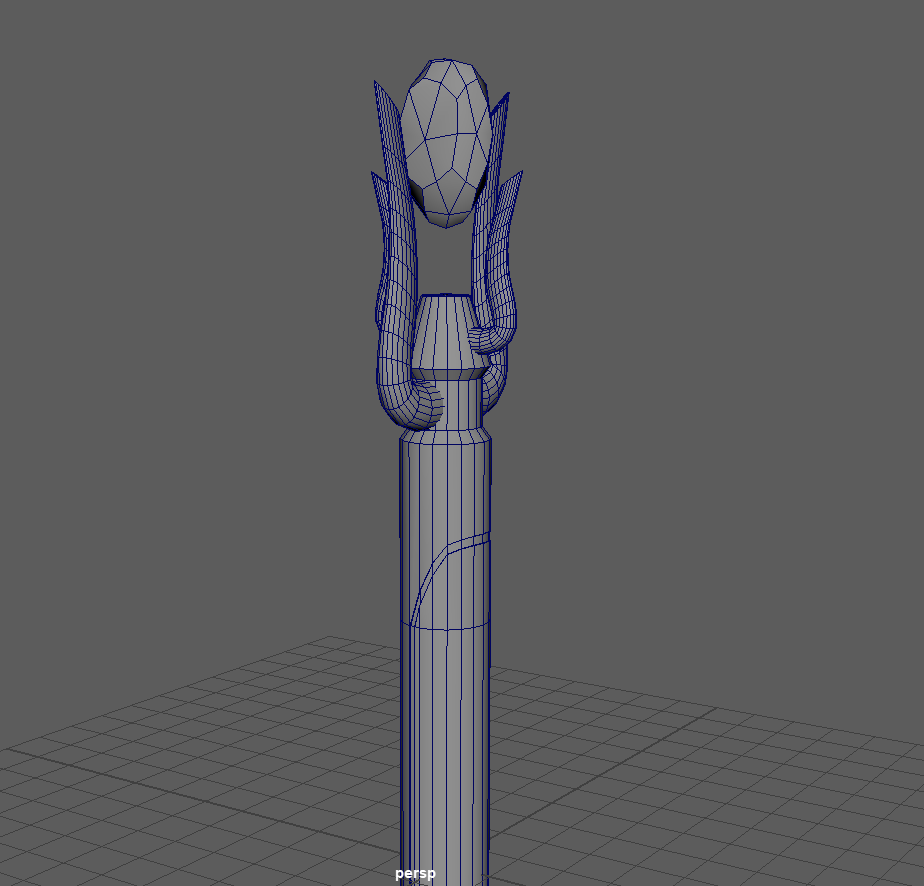
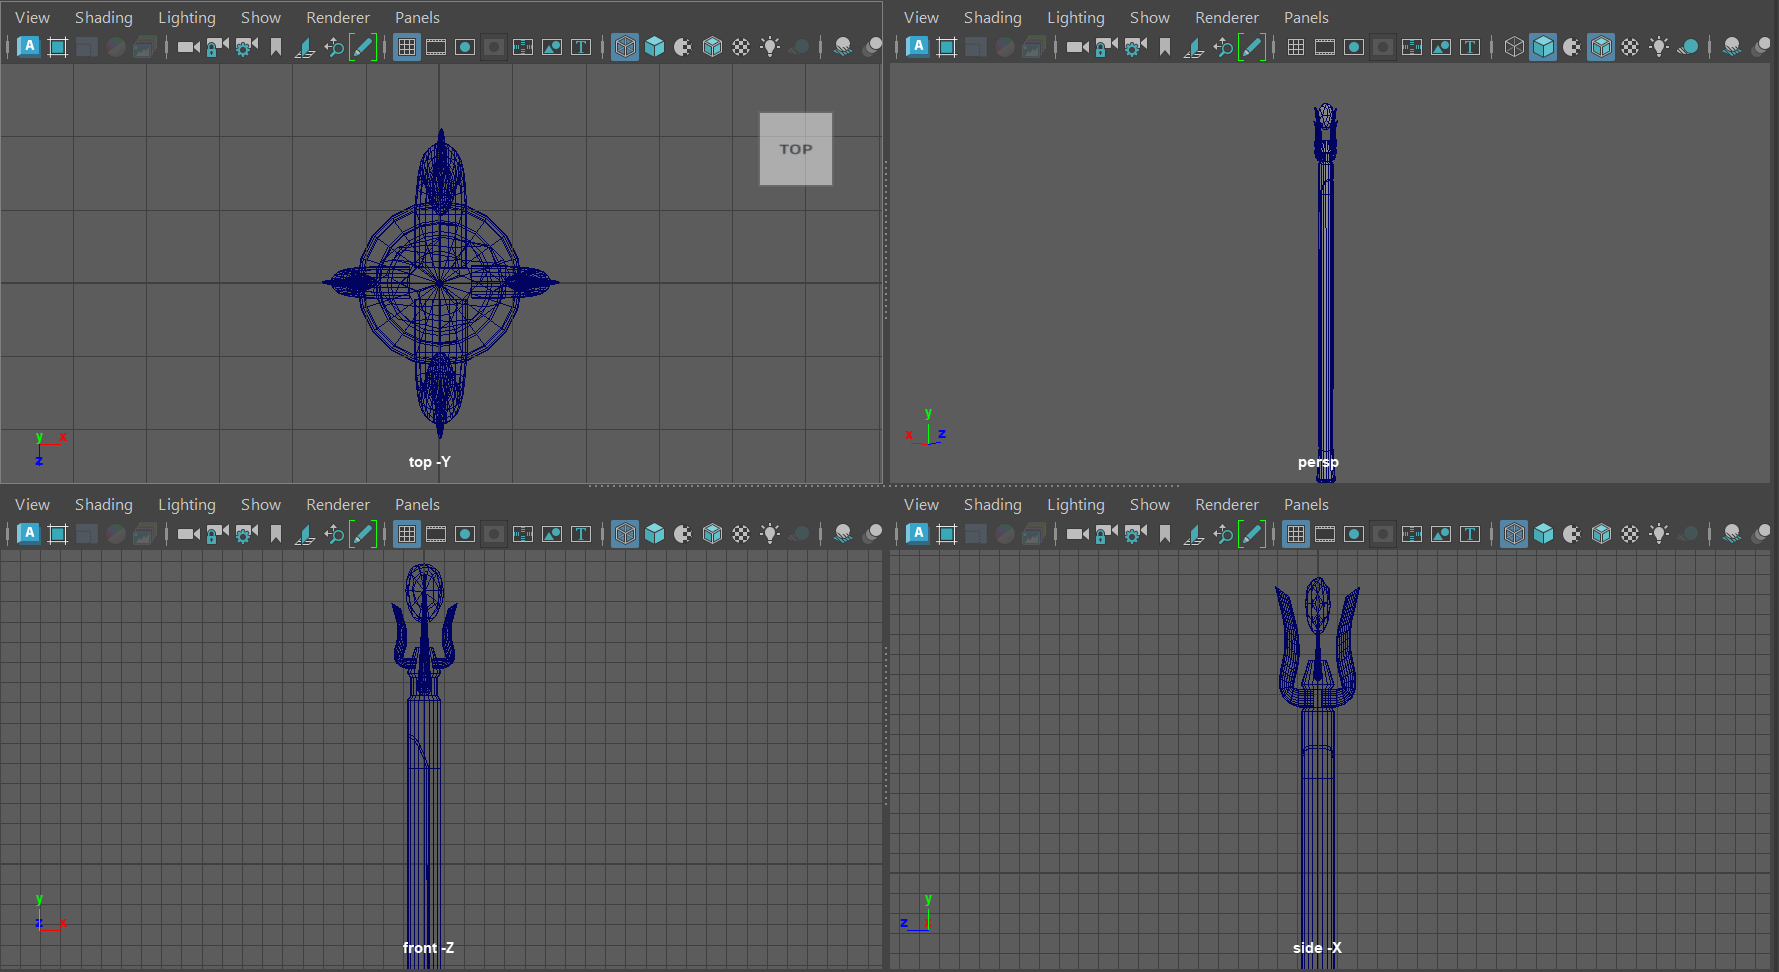
The wizards staff is placed in the centre of the scene and is one of the objects that I need to look at some postproduction work for to create some floating runes around the top and gem of the object
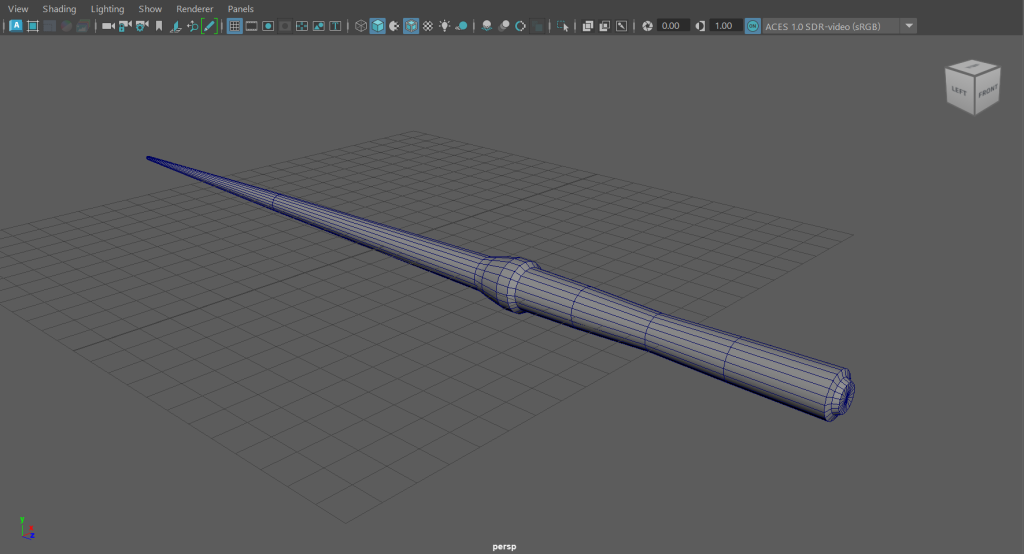
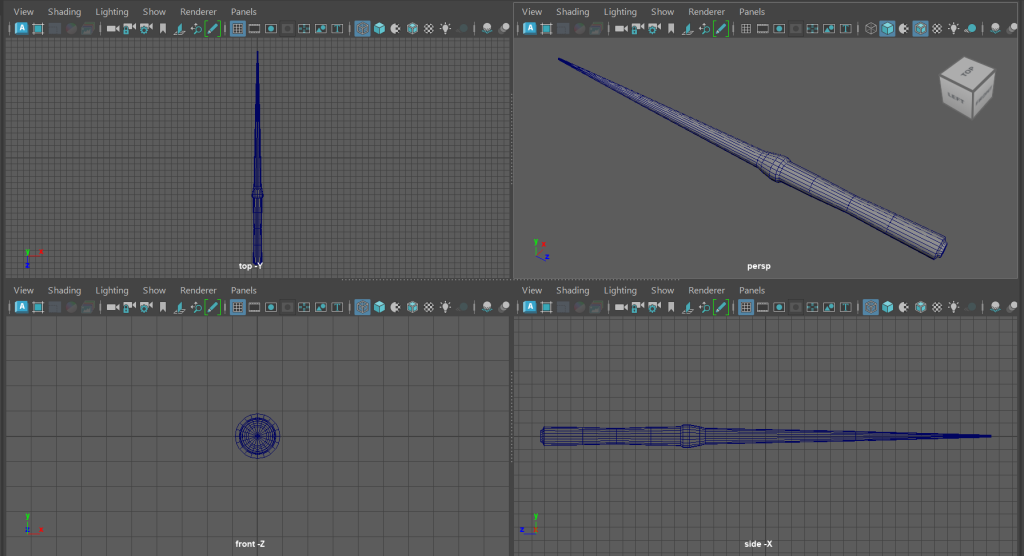
The wand was something I made as an alternative to the wizards staff, I still will place it into the VFX scene and will possibly look at adding a light that appears and fades away as the camera approaches. Similar to the ‘Lumos’ spell from the Harry Potter films.
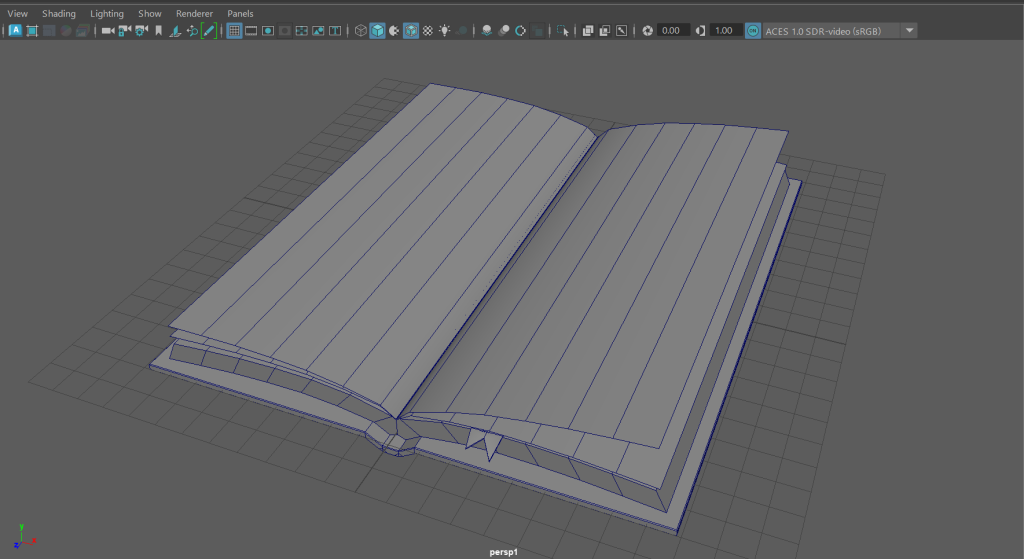
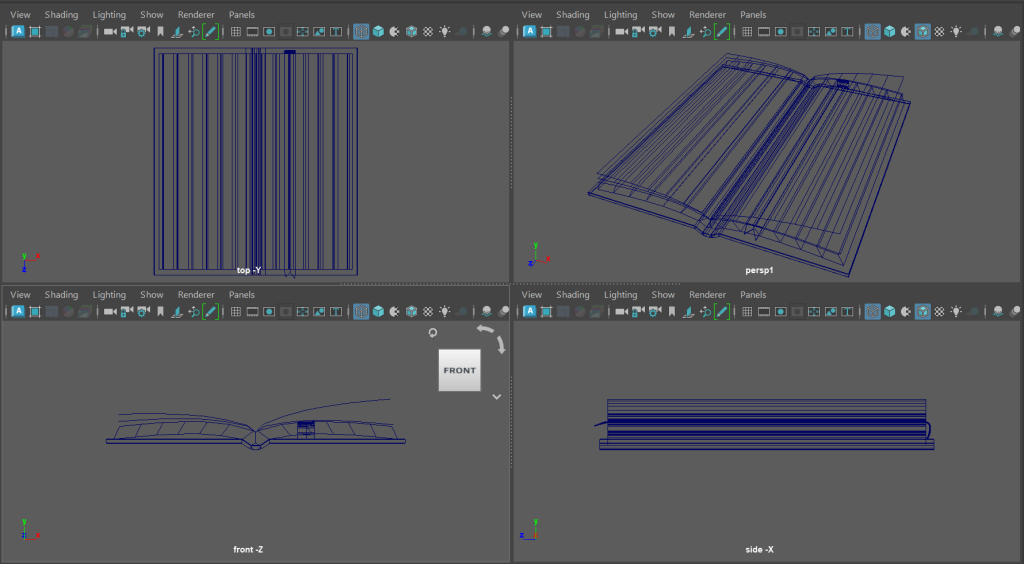
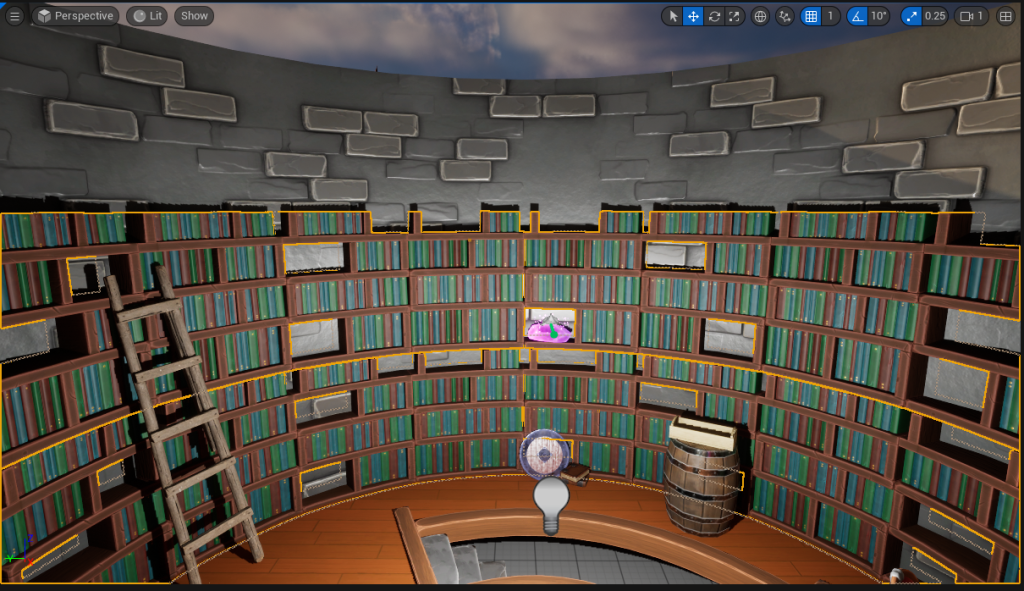
Whilst I have books and bookshelves in the asset pack I downloaded, no of them are open and would be useful to have runes come of the page of which is what I would like to create as part of my scene. The book Is something I imported into Substance painter to add texture too, the other objects I created used some of the default materials that Unreal engine has as started content and some of the materials from the asset packs that I have downloaded.
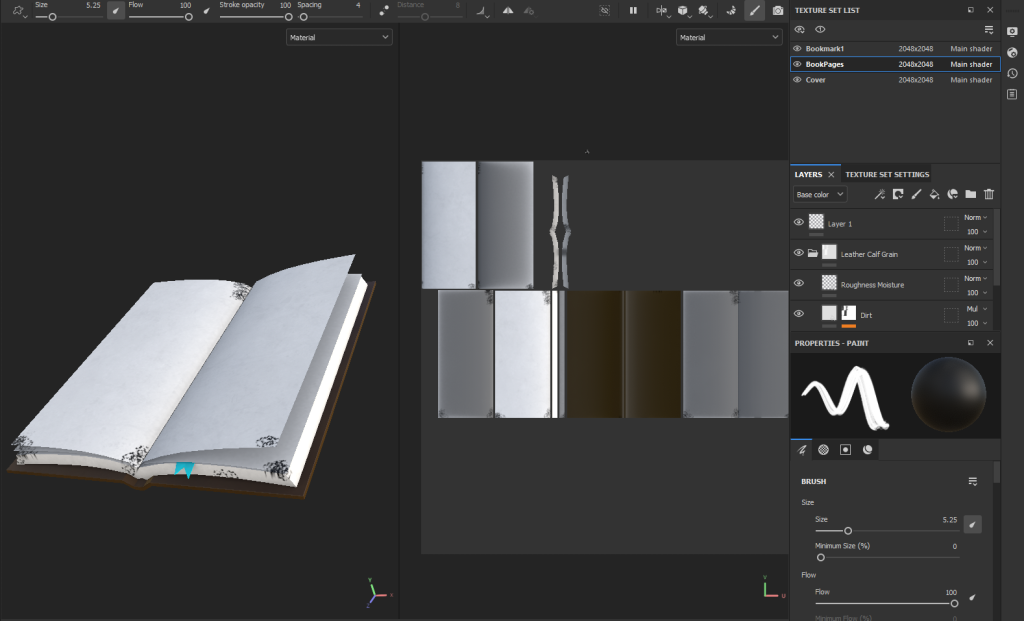
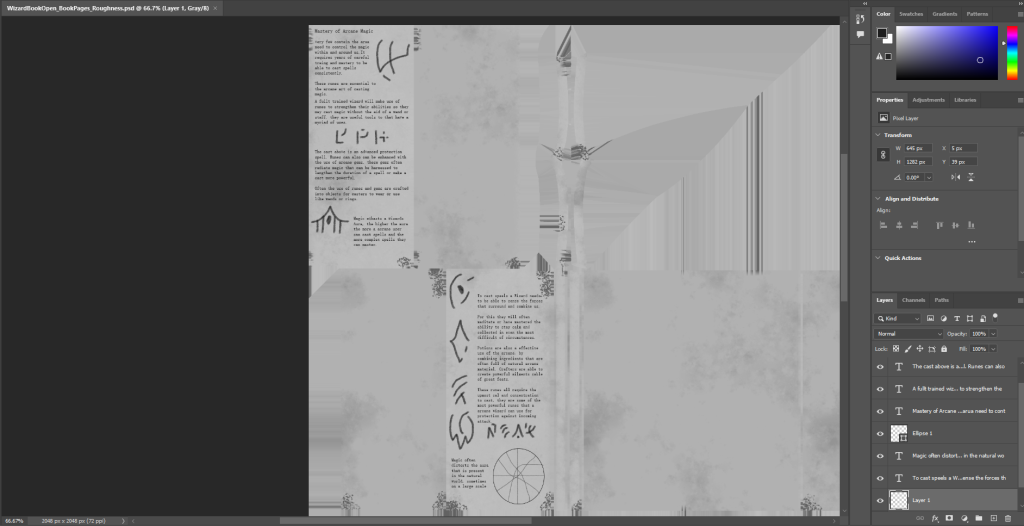
I created some basic textures on the book in substance and then imported the paper material into Photoshop to add text and some hand drawn runes onto the pages.
Layout:
The scene is confined within the top of a tower, However I don’t intend for this to be a small space I want to fill it with objects and make use of the particle effects I have created to create an interesting and appealing area.
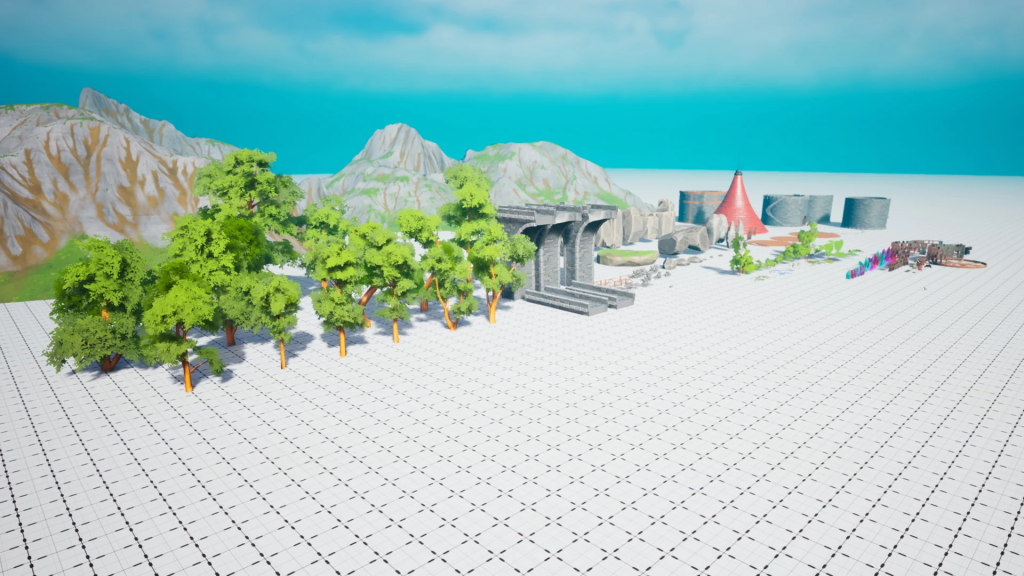
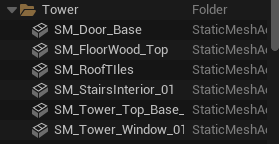
I tested the main asset pack within my level design project to get a brief layout and explore the assets within the pack itself. The tower is made up of a few modular pieces giving me a few ways that I could layout the main base of the scene.
Within the base of the tower I will layout all of the props I have created and sourced to start building up the scene within the tower walls.
Props and Particle Placement:
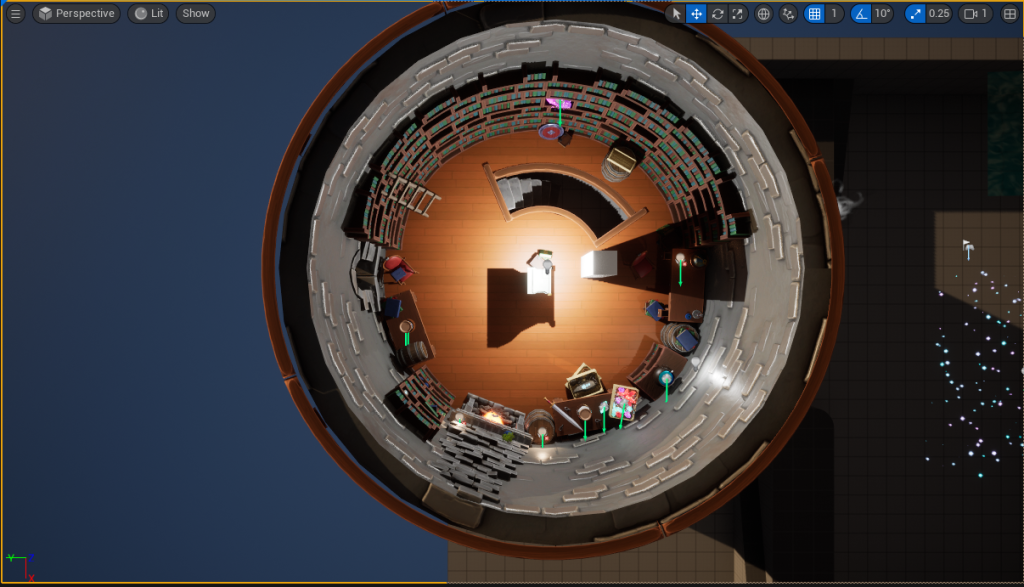
With the base tower constructed I could set about adding in my props and particle systems. The area behind the stairs is something I didn’t need to focus on due to it being a background part of the scene. the camera will mainly focus on the other side of the tower where all of the particle systems are displayed.
I placed a large bookcase there to fill the space and left some books and other props in and around the bookcase to make the area look like a used and lived in environment.
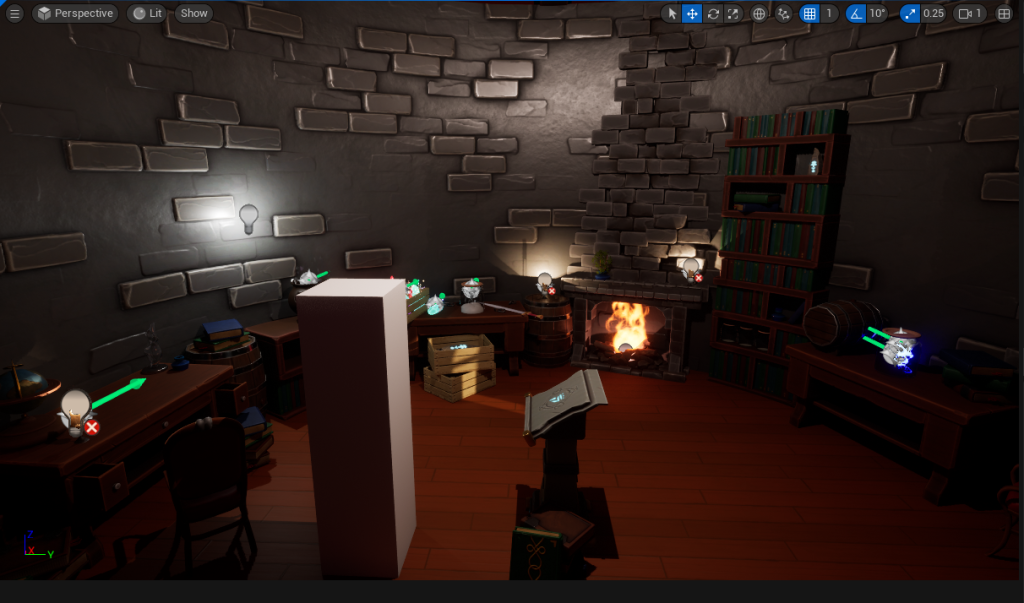
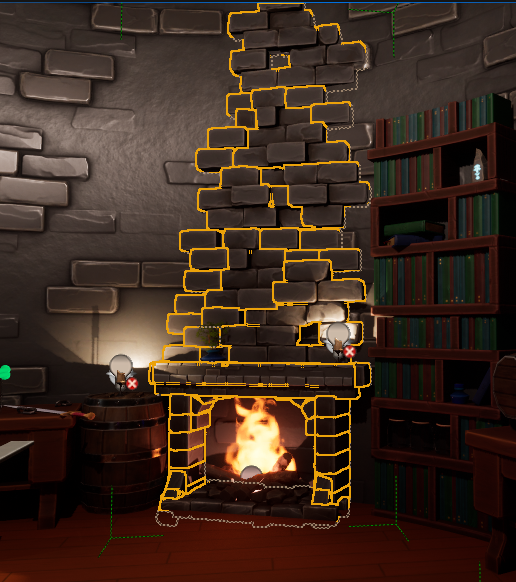
For the rest of the room I mainly used tables and smaller bookcases to fill the space. I added a fire place slightly off the centre of the room as an area to place my fire particle system. The fireplace Is made up of modular bricks and crumbled walls that where a part of the dreamscape tower asset pack. These objects where placed in the scene and grouped together when I was happy with what I created.
Within the scene are a few assets that I downloaded, these assets are there as set dressing and to help build up an idea of the environment and world outside of the tower. There is an list of links to the assets I downloaded at the bottom of the page.
With the props in, I moved some around and used the rotate add scale tool to provide some variation in those assets that I used more frequently. I then added in my created assets and placed them in the environment so that I could get a quick overview of what the scene would look like in a completed state.
Cameras:
With the scene set up and all of the set dressing completed I could move onto placing and rigging cameras to the scene.
I ran a quick test within Unreal using the player camera to test the layout and placement of the particle effects.
I did have a small issue with the static affect that is one of the first systems the camera will pan too. It was something within the render settings that meant it appeared more erratic and energetic when the camera wasn’t fully focused on it. However I am happy with the placement of the assets and overall layout so I can move onto adding in cameras and keyframing movements to begin to construct my shots.
With the shot being a in game cutscene, the shot needs to be fluid and mimic a characters movement through the space. With that in mind I can probably use one continuous shot form the main bulk of the shots (walking around the room, setting the scene and into the final shot). I can then use some different cameras for closeups on the particle systems I want to show.
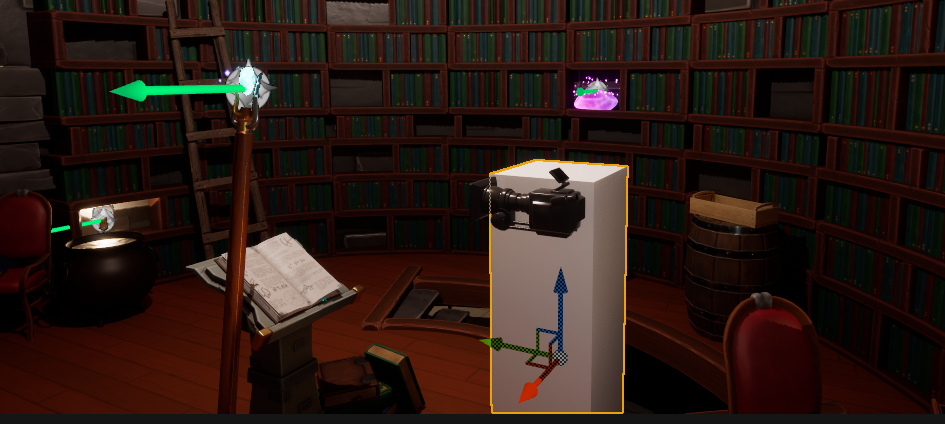
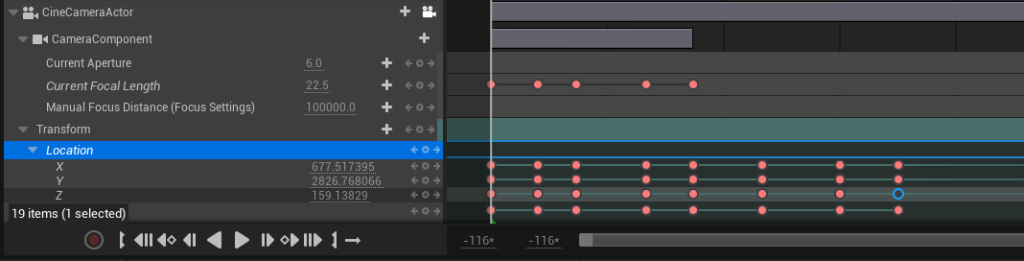
The white cube that is in the scene is something I will need to bear in mind for camera hight as that is the default hight the camera will need to be at for it to appear at a correct level to a human character. This something I can control and keep consistent throughout the whole recording by making sure the z transformation is always keyframed at a set value.
Using the Sequencer I can move the camera making use of keyframes. With this being one continuous shot that I can brake up with close up shots of specific particle systems. I chose to use keyframes rather than attaching the camera to a rail or arm to move it around. These keyframes will mainly affect the transformation part. Which controls the location, rotation and scale of the camera.
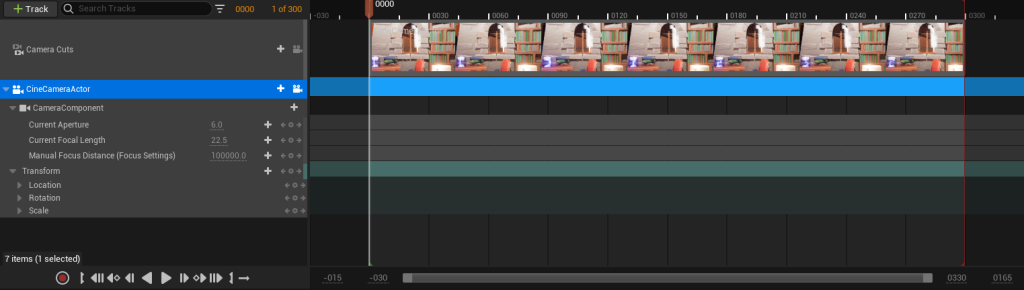
These keyframes can be modified and moved after I have placed them at certain points within the shot, just so I can make sure I am happy with the shot I have before moving on. Here I also edited the focal length of the camera to widen the shot as it pans around the room.
I slowly built on top of what I had and started to space out some of the shots in the sequence, testing them by playing through the sequence, as I went along. Whilst testing these camera shots it was pointed out that the wall above the caldron and snow particle system was quite bare and seamed out of place to the rest of the cluttered environment. So I did go back later and add another bookshelf with some other objects to solve this.
I will be able to edit and manipulate some of the affects and colour gradient within the environment in Unreal as part of Post-processing. From her I can start to create so of the smaller close up shots that I need of each particle affect.
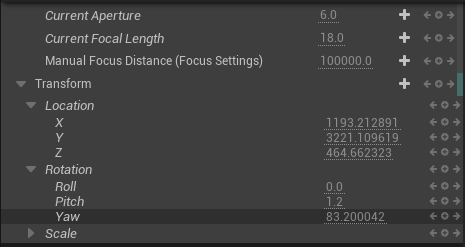
As part of the keyframing of the camera position I can manipulate those values to make sure that the camera is in the preferred position at the start and end. I copied the values of the keyframes shot as a starting point for the camera to pan in for a close up.
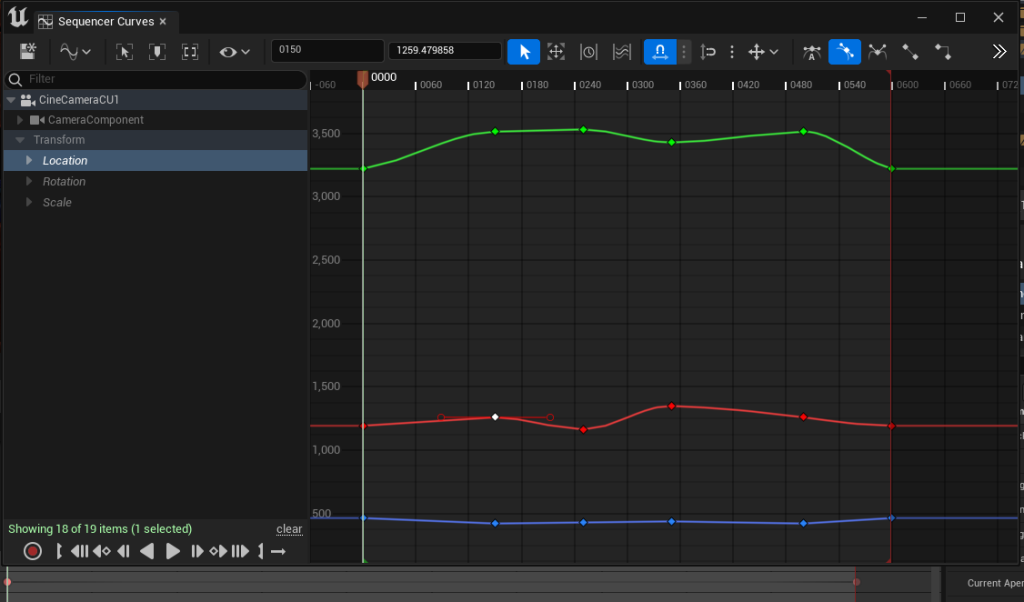
I used the sequence curves tool within the sequence editor to slightly smooth out the transitions between the keyframed shots to make it move less harshly.
From there I then moved onto using the same techniques and tools to create the other close up shots I needed for my sequence.
From here I can add in my postprocessing details and combine the sequences together in a master sequence.
Sourced Asset List:
Polyart Studio (n.d) Dreamscape: Stylized Environment Tower – Stylized Nature Open World Fantasy asset pack Available Online: Dreamscape: Stylized Environment Tower – Stylized Nature Open World Fantasy in Environments – UE Marketplace (unrealengine.com) [Accessed 24/10/2023]
thiagoferraro (2017) Realistic Medieval Shield Free low-poly 3D model Available Online: Realistic Medieval Shield free VR / AR / low-poly 3D model | CGTrader [Accessed 28/11/23]
tilak96 (2021) Wooden Props Free low-poly 3D model Available Online: Wooden Props free VR / AR / low-poly 3D model | CGTrader [Accessed 28/11/23]
PriceMore (2019) Hand Painted Low Poly Sword Free low-poly 3D model Available Online: Hand Painted Low Poly Sword free VR / AR / low-poly 3D model | CGTrader [Accessed 28/11/23]
Belial, M. (2023) Jar 112 oz 3D Model Available Online: Jar 112 oz 3D – TurboSquid 2021493 [Accessed 28/11/2023]
Suraia (2021) Smokey Halloween Cauldron Free low-poly 3D model Available Online: Smokey Halloween Cauldron free VR / AR / low-poly 3D model | CGTrader [Accessed 30/11/2023]