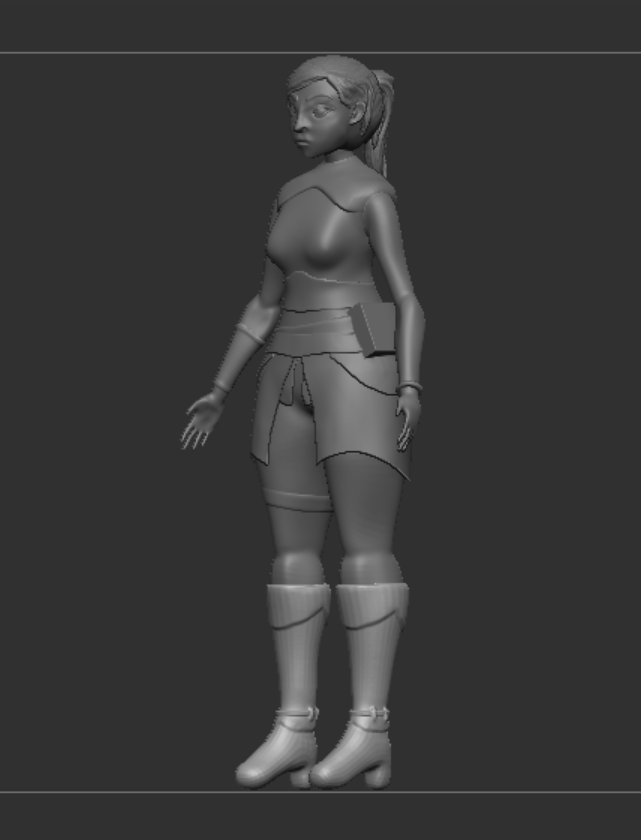
With a basic blockout of my character modelled within Zbrush, I moved onto adding more detail in the form of defining features of the characters shape and some secondary facial features.
With my character concept in mind I only need to model detail onto the skin areas that wont be covered by clothing. This applies to the arms, hands and face. These are the areas that I will be focussing on for modelling detail.
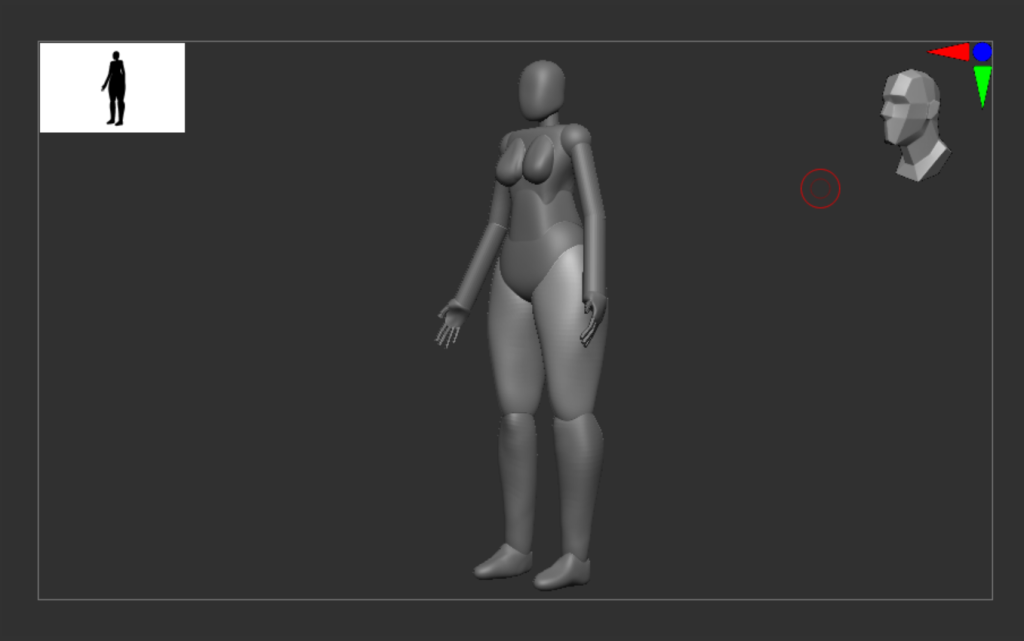
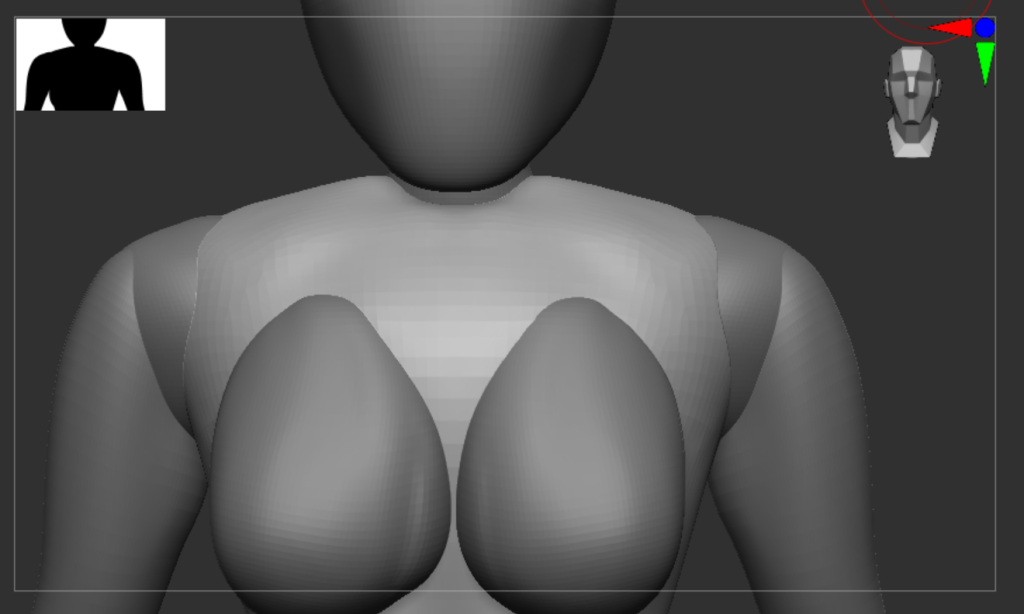
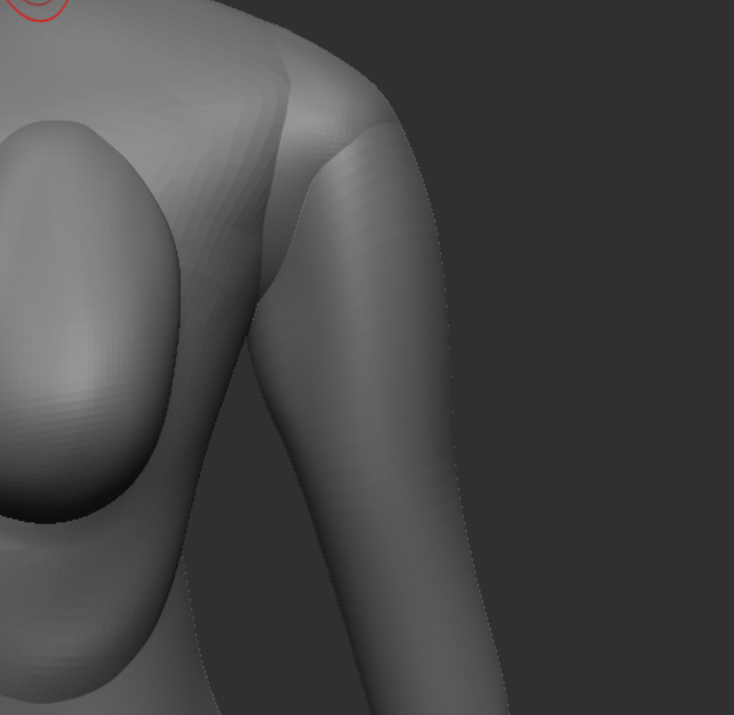
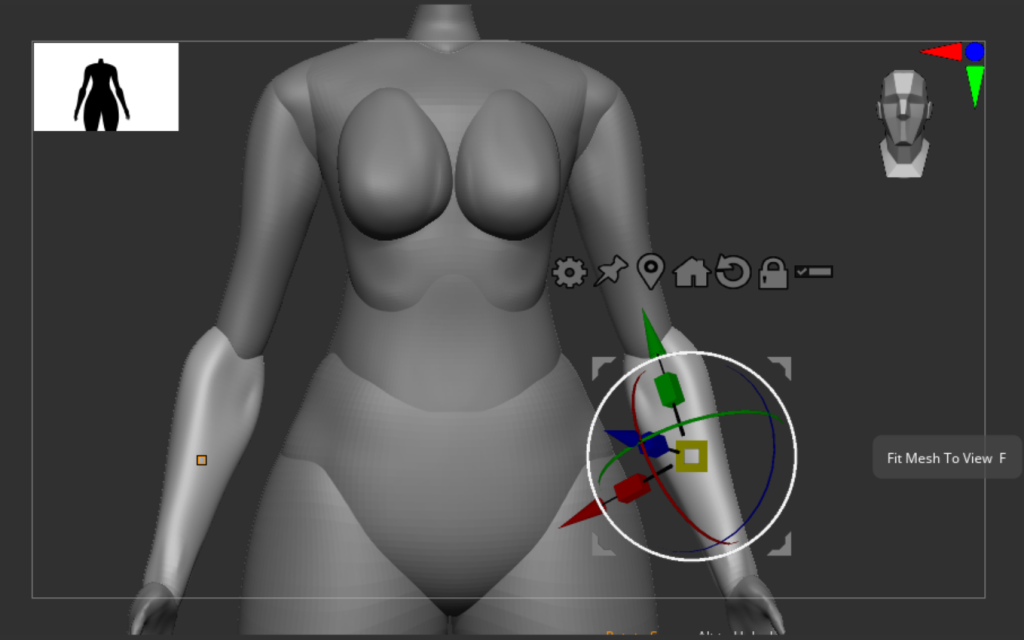
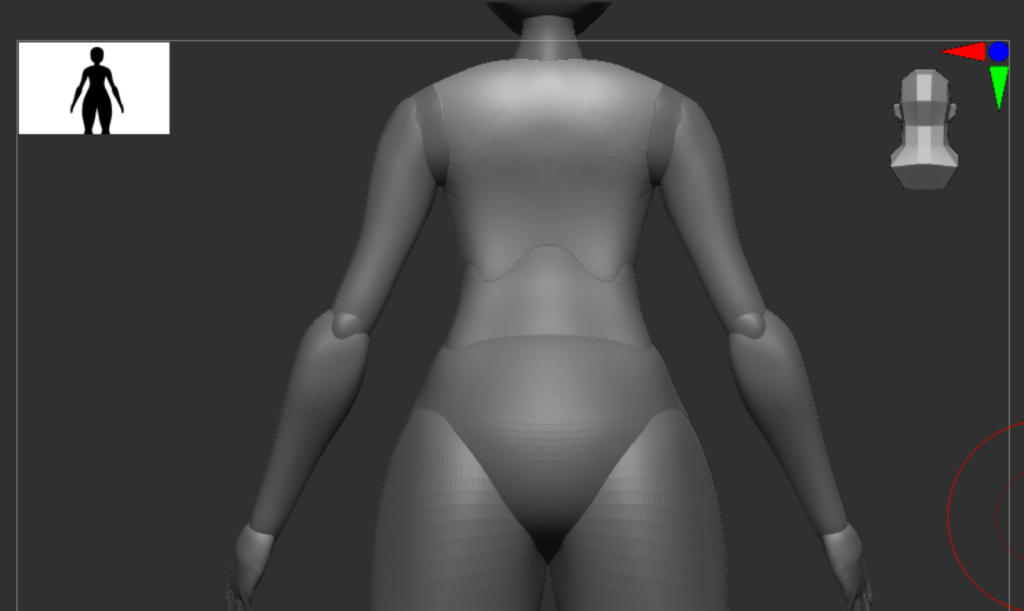
I first remodelled the torso as the whilst it is not one of the areas that I need to model lots of detail to, The rib cage area needed tweaks to look more realistic and I wanted a smooth curve from the hips upwards through to the mid section and chest area.
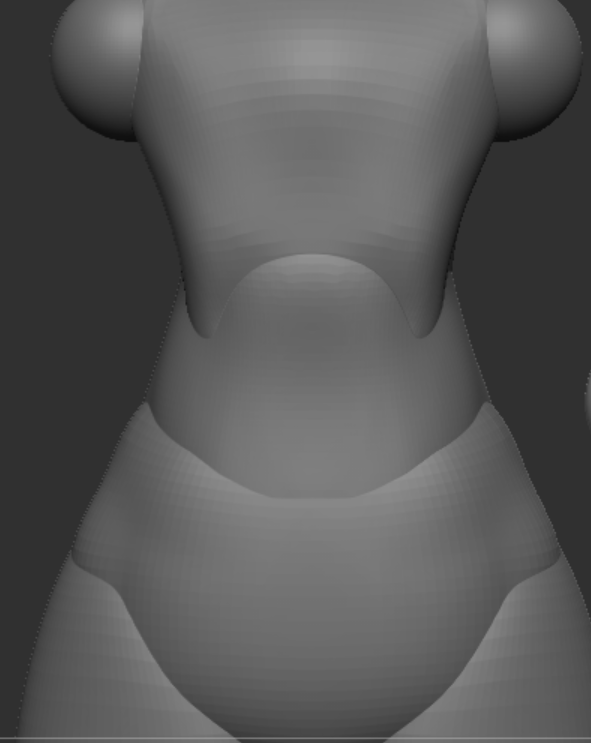
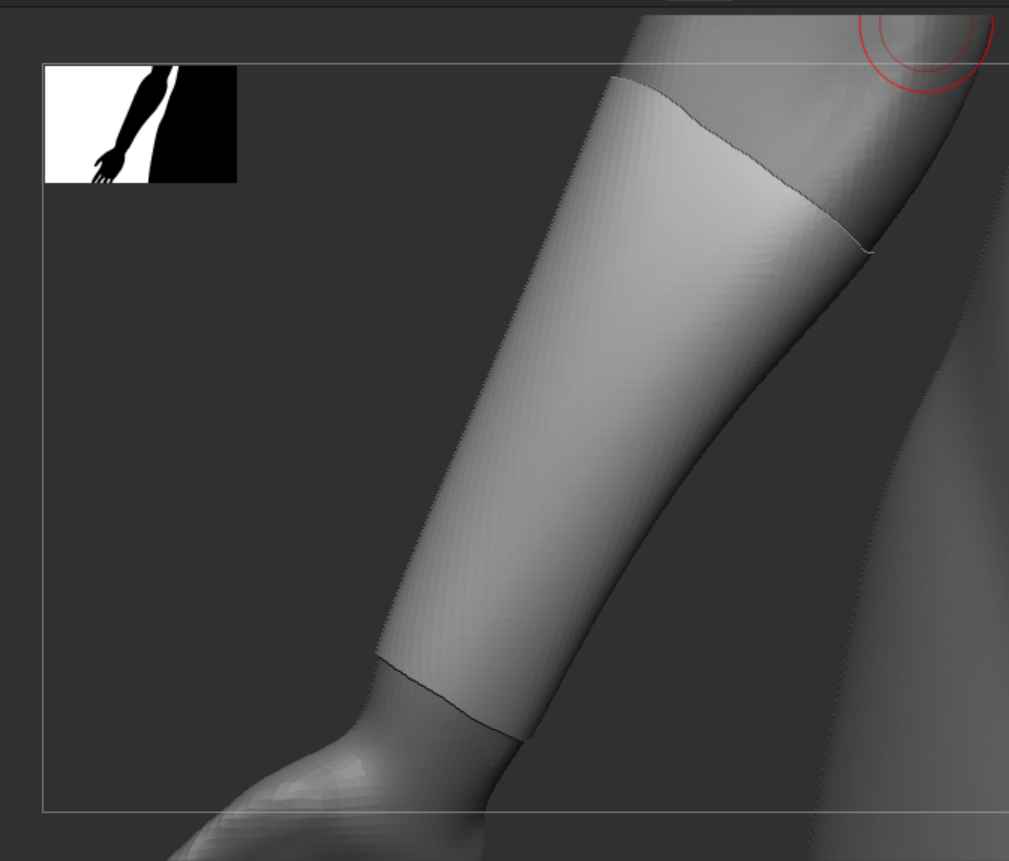
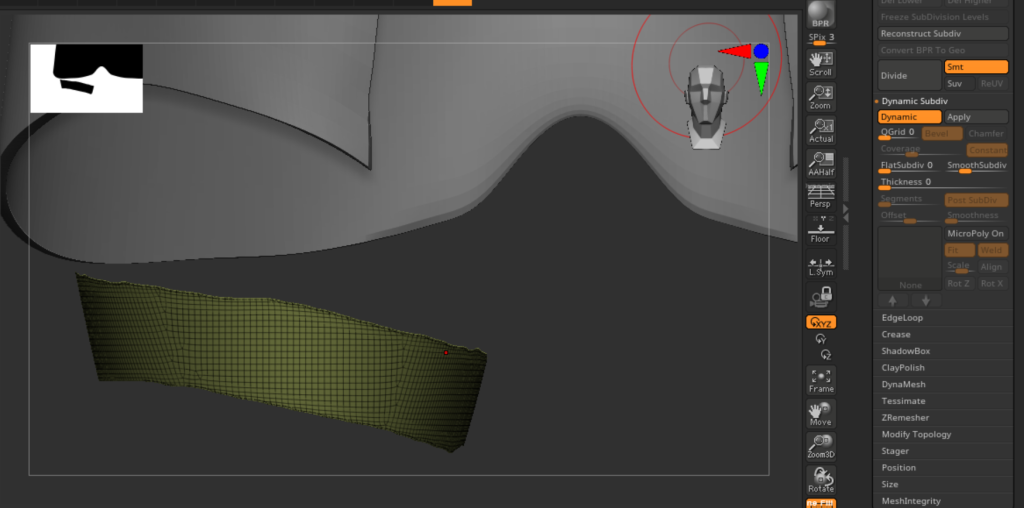
I then moved onto the arms and shoulders. again I wanted a smooth curve from the neck into the shoulders, and the same for where the shoulders meet the arms. I used the move tool and smooth tool to gradually pull and reshape the are till I got the desired affect I wanted. The circles at the joint helped provide reference and will manipulated when I have a better structure for the arms
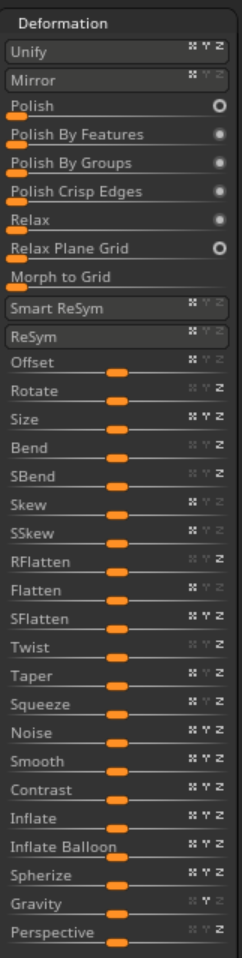
I changed the shape of the arms from their blockout cylinders to ovals, so that I could better shape the features and muscles.
I don’t need to add lots of tiny details to the arms and muscles as I am going for a stylised character that fits the environment I am creating for vfx and level design.
However I sill need to get the basic shape and the flow of the main muscles within the shape so that the character appears human and is recognisable as such.
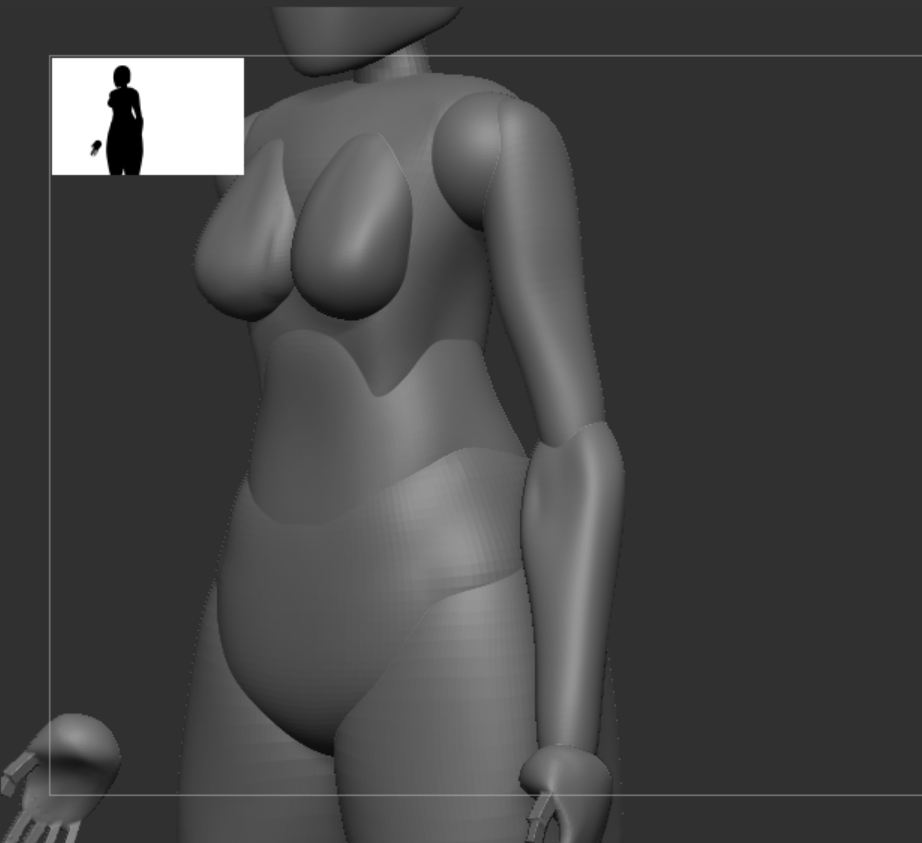
I then moved and used the clay build up tool to edit the shoulders to better blend them into the arms and upper torso.
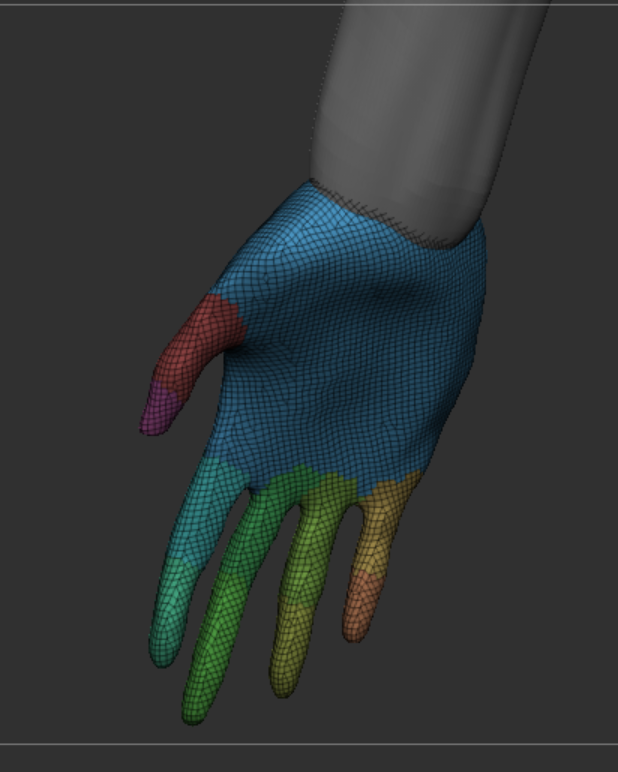
Finally I moved onto the hands. I smoothed them out and used sculptris pro mode to add faces to the fingers to get an smoother point. I then used dynamesh to remove those extra polyies and apply the same level of detail to the whole hand structure.
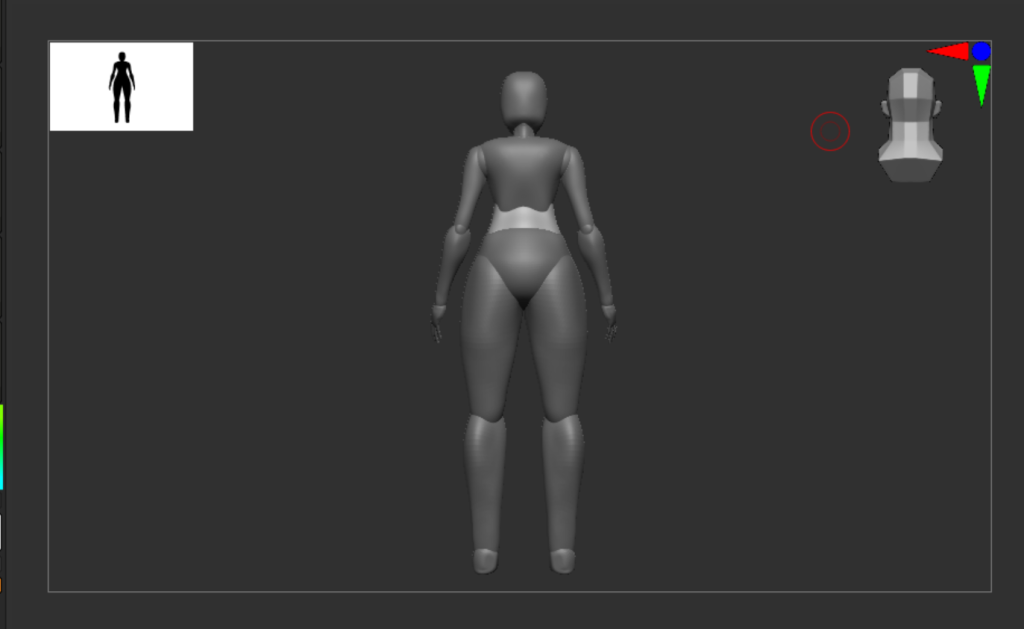
With the main base of the arms and hands complete I only need to slightly rotate them so the are anatomically correct and that they are more in an ‘A’ pose. However I had to rotate the lower arm to make it more inline with actual human anatomy and line up the joins on the elbow and upper arm.
Then by merging the arm, hands and elbow together I was able to use the rotate tool to move the arms into an A position to make sure that when decimating the model the arms don’t connect to the body and lose any detail
Facial Detail
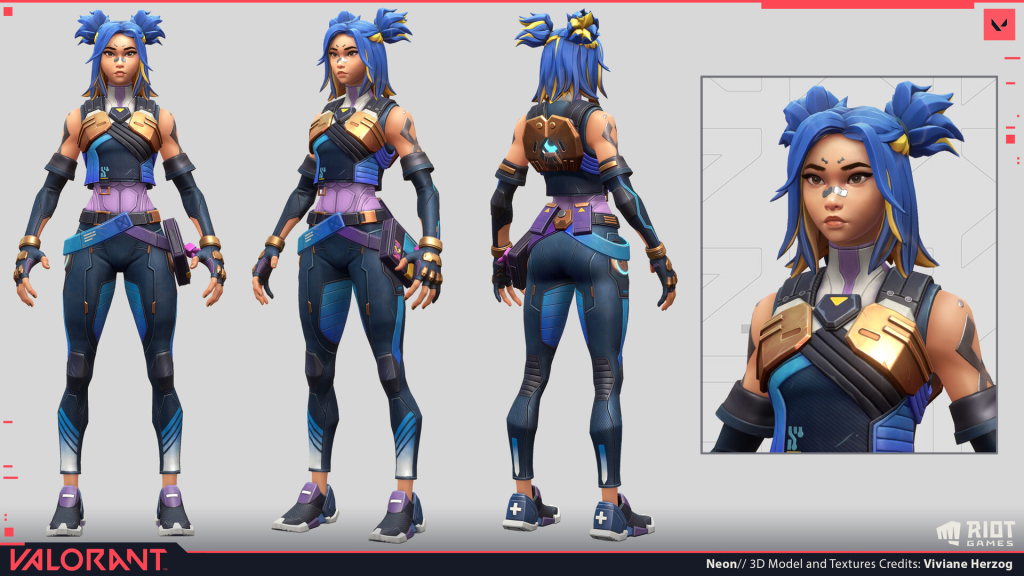
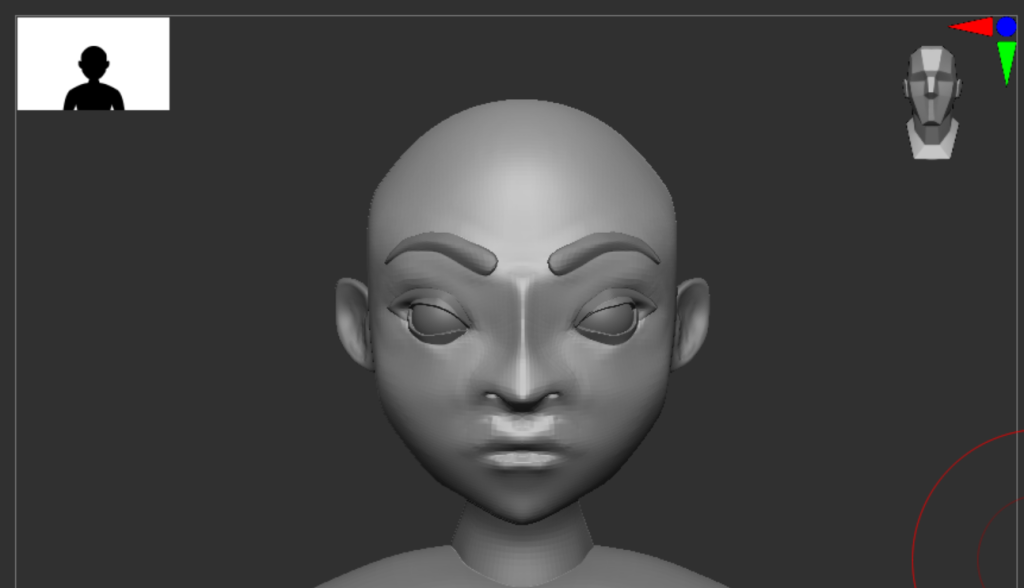
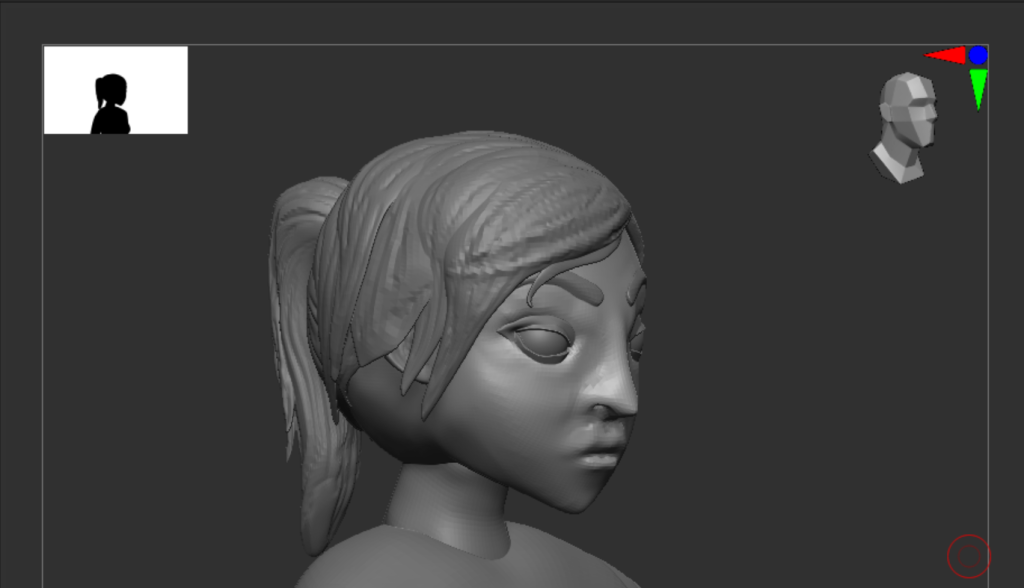
The other main part of the body that I have to model to high detail is the face. I looked at several different stylised characters and styles that I could use to help sculpt my characters face (For example Genshin Impact, Overwatch 2, Arcane and League of Legends) . Eventually, I landed on the design of Neon from Valorant.
I would like to create a similar sculpt for my characters face rather than going for an Anime style look I would like the model to be more realistic so that they are more suited to the stylized environment I am building for level design and drawing inspiration from .
I had to create a different base model to be able to mimic the detail of the reference piece that I had chosen. I started with 2 circles and used control and shift to activate the knife curve tool to cut parts of the shape off. From there I used the move tool to create a basic head shape that I could manipulate further.
I then used the clay build up and dam standard tools to start modeling the sockets for the eyes, creating the nose and mouth and starting building up generic secondary details on the face.

I would be able to smooth some of the details later with the smooth and hard polish brushes. I then moved onto the eyes and eye lids using basic circle meshes that I used the knife curve tool to cut in half and the move tool to tweak the position. Once I was happy I was able to use mirror and weld to copy them over to the other side of the face.
To make the eyebrows I use the curve tube tool (B+C+9) too draw a line that created a tube along the desired path. I could then delete the line to leave the created mesh that I was able to move and manipulate into some thick and sharp eyebrows that should go well with my stylised character.
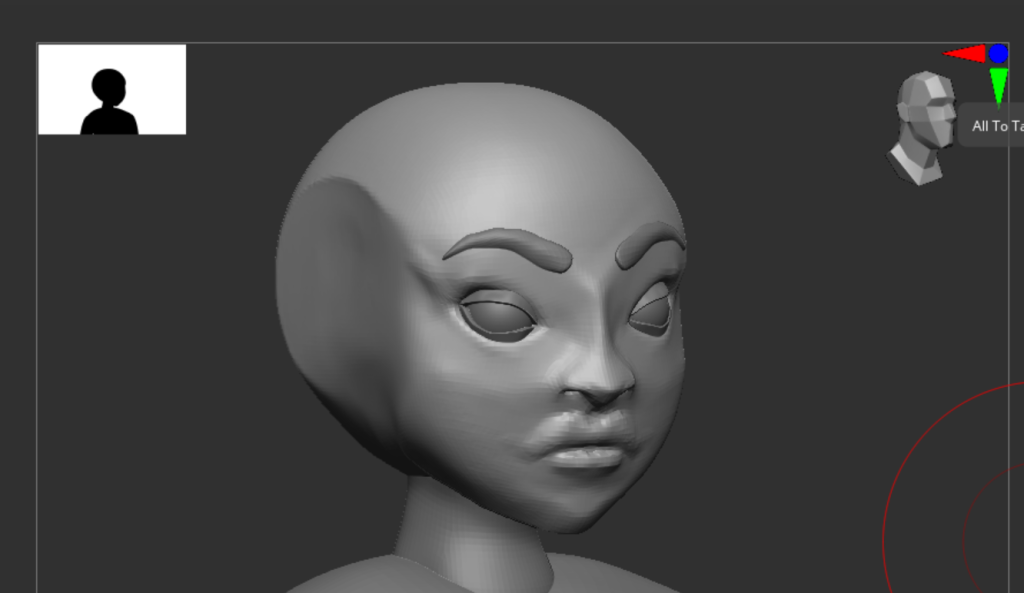
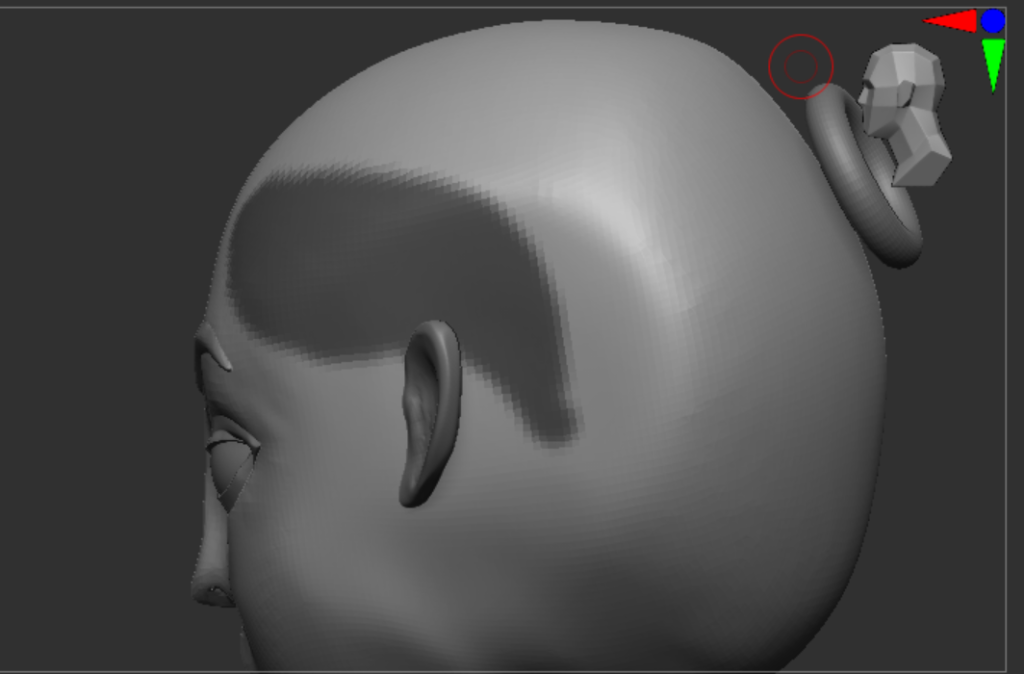
Finally for facial detail I added some eyelashes as a block shape similar to characters like Tracer and Widowmaker from Overwatch 2 (2022) and Neon and Jett from Valorant (2020). As well as adding t=some basic ears that I will revisit once I add the hair.
Hair:
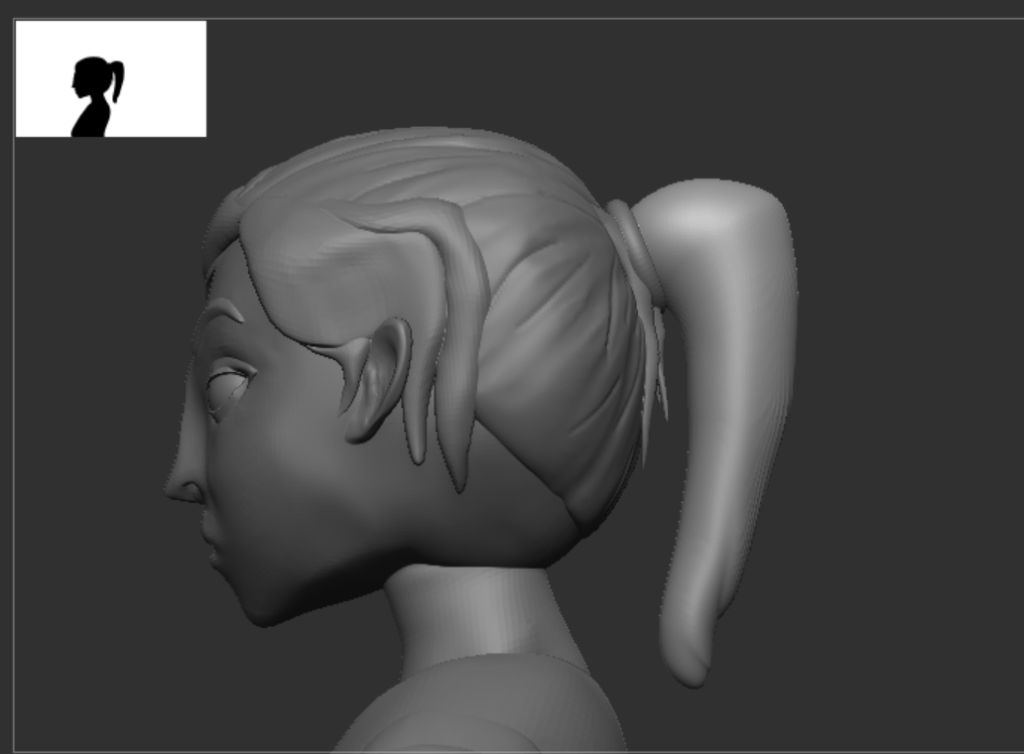
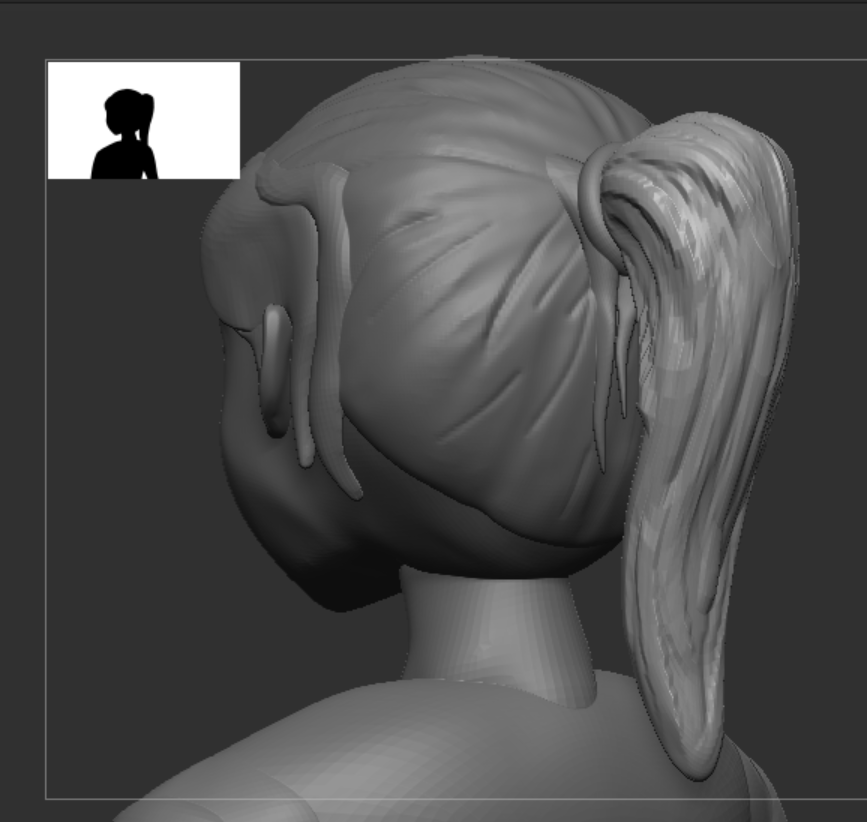
With the hair I wanted to follow my characters design and go for something stylised, with that In mind I knew I wouldn’t have to create a lot of single hair pieces to create the desired affect I wanted. I started by creating a base by masking of the main area of the head where I would attach the hair too, by using the extract button in the subtool, bar I could extract the masked area into its own subtool that I could then develop. I used the dam standard and clay build up tools to add some detail and create some basic strands of hair in this base.
From there I continued to mask of areas of the head to create larger pieces that I then moved and duplicated to create some detailed and looser areas around the side and front of the head.
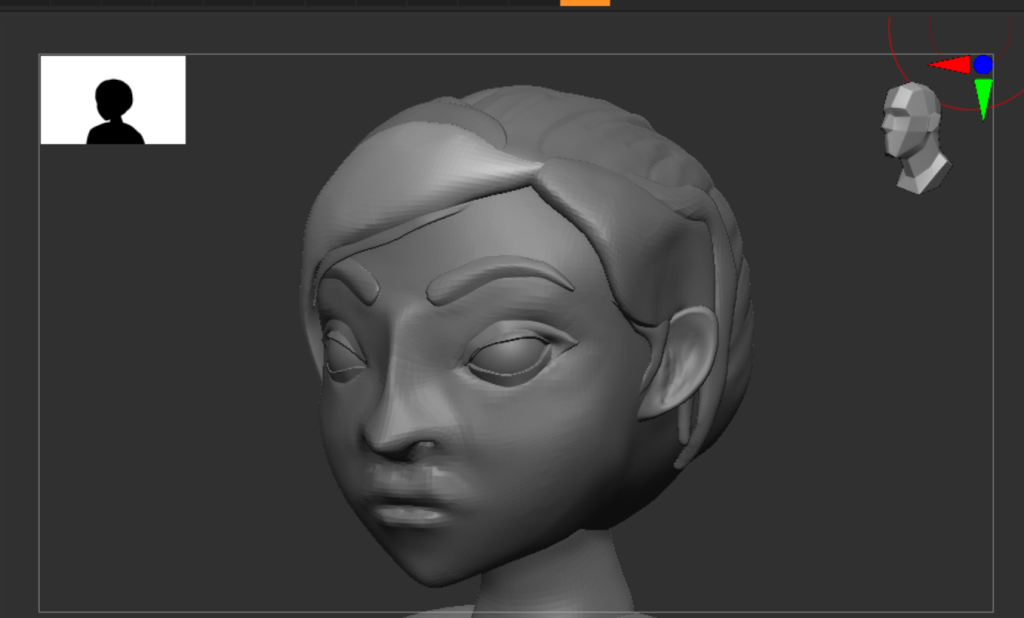
With a base and some areas added to give some more detail and depth to the characters hair I began work on the pony tail that my design has. I used the move tool to stretch and elongate a circle mesh shape into a base for the ponytail. I then used the same techniques I used on the main base of hair to add detail and created some subtools of the base ponytail to make the hair a bit more wild and interesting to look at.
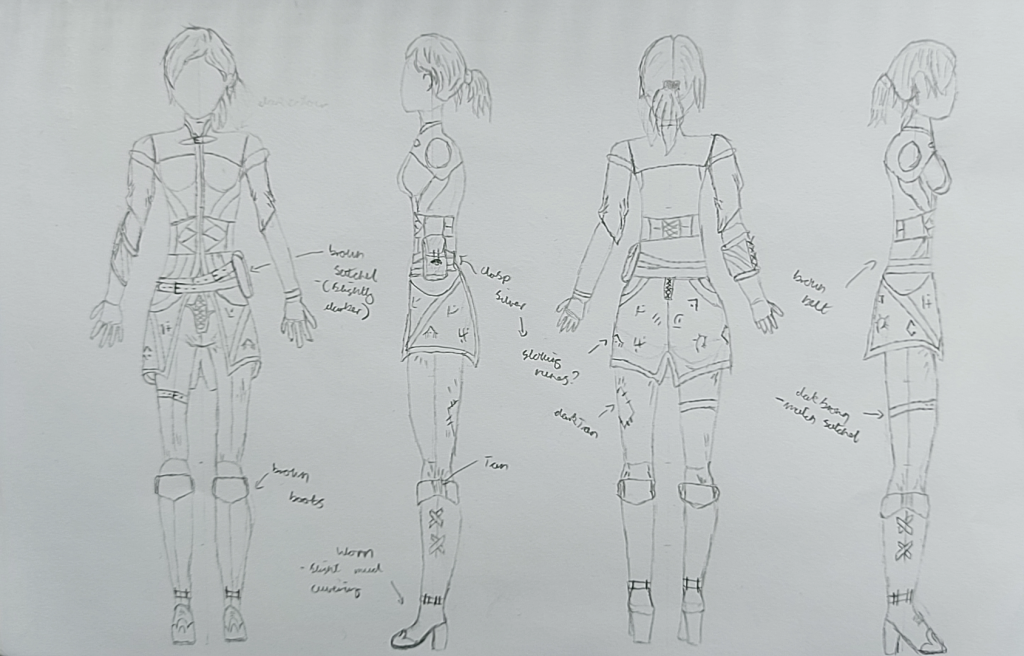
Clothing:
Clothing would use the same process I used when creating the hair. I could mask of areas of the body and extract the shape to create a new subtool. I could then for clothing use the deformation tab to inflate and manipulate the clothing to give it realistic edges and folds.
I started with the arm brace mainly as a test for the whole process and as a way to try out the deformation tab and Zmodeler. These tools would help me add thickness and definition to the edges of the extracted piece of clothing so that I could then add on more detail
For the all of the clothing I created I made use of inflate to give the extracted area some depth from the body. I also made use of polish and relax to smooth of the edges of the clothing where the mask tolls lines where not straight.
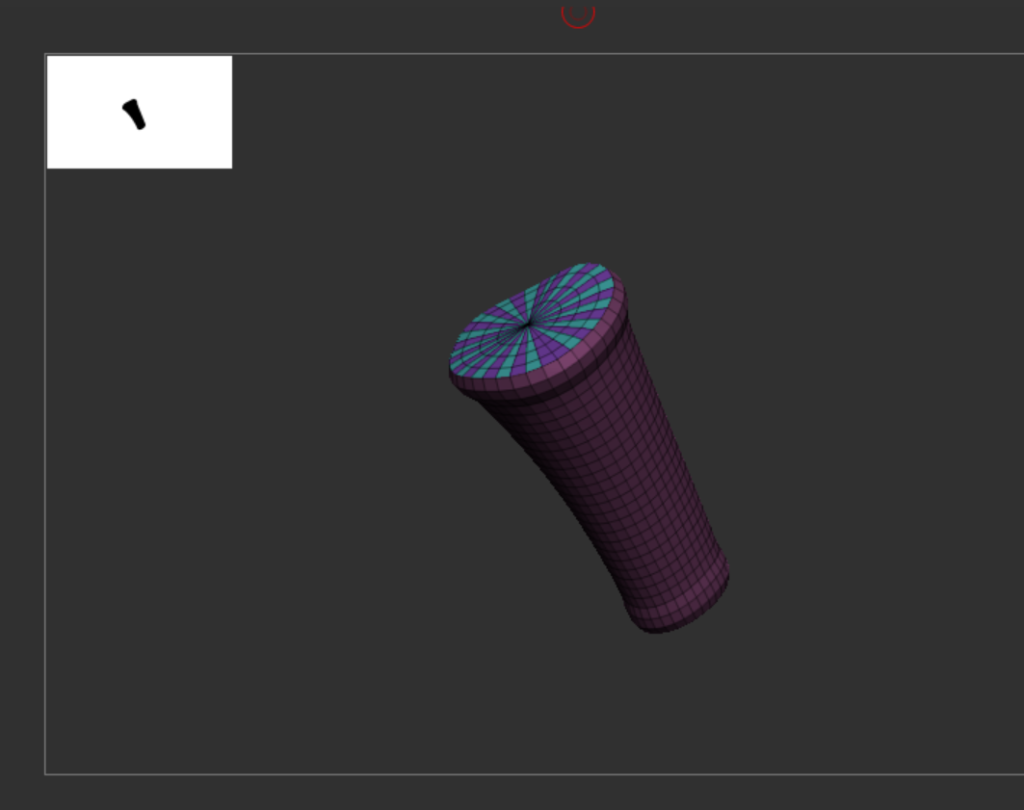
With Zmodeler I was able make sure that the extracted area wasn’t a hollow object, this would make it easier to combine and dynamesh as well as give a nice overlap where the clothing meets the body. From this test I moved onto the larger and more difficult pieces of clothing that appear on my character.
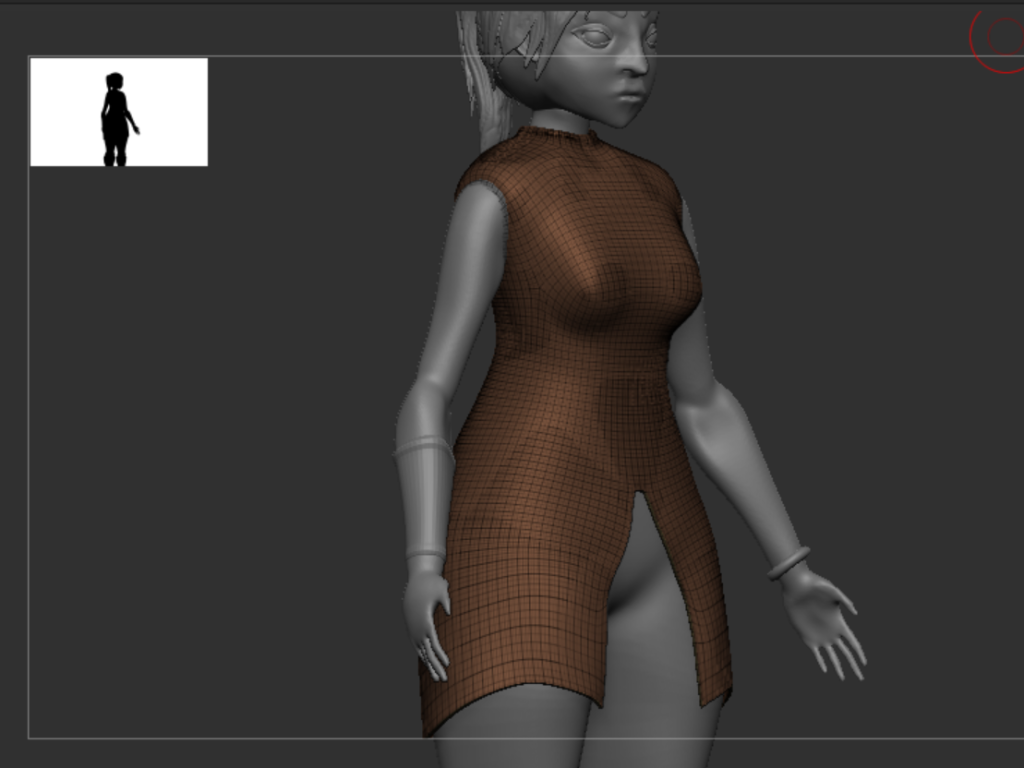
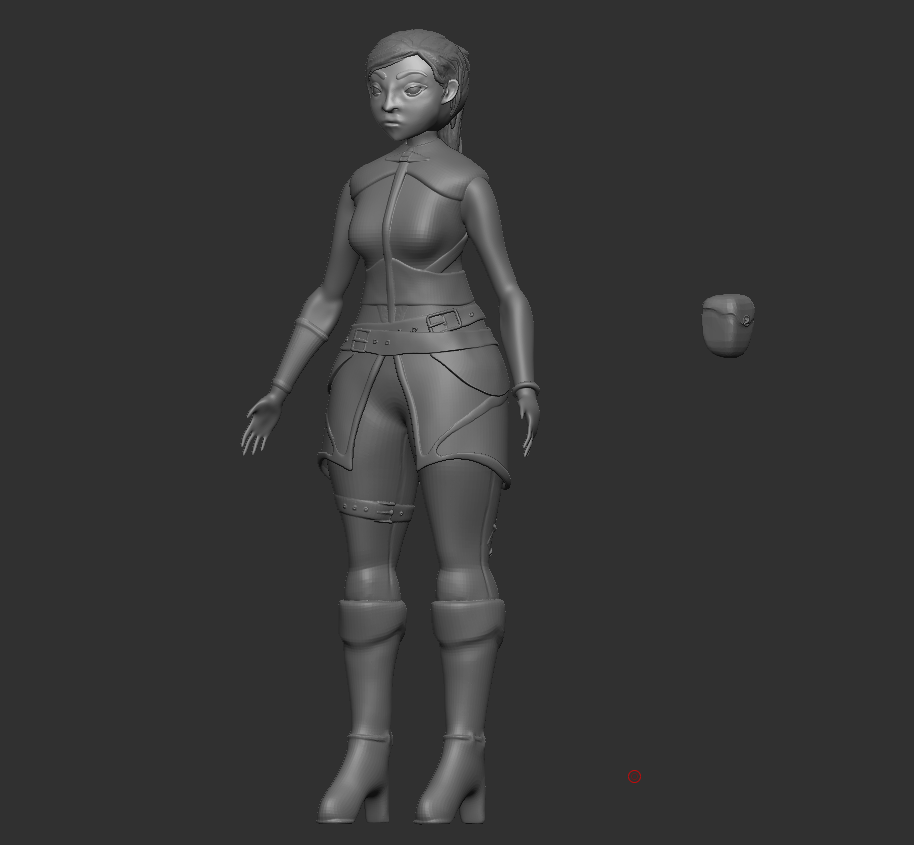
I moved onto the coat. This is a main piece of clothing and something I want to add some detail to in substance painter. most of the parts of the coat like the neck piece, side armour and trim was all extracted as their own sub tools and dynameshed with the main body later. The first extraction of the coat was a bit tricky and I had to use Zmodeler to trim and cut some parts off before using Zmodeler again to stretch and add some more panels to the coat to make it longer.
I did the same when creating the belts for my character, using the mask tool and extracting them at 0 thickness. I once again made use of relax and polish to soften the edges of the extracted area. I chose to do this so that the belts appear less natural and almost drawn on to go with the stylised nature of my character.
With the main base of all of my clothing elements done I could focus on adding detail. The bag on this model was removed due to the proximity to the arms that meant the mesh could have deformed when I dynamesh it together before exporting. With that in mind I decided to separate it from the main model and leave it as its own subtool that could be attached as a modular piece later in Maya.
For belt detail I used some of the inbuilt brushes in Zbrush to add eyelets and buckles to the extracted area. this meant that I could draw on a pre-existing mesh that I could stretch and move into place rather than having to create one from scratch.


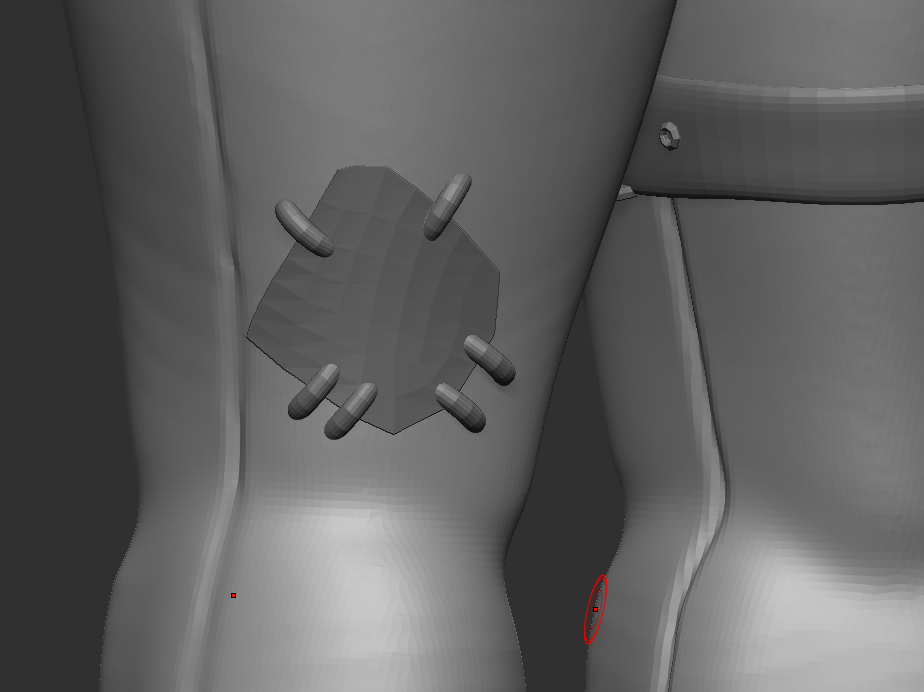
Finally I used the dam standard tool to add some seams to the legs. I didn’t need to extract or create any trousers here as no part of the legs would be seen and they would be merged to the trousers if I created a separate subtool. I also added a patch using a plane and some inserted torus sub tools that I dynameshed and combined to the legs of my character
With this I also modelled and textured a spell book for my character in Maya. This is something I did for my VFX assignment but I might add to the character as they all use the same style and theme.
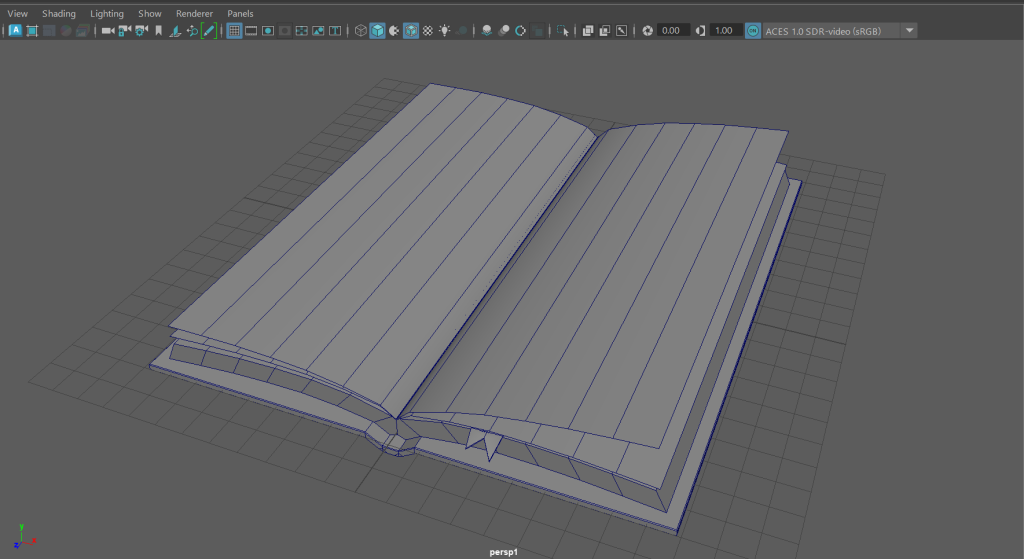
I built the book in Maya using simple modelling techniques from a tutorial I followed and then using Substance painter added in text and some small details like ink splotches and some wear to the cover.
References:
Pinterest, Rushton, A (2023) Pinterest Character Design Moodboard Available Online: Pinterest [Accessed 9/10/2023]
Herzog, V. (2021) Artstation Valorant – Neon. Available Online: ArtStation – VALORANT – Neon [Accessed 30/11/2023]
Art Heroes (2020) [FREE ZBRUSH TUTORIAL] How To Create Hair with IMM Brush [Video] Available Online: [FREE ZBRUSH TUTORIAL] How To Create Hair with IMM Brush – YouTube [Accessed 1/12/2023]
3d Total Publishing (2017) Beginners guide to Zbrush. Worcester, 3d Total Publishing
Flipped Normals (2020) Sculpting an Overwatch Style Female Face [Video] Available Online: Sculpting an Overwatch Style Female Face – YouTube [Accessed 7/12/2023]