With a finalised character concept I am able to move onto working with Zbrush to create a basic blockout of my character, from this blockout I will be able to add more and more detail until I have a realistic and near finished character model.
Colour Variation:
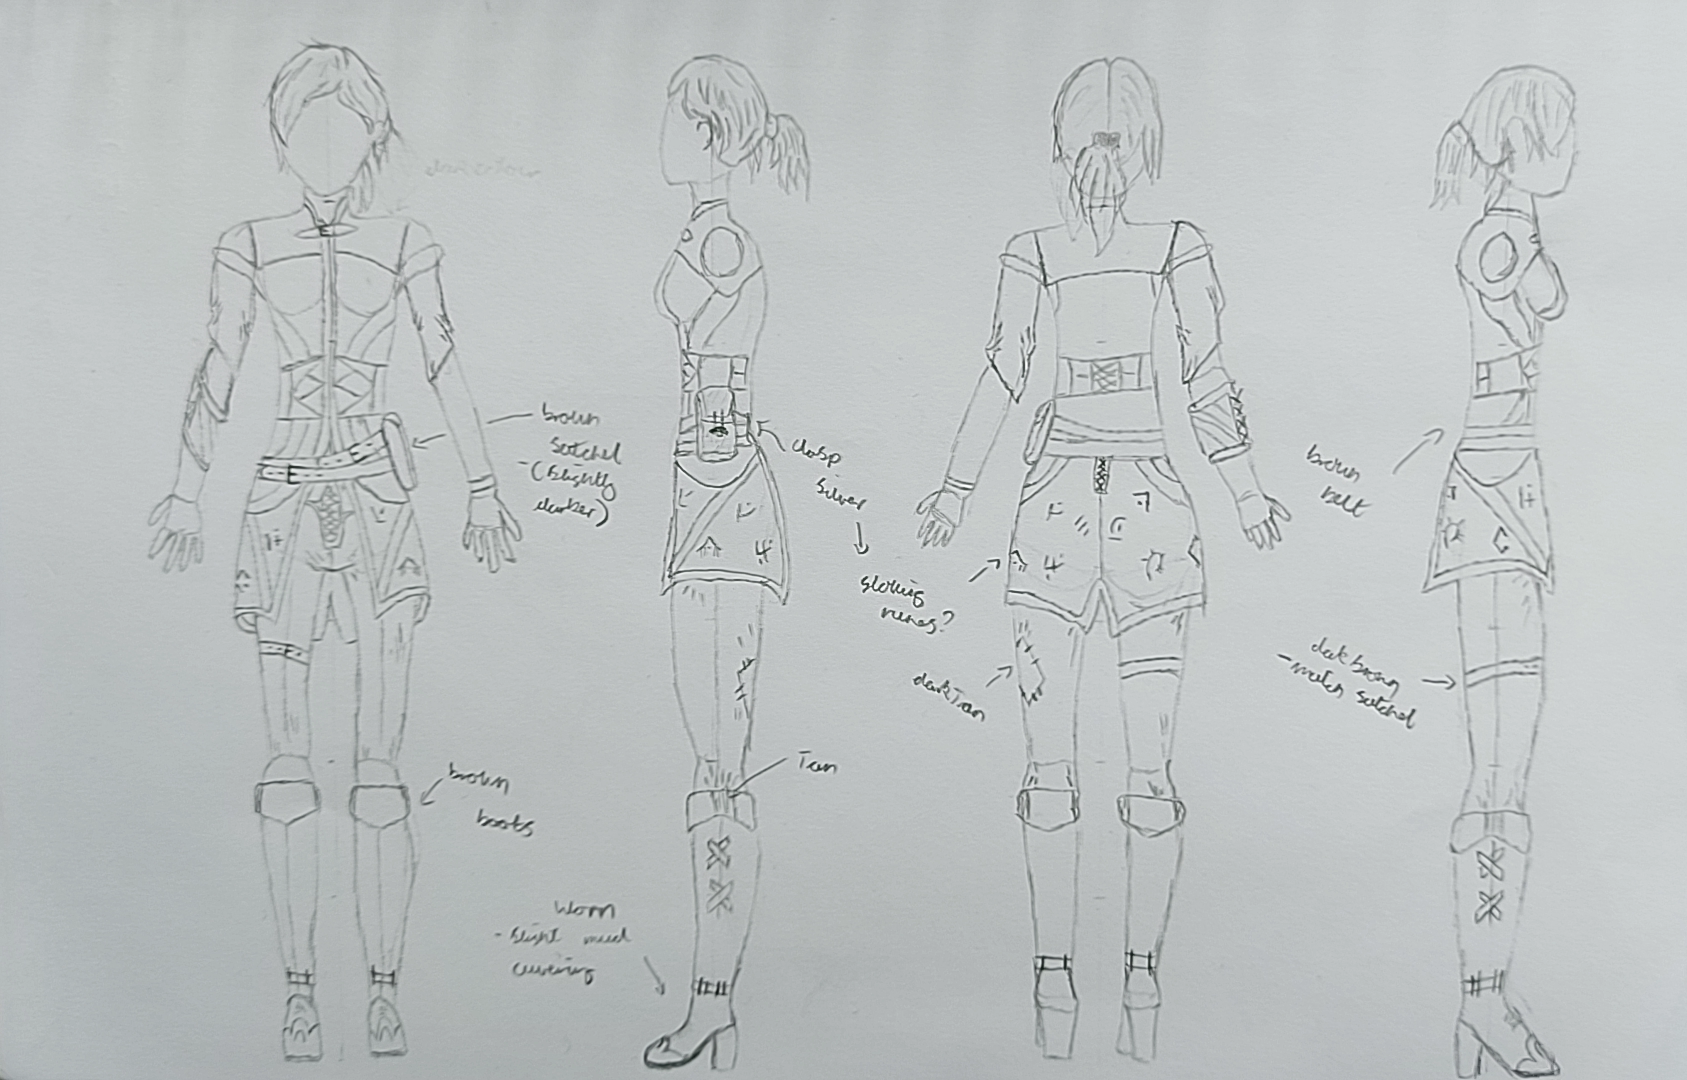
Before I started with Zbrush I used my character sheet to experiment with some variations in colour. These colours can be applied later in Substance painter to the model but, it was something I wanted to experiment with to get an early idea as to which colour works the best.
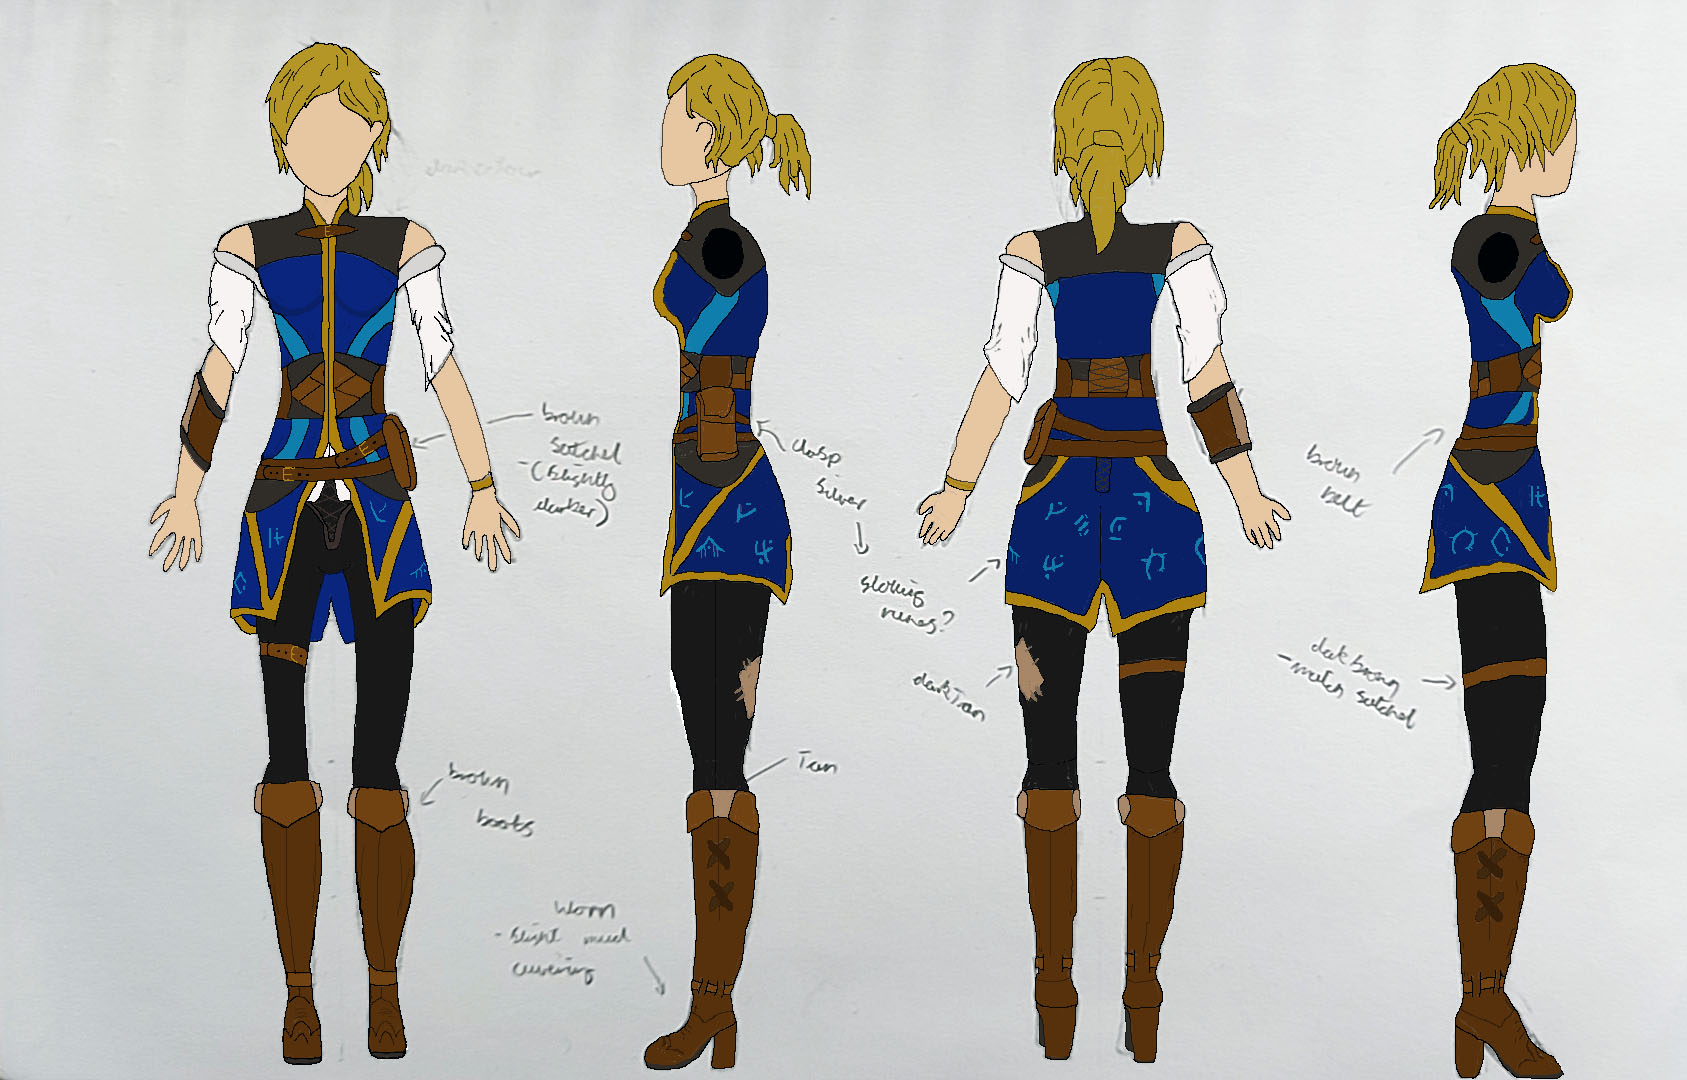
As the first concept I wanted to create a high wizard order colour scheme that they would wear being a part of this order. I added some belts and a sewn up patch on the trousers to show that whilst they are a part of a higher/ royal wizard order, they are still adventurous and want to explore. I can also look at adding mud and dust on the clothes and boots to further show this.
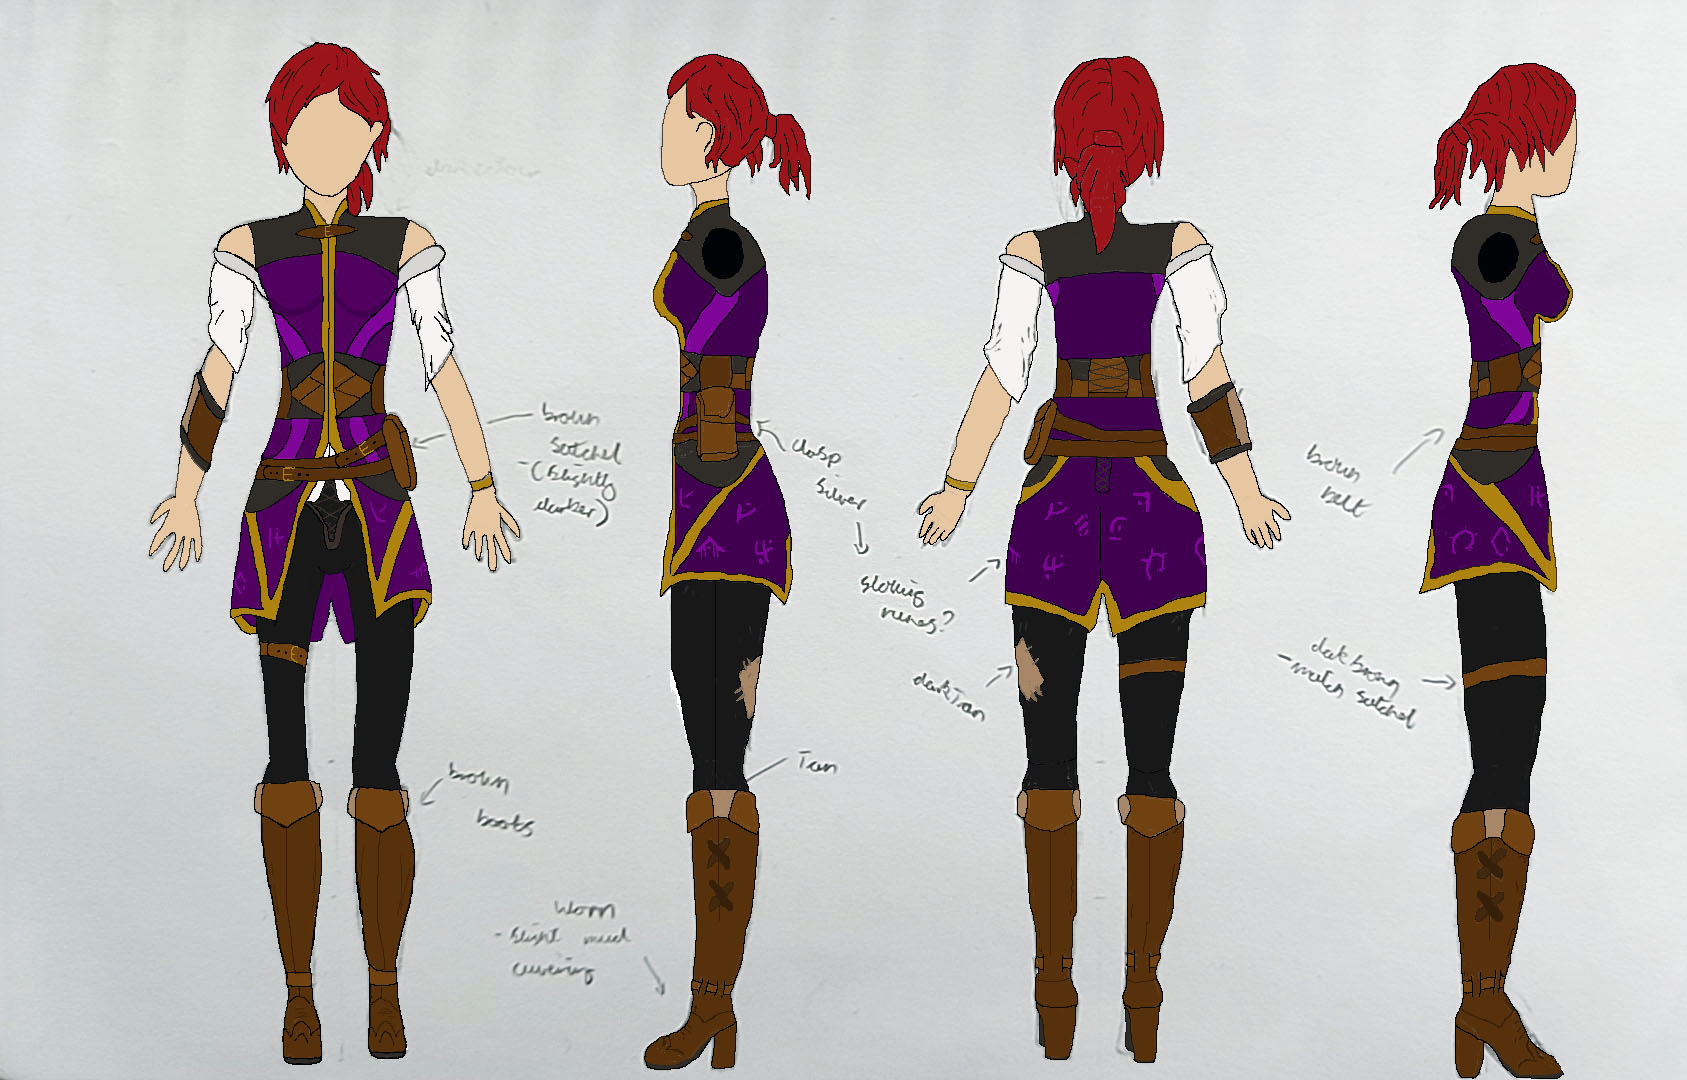
For the second I further explored this high order idea, but wanted to try a deep purple that is often associated with royalty. the red hair should help give them a more adventurous and energetic side to them.
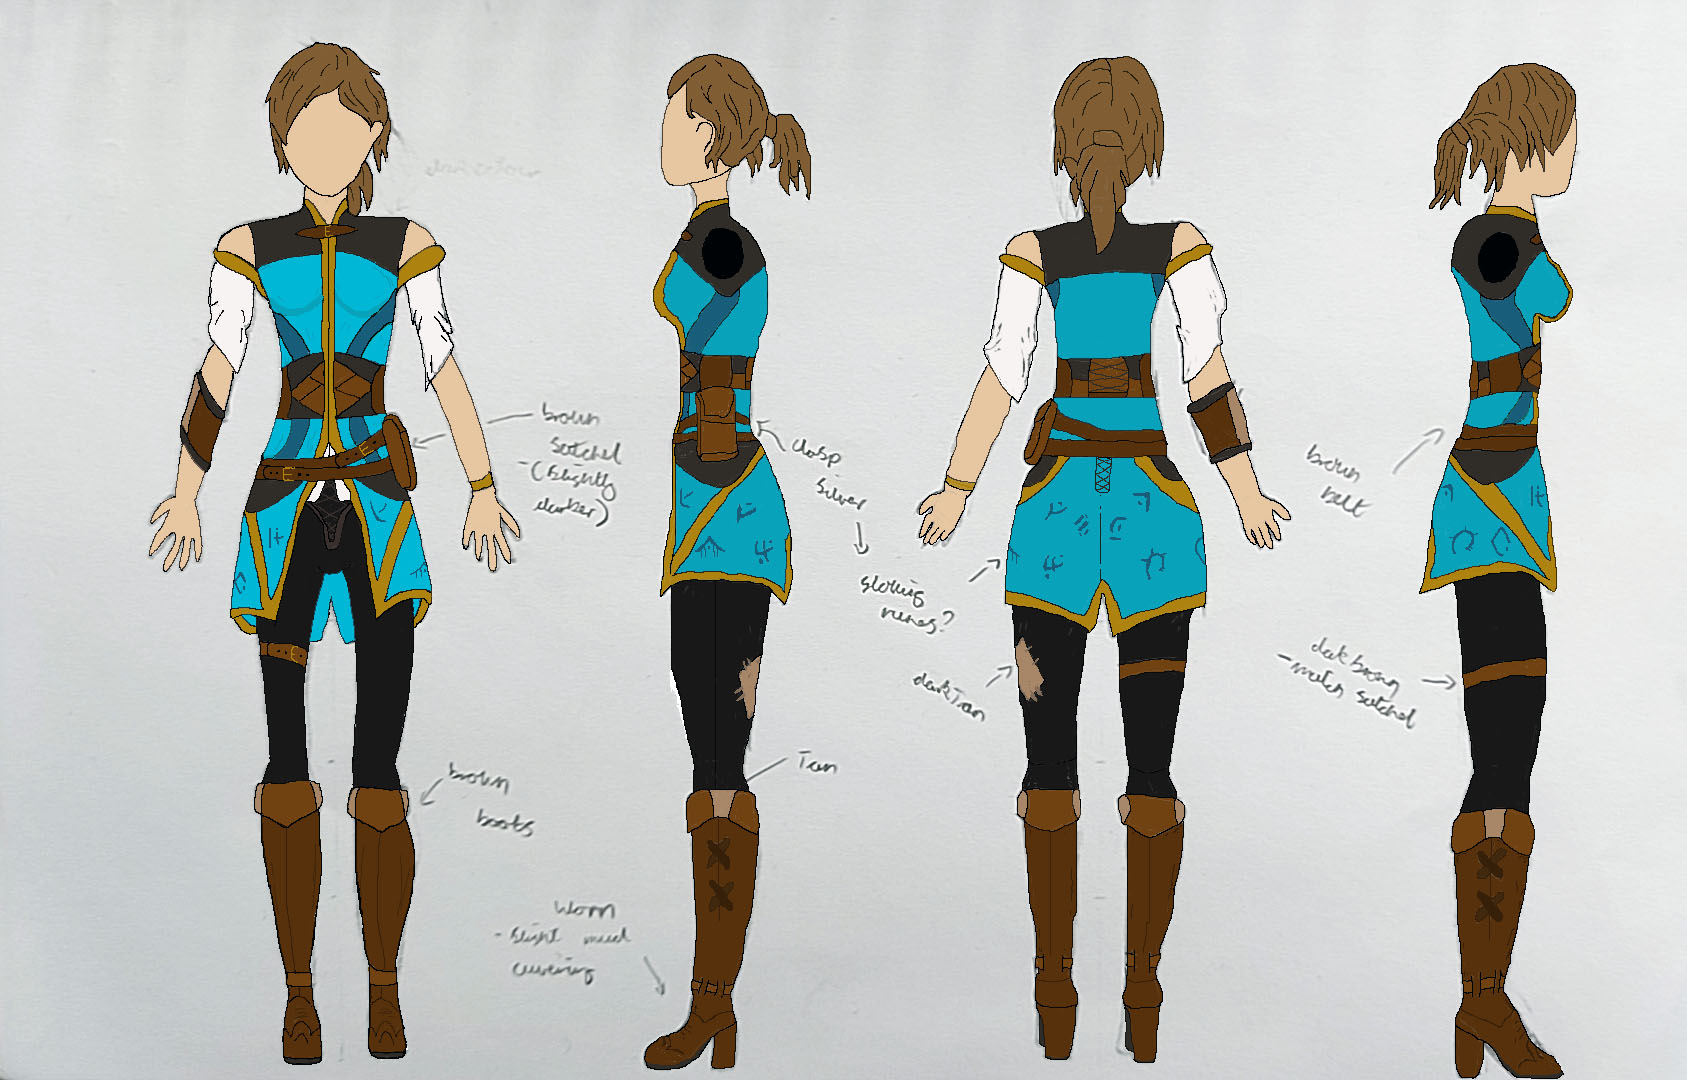
For the third concept I want for a more calming and muted colour scheme, I kept the gold to highlight the prestige that can come with learning magic. for the base I went for a light blue to mimic the sea that the wizard tower is situated around in my level.
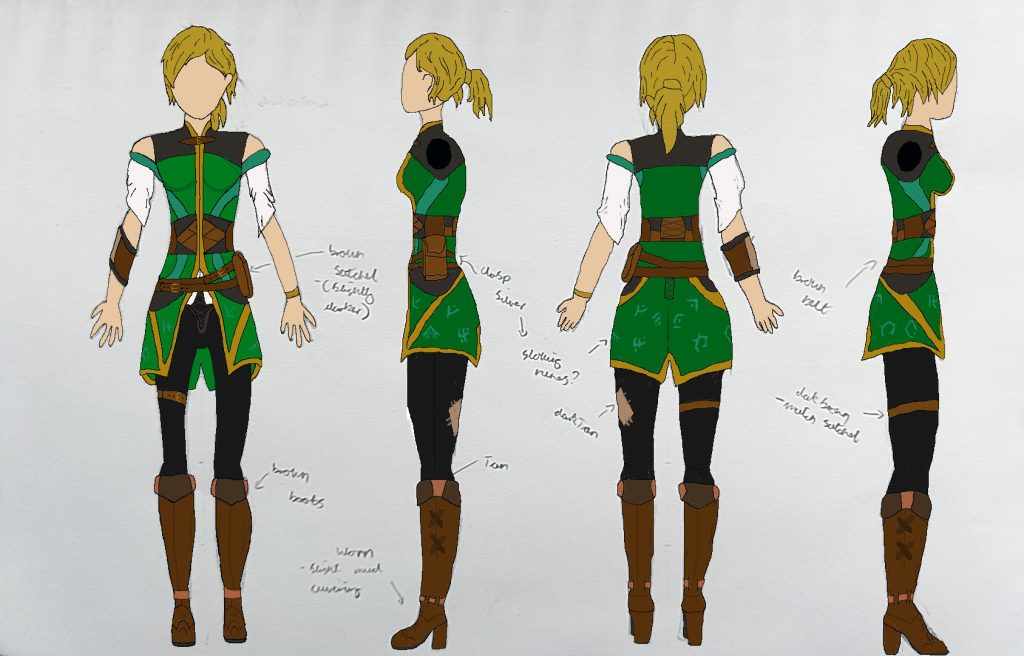
Finally, I went for a base green colour to show the characters affinity with nature and there want to explore the world around them.
These Colour variations mean that I can have a brief idea as to the colours and eventual texture I want to apply to the character model. At the moment the character I have drawn doesn’t have any facial features, this is something I wanted to develop later when I start adding detail to the characters face and it wouldn’t have any affect on the colour variations I wanted to look at.
Character Blockout:
After some experimentation with the tools in Zbrush, I started to develop my character blockout. I only needed a few tools to help create some basic shapes that I can add detail to later to create a finished character.
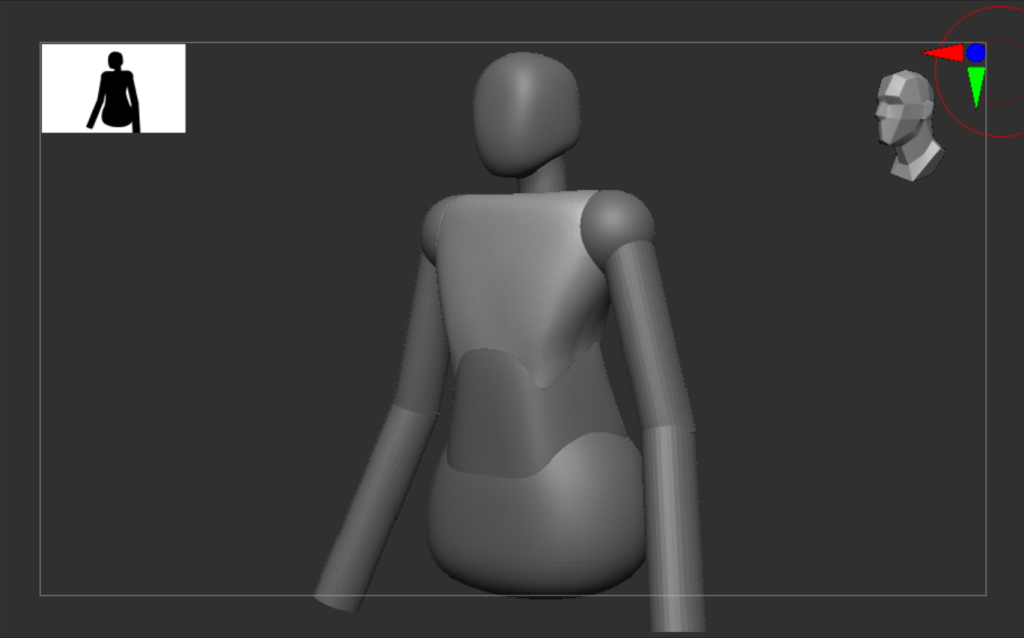
I started by modelling the torso first, Using a sphere and using the move brush (Shortcut – B,M,V) to create a generic template of the shape I wanted. From there I used the Polish brush (Shortcut – B,H,P) and the clay build up brush (Shortcut – B,C,B) to add in some detail and manipulate the shapes a bit more.
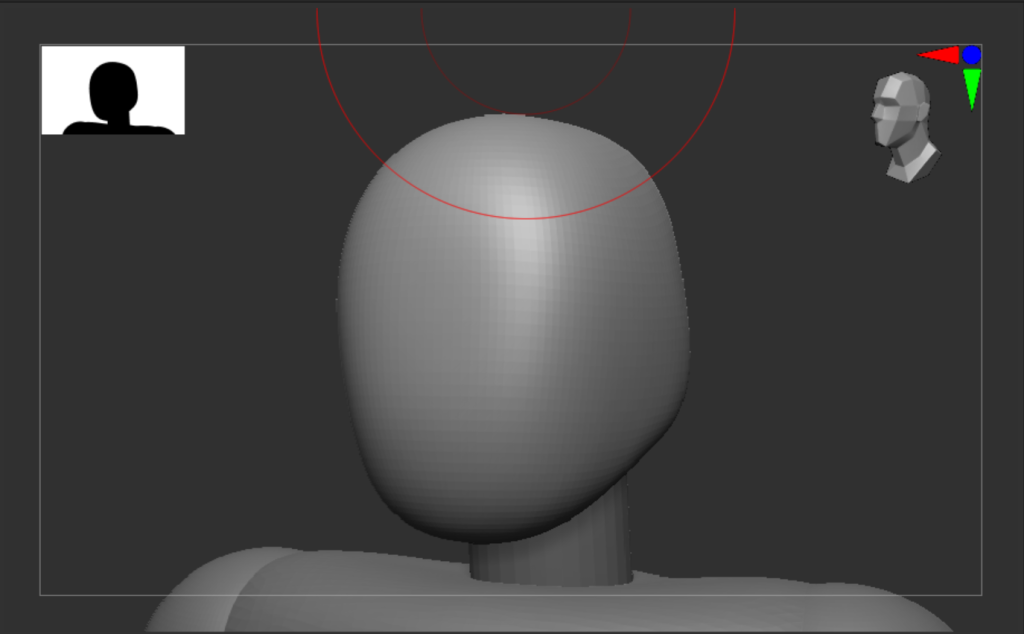
With the torso modelled I added a head, I didn’t need to go into any detail with facial features as that would be adding forms of secondary and tertiary detail. The blockout is the simplest form and I only need the basic form and silhouette of the character as the primary base. Like the torso I manipulated a sphere shape and used the move brush to pull and stretch the basic shape in different directions.
I then added the shoulders and arms to the blockout, I used the Primitives brush here (Shortcut B,I,T). This brush allowed me to draw on primitive shapes like the cylinders for the arms onto the existing model. Once again I can go back to develop the muscle and arm shape when I add secondary forms to the model. I only modelled one side of the arm and made use of the mirror and weld option that meant that Zbrush took what I had modelled on one side of the model and flipped it to the other, Whilst also adding each shape to a combined box in the hierarchy. Now if I were to manipulate any part of the arms any detail I add or part of the shape I manipulate will be mirrored to the arm on the other side of the model.
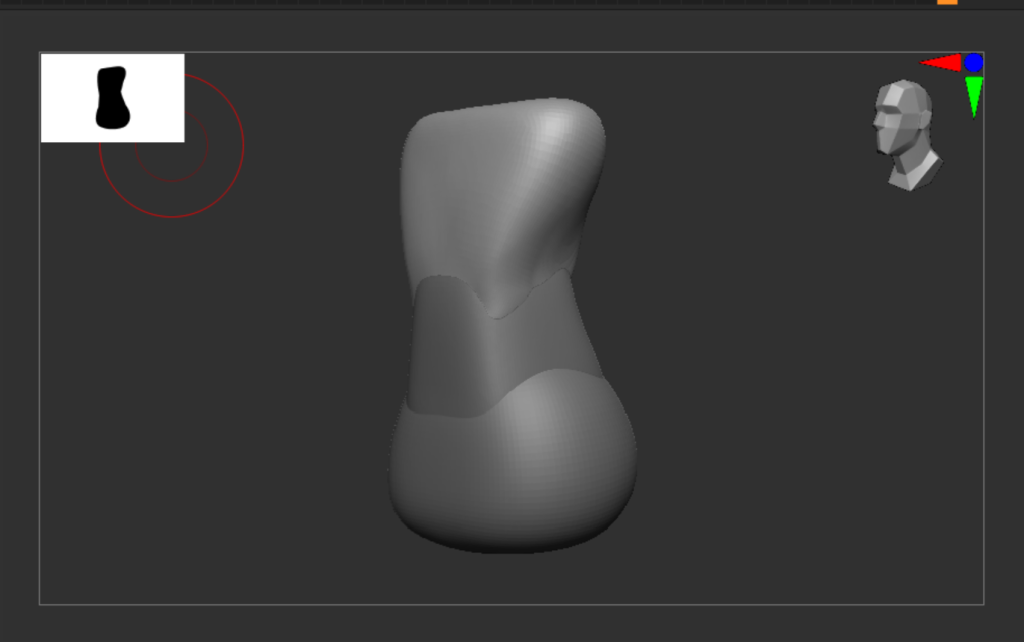
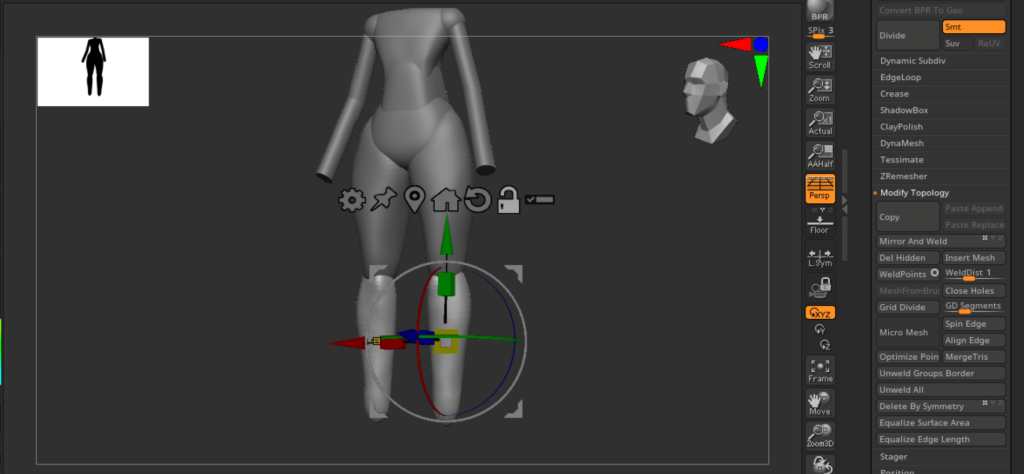
I then moved onto the legs, I used the same techniques I had done previously for the torso. I added in a sphere shape add scaled it to look similar to a rectangle. From that I used the move brush to stretch and manipulate the thigh into the shape I wanted for my character. with it being a female character and the world I want to create for level design and VFX being stylised I could slightly play with the characters features. However It is something I will do after the blockout is finished so that I can focus on creating a realistic character. I did the same for the lower leg and feet, before using the mirror and weld option to add them to the other side of the model.
It was at this point that I found the Head to be slightly out of scale in proportion to the rest of the body and character, so I went back and scaled the head up slightly before using the move tool to re stretch and manipulate the face and head to a better size.
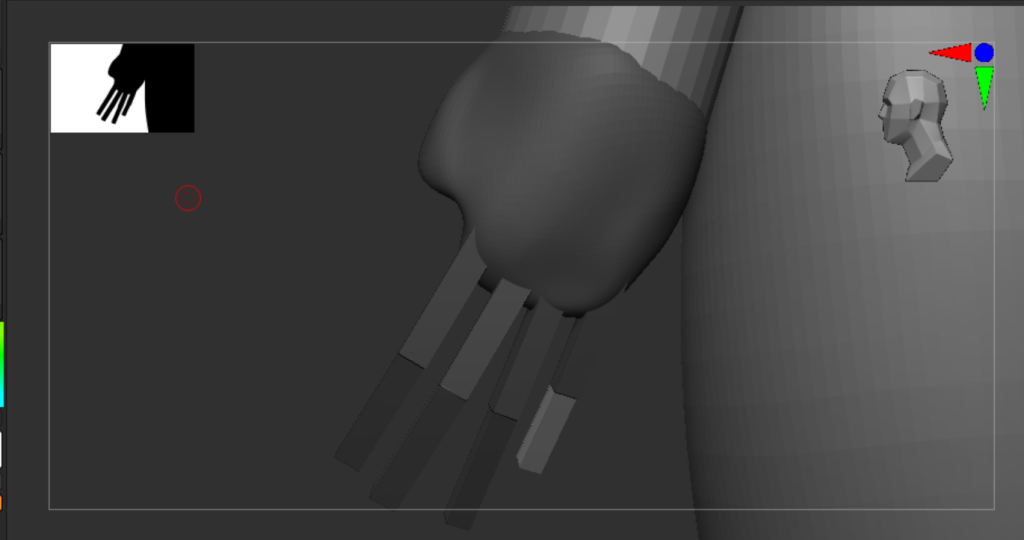
I then modelled the hands, I started with a sphere again and scaled and moved it to the end of one of the arms. Using the clay build-up and move tools I created a semi realistic palm that I could then add fingers too using the primitives brush.
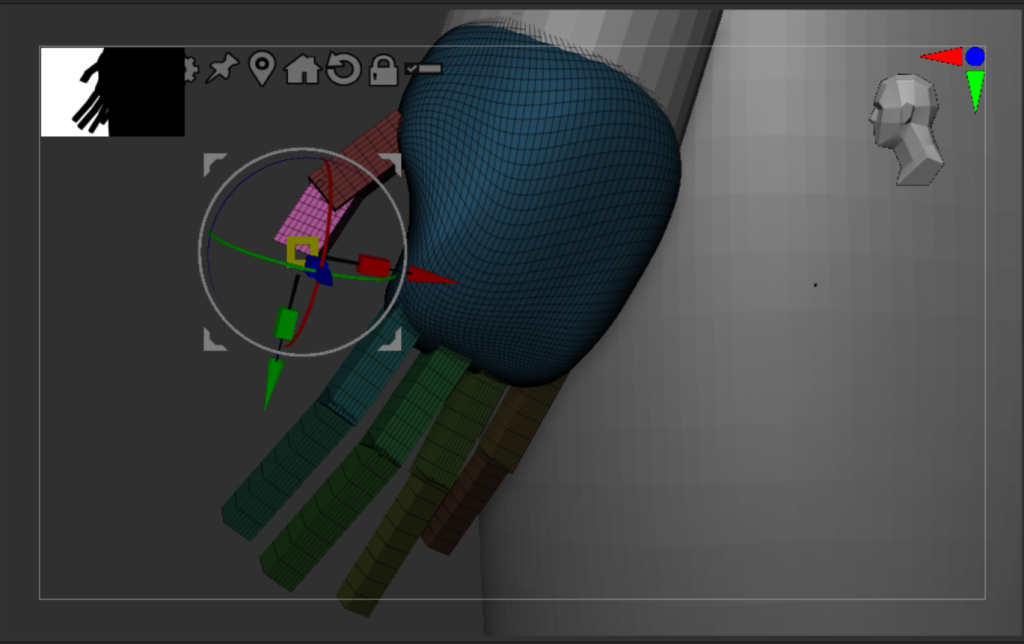
With the basic shapes in place I was then able to scale, rotate and move each hand into a more relaxed position and manipulate them into a better overall position so they worked with the shape of the palm. I the grouped each part before using Dynamesh to add more detail to the shapes I had created.
Finally I added some breast to the chest and manipulated the head again to make sure it was scaled to the rest of the body.
Finished Blockout:
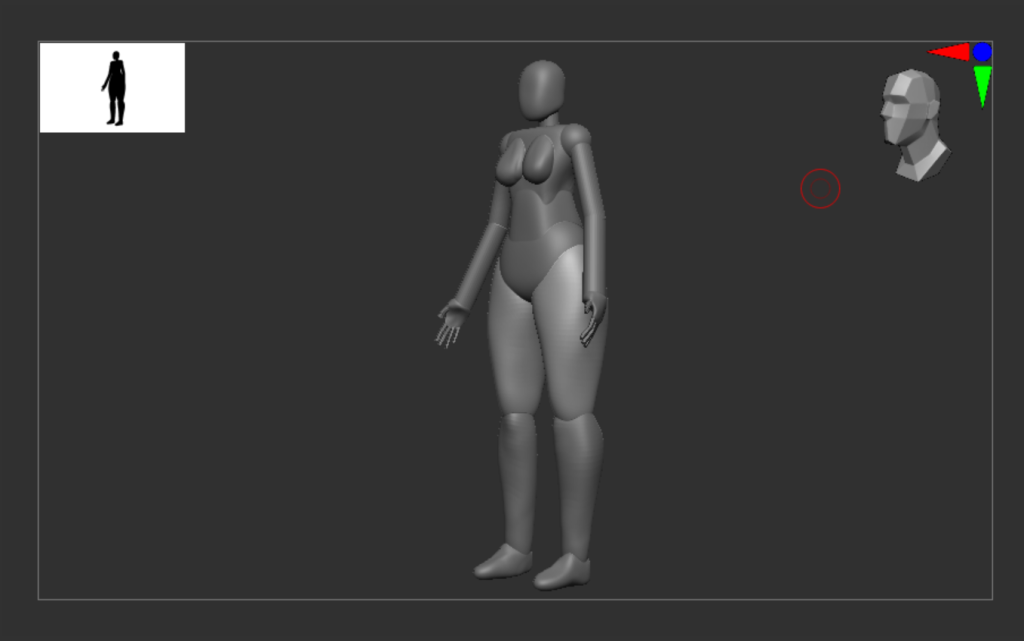
From this basic blockout I am able to move onto defining the shape and silhouette of my character, as well as move onto adding secondary and tertiary detail to the base model.
References:
Pinterest, Rushton, A (2023) Pinterest Character Design Moodboard Available Online: Pinterest [Accessed 9/10/2023]
Bishop, R. Gadea, L. Ruiz Cruz, M. Boo, S. (1999) Fundamentals of Character Design. 3dtotal Publishing.