Using Substance Painter I will be able to add high detail materials to my asset to add detail. I will also be able to bake the detail of my high poly model into the low poly model.
Set Up:
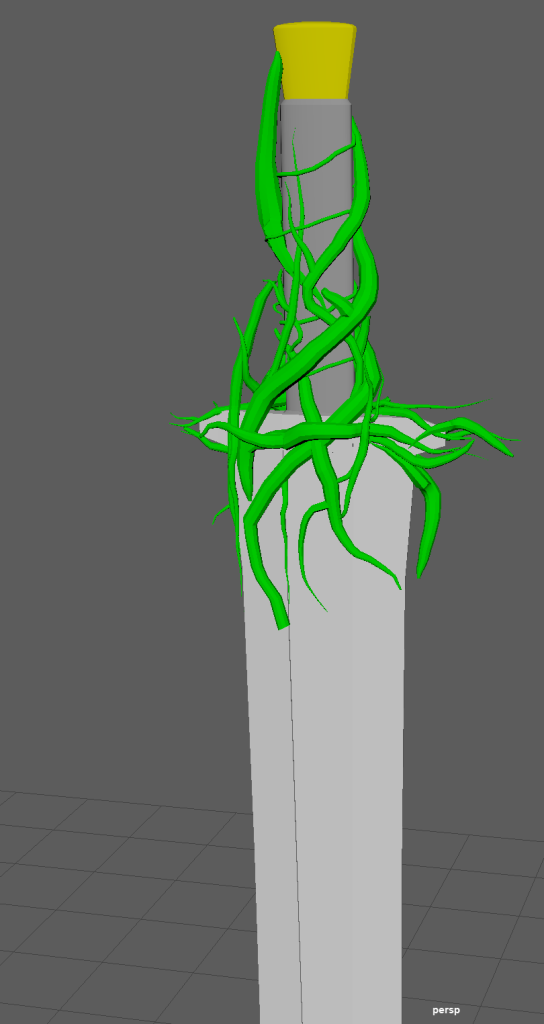
Before getting my model into Substance painter I had to set the UV’s and the Sword in the correct Positions ready for texturing.
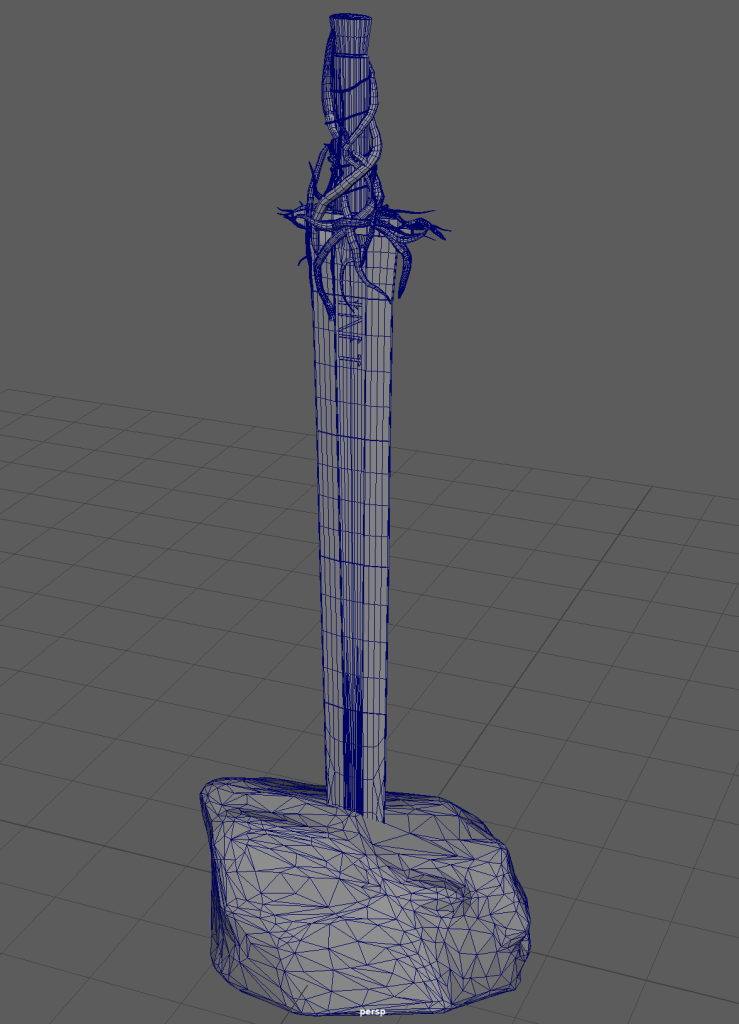
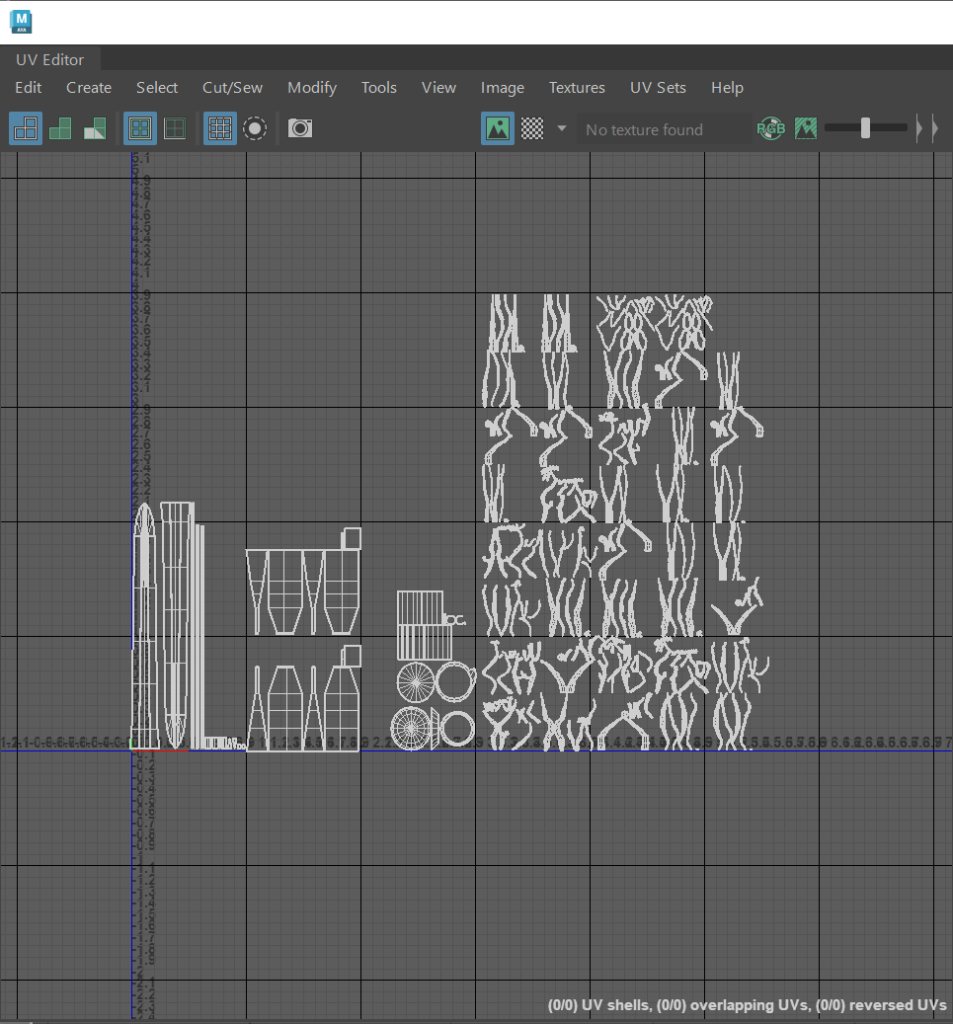
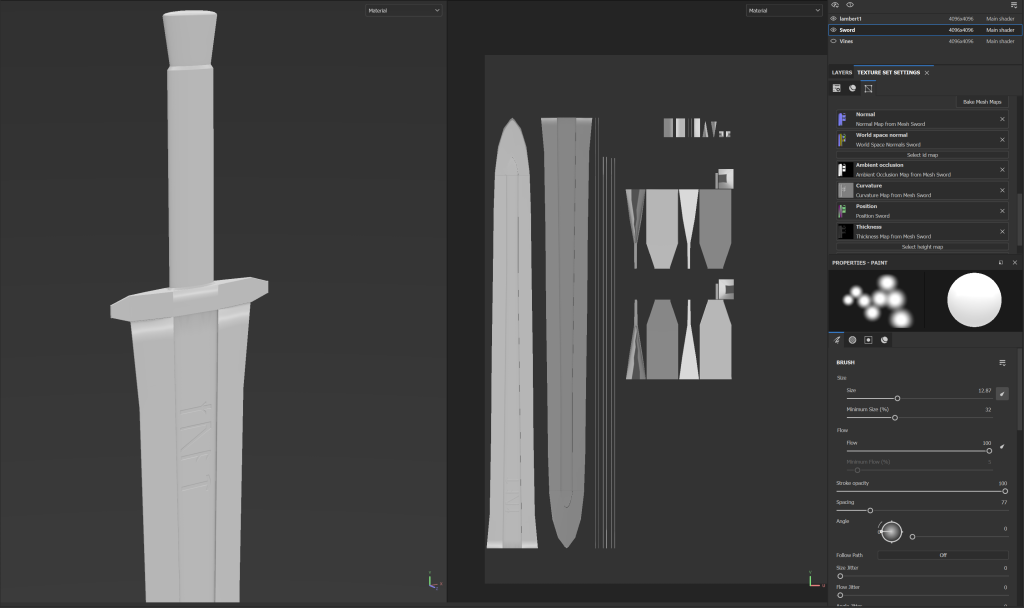
With both my low poly and high poly models set in the same position in the rock and group as high and low poly, I exported them a .fbx files to substance with their UV’s originally looking like this.
Substance Painter:
However once I started to bake the texture maps I encountered a problem. With the UVs being grouped together as they were, the branches of my model where being baked onto my sword and handle.
So to solve this I had to go back and set some basic lambert colours to the blade, branches and pommel of the sword to break up the UV’s. With a colour on them in Maya they would be interpreted as different layers in Substance painter.
This meant I could separate each high poly part of the sword as its own .fbx to apply a bake to certain parts of the model. However I had a problem with the UV’s of my branches as the way they had been set out meant the texture that was applied looked low poly and pixelated in places.
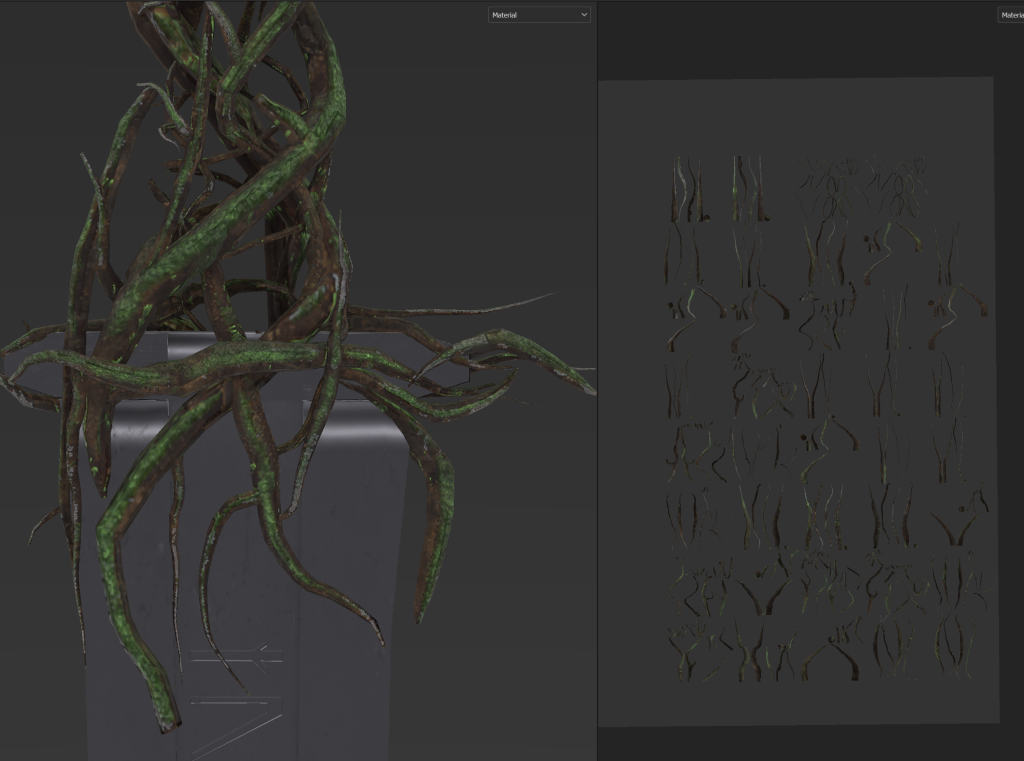
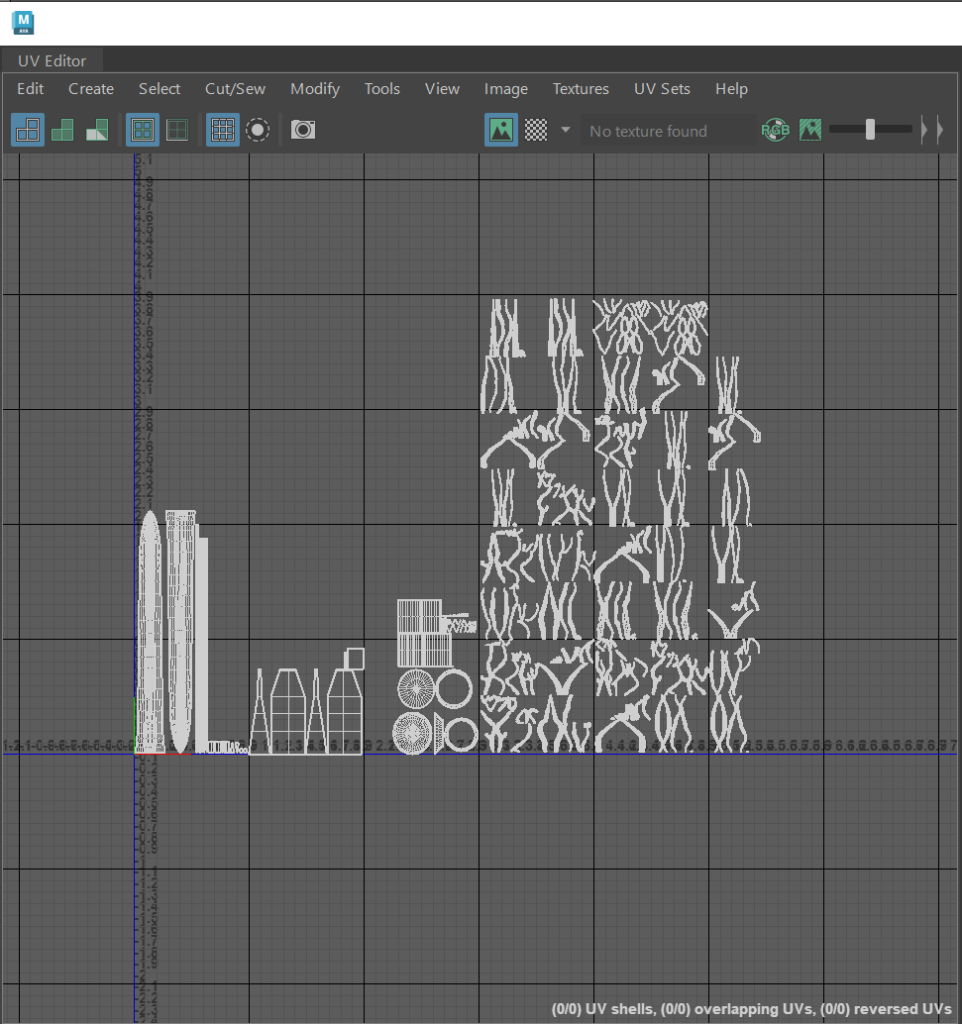
So I had to correct that issue in turn so in the UV editor in Maya I selected the Branches and used control + L to lay the UV’s in a way that went they where as largely scaled as possible to keep the detail of the texture I apply to them.

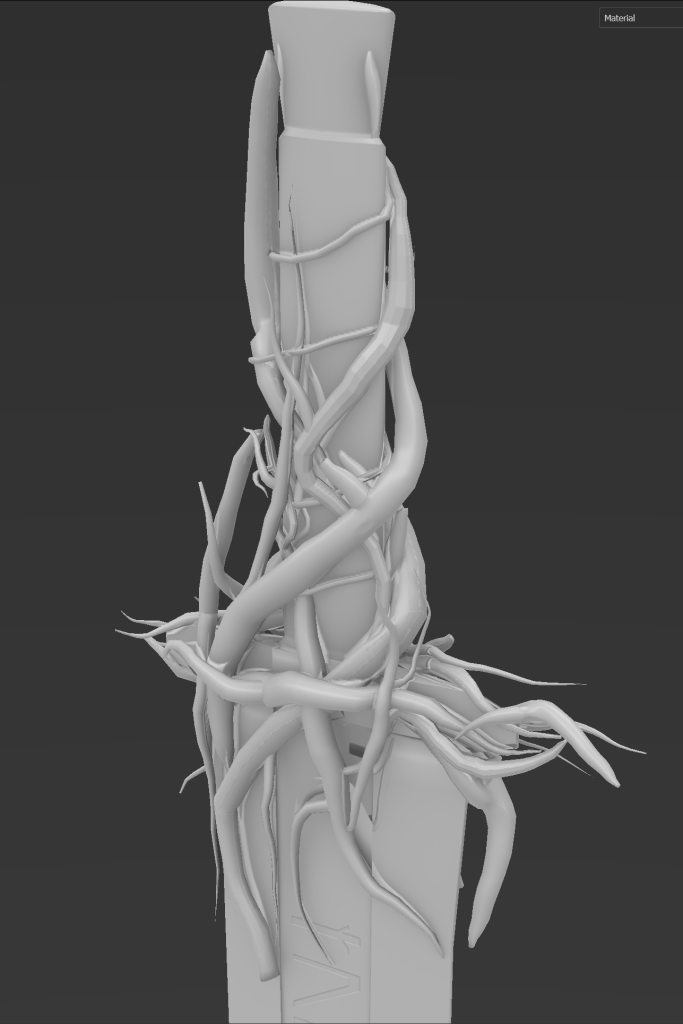
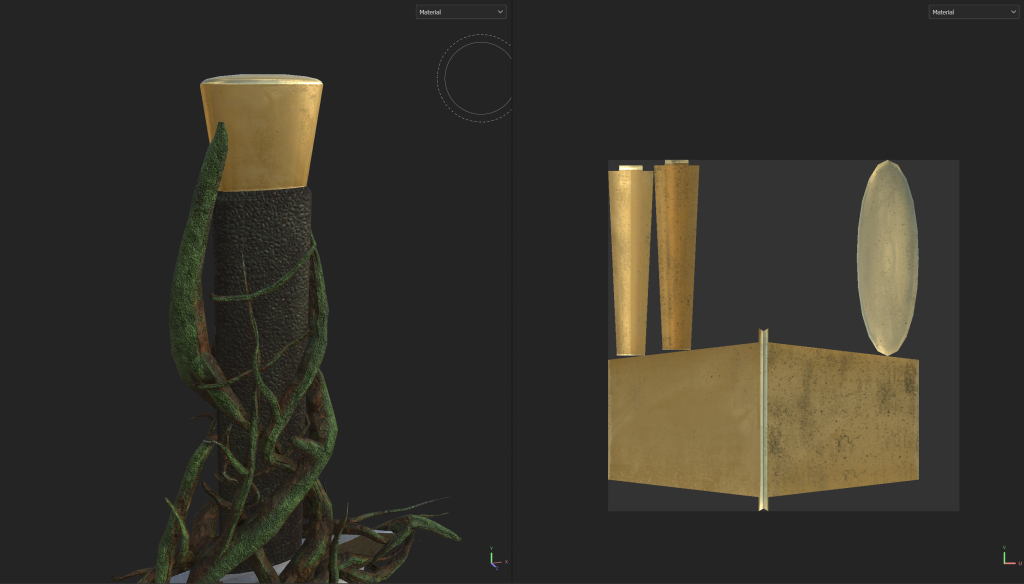
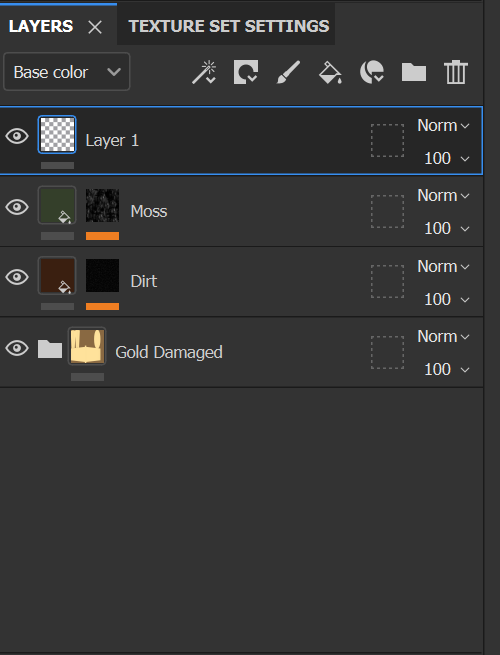
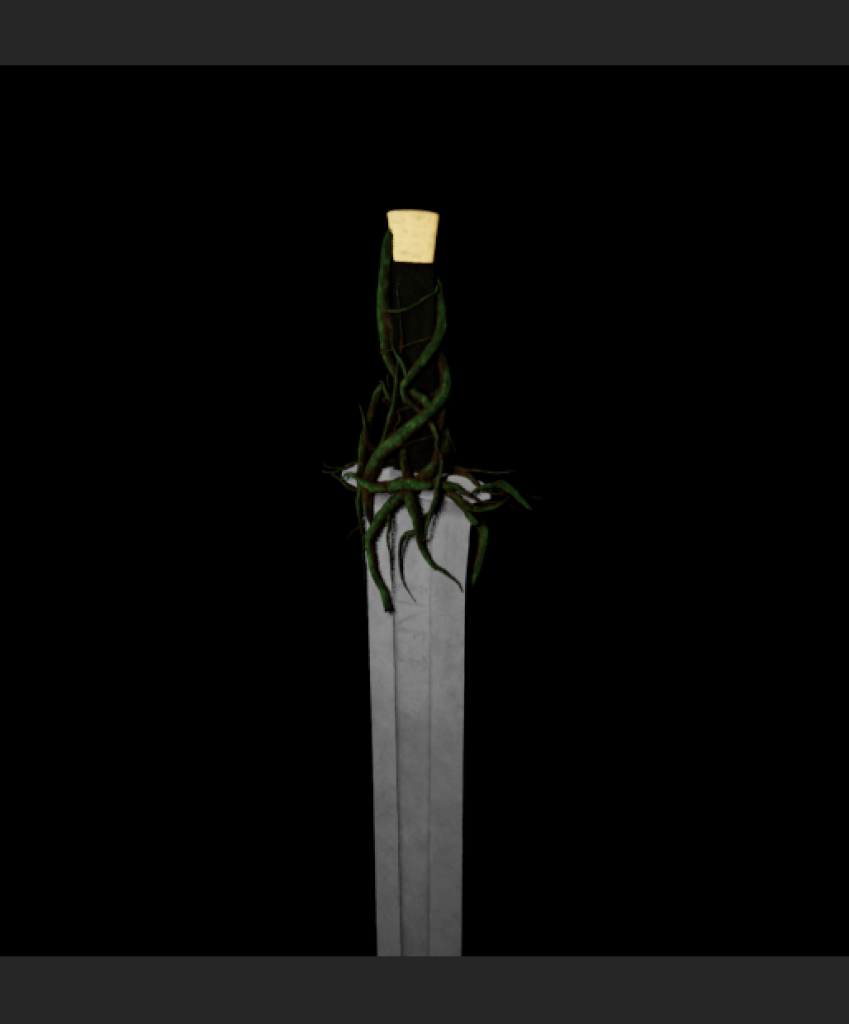
With my branch UV’s now scaled as high as they can be I was able to add texture to all parts of my asset and add in small details to make sure that the sword looks weathered and has been left for a long period of time. The blade I gave a darker colour to but less dirt and other affects as it is my take on the legendary Excalibur, so it had to maintain some fantasy and magical element to it.
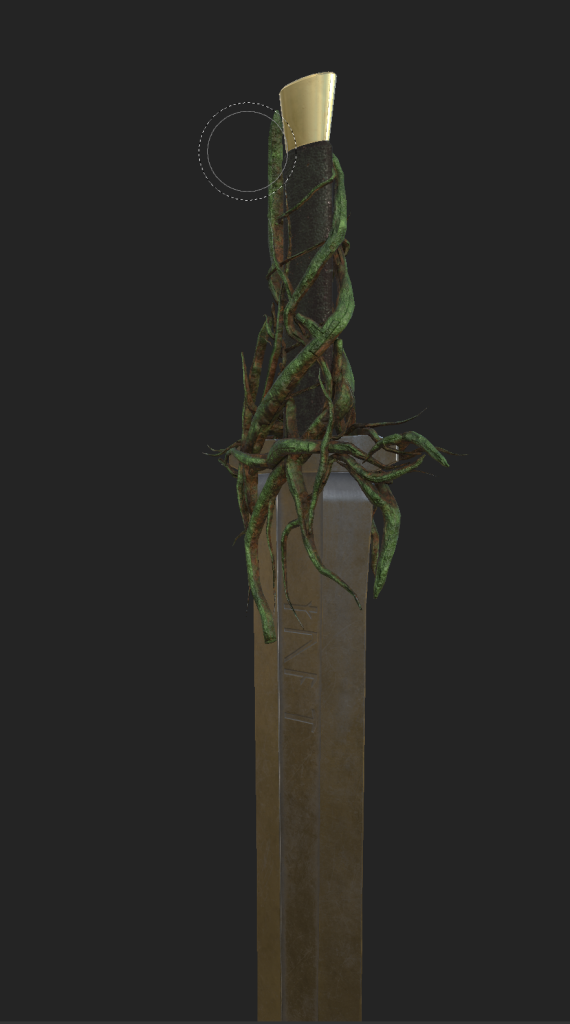
For the handle and pommel, I wanted to add some dirt, moss and slight cuffs to the metal to make the sword appear worn and Corrupted by the branches that wrap around the handle.
I then looked towards my rock asset, The texture I used for the branches was a downloaded stone moss texture that I manipulated the base colour’s to make it appear more like tree bark, the moss was more prominent on the stone texture I found on Substance community compared to the mossy branch texture I did use before. So for the stone I used the stone moss texture and added some dirt using a black mask and one of the pre-set grunges. similar to what I used for the handle and pommel.
Studio Lighting:
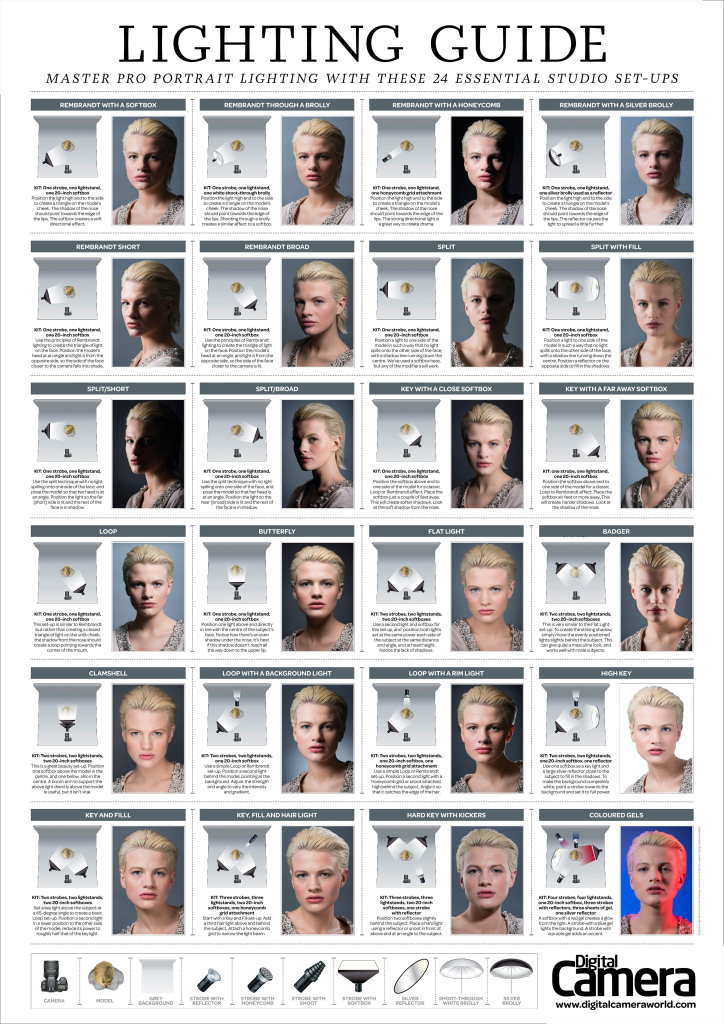
Using the Image above as a reference I started to construct a Studio background in Maya ready to take some beauty shorts of my textured asset for this blog. I did experiment with lighting techniques in a lab session before creating my asset so I know a few things and compositions I want to try with my rendered asset.
With my asset textured in substance painter, I exported the maps to be plugged into a Arnold AI Material. Arnold is Maya’s renderer and is the engine I will use to render my beauty shots.
Each of the maps needed to be plugged into set parts of the material for it to show when the asset is rendered.
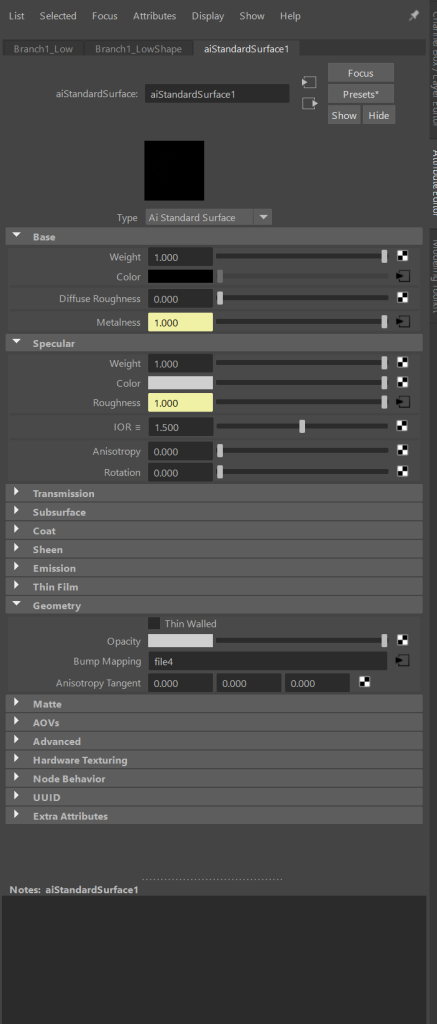
each of the exported maps from substance painter are attached as files and plugged into 4 different areas.
- Base Colour Map into Base colour
- Metalness map into metalnesss
- Roughness map into roughness
- Normal map into Bump mapping
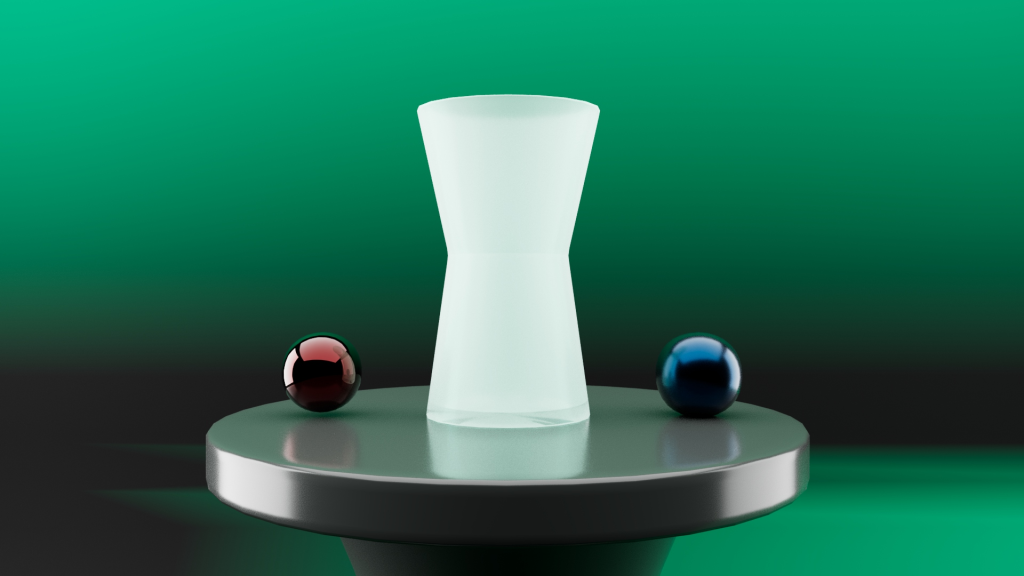
With these maps plugged into the correct areas for each part of the sword and rock I was able to set up a blank background with 3 lights to set up for some simple shots to test my lighting.
References:
Digital Camera World (2019) Studio Lighting Guide. Available Online: Photography Cheat Sheet: 24 Essential Pro Lighting Setups (thephoblographer.com) [Accessed 02/05/2023]
Noguer, J. (2021) Mossy Stone Texture Material [Substance Painter Material] Available Online; Mossy Stone on Substance 3D Community Assets (adobe.com) [ Accessed 02/05/2023]
Petkovic, V. (2020) Mossy Pine Texture Material [Substance Painter Material] Available Online; Mossy Pine on Substance 3D Community Assets (adobe.com) [ Accessed 02/05/2023]
Academic Phoenix Plus (2021) Creating a turntable camera in Maya [Video] Available Online Quickly Create a Turntable in Autodesk Maya – YouTube [Accessed 03/05/2023]